
Hard to believe that I have close to 8 hours of actual working time into this project! That doesn’t include the times spent with my client to get to this point or the time this consumed my thoughts as I tried to work out the design and execution of it. Here’s a recap of the requirements:
- Had to meet certain interior dimensions so the items that were to be presented would fit
- The lid is of a deep design and split 1/3 – 2/3 similar to what I’d call a clamshell
- The latch system needed to secure both sides and be somewhat unobtrusive
- Needs to have an access port on the back to insert a cable (not done yet)
Here’s a gallery of what the unit looks like at this time (sorry for the poor quality, should have used a better background piece).
-
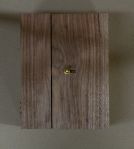
- Mystery Box Closed
-
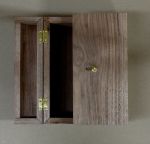
- Mystery Box Left Side Open
-
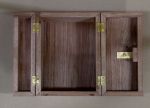
- Mystery Box Box Sides Open
-
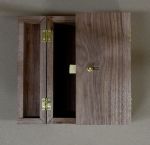
- Mystery Box Latch Detail
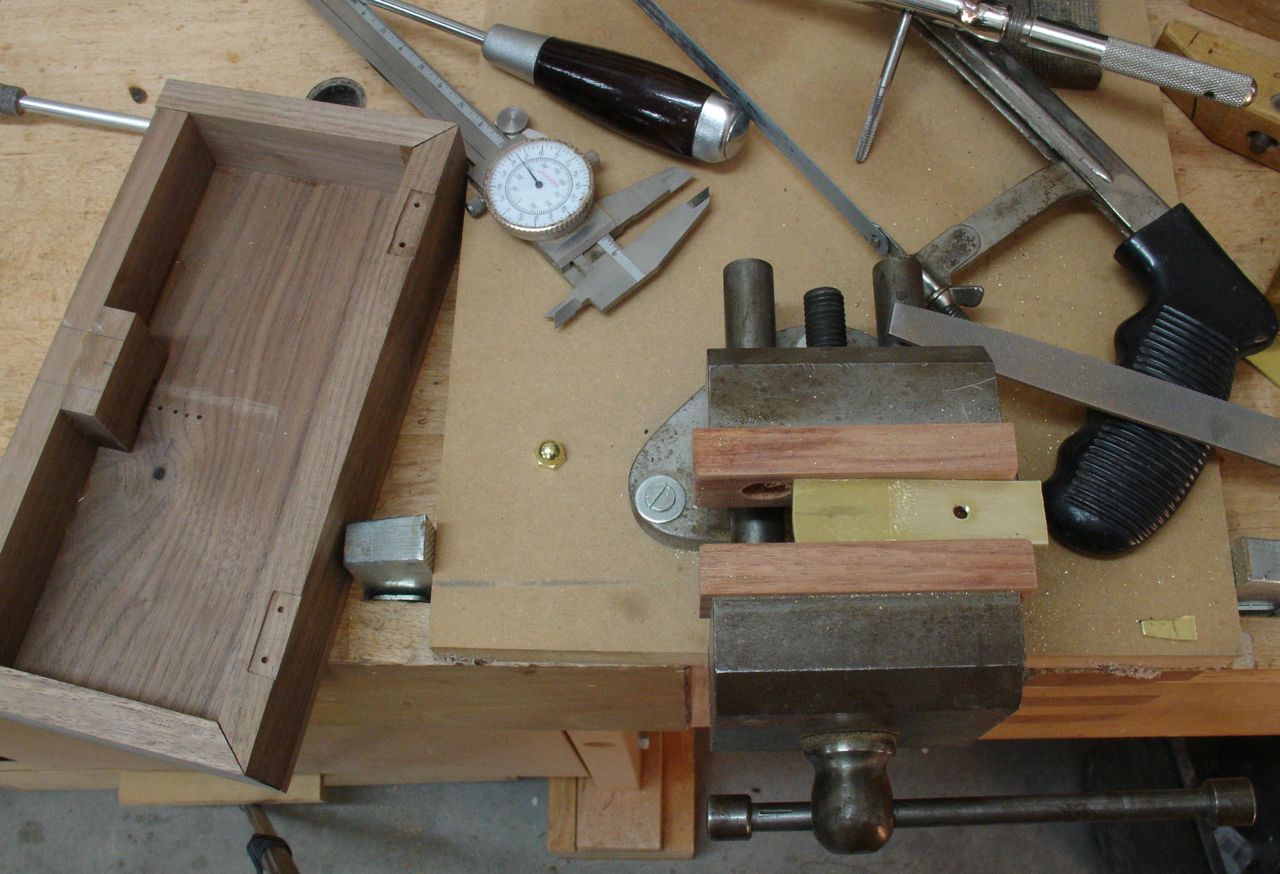 One big question we had was coming up with a way to make the latch. The three of us looked through catalogs and on the internet but nothing seemed to fit the bill. This was fun, gave me a chance to do a little bit of metal work and combine it with the woods. Workbench looked a little different for that, a piece of .064 thick brass was cut and tapped to accommodate a 10/24 screw. You can see in the photograph the piece of brass in the vise. The assembled “latch holder” is at the left side of the box lid, notice the line of scratch awl marks — that’s where I needed to create a slot for the screw to travel in.
Creating the mechanism was pretty interesting too! It began by taking the pieces of Walnut that were destined to be the inside of the lids and cutting a mortise out of them sized for the brass latch piece. There has to be a way to hold some tension on that latch and a ball catch for a cabinet door was the answer for that. I happen to have a couple leftover from a long ago project. Oddly enough it was the lady from the couple who saw one of them in a catalog when we were doing our brain storming. She asked me what it was and I’m sure that’s what jarred my memory and made me think of using it for this application.
-
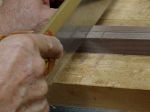
- Outlining Slot for Latch
-
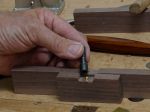
- Small Router Plane for Finish
-
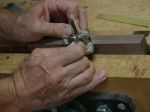
- Using a Small Socket for Ball Catch
It’s time to email this blog to the client and see if we can get together to discuss our next move. As I pointed out in the first blog on this project the corner construction needs to be stronger. Need to add a spline to it to gain some strength so that will be part of our discussion.
