
If you’ve ever heard of or seen a wood that’s been “spalted” you’ll appreciate the unique beauty of it. Here’s a photograph I attempted to crop to give you a good view of it.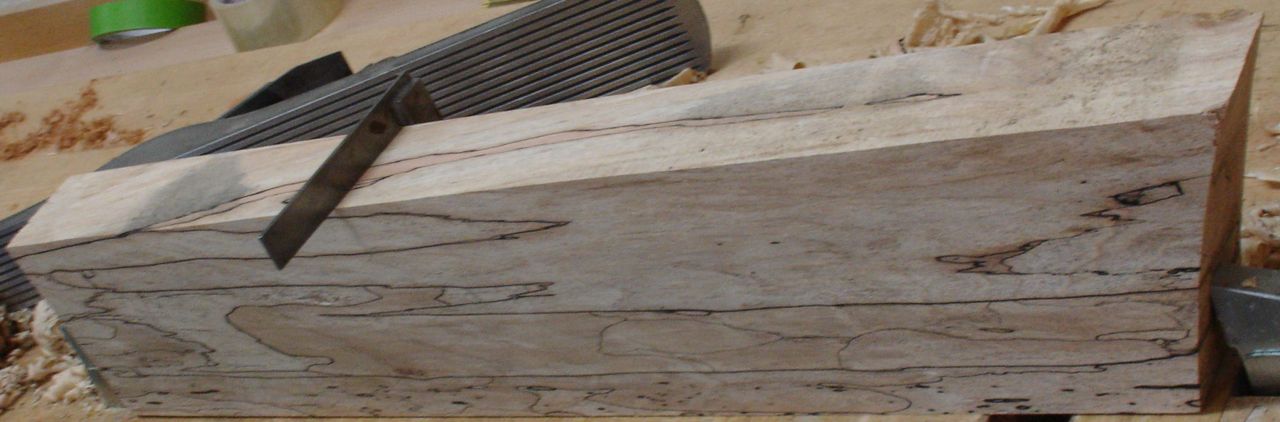
When wood is spalted it means that some type of fungus has gotten into it and left, what most consider to be, some beautiful and unique markings. Here’s an interesting LINK about the process. Spalted wood does have some disadvantages and challenges in that it becomes punky, in other words soft and rotted — after all, the process of splating is basically the wood being attacked by fungus. The leader of my Bible study group was kind enough to give me several pieces of Spalted Maple he picked up on a trip to the Northwest. I’m starting a new series of boxes and this seems like the perfect place to use the beautiful pieces that he gave me.
The first step was to take these random sized pieces and turn them into uniform sized pieces. The width of these boards will determine the maximum width of the boxes but I had to get them square first. If you follow my blog you’ll know that I consider myself a hybrid woodworker using both power and hand tools but that my preference is the hand work.
 Resawing these pieces requires one perfect 90 degree corner that will rest on the bandsaw table and be supported by the fence. The first step was to use my old No.7 Stanley to create a flat face. In this photograph you can see the progress I’m making, chalk outlines the low spots. I’m working contrary to the norm which would have you jointing an edge first. The edges were so angled I chose to do the face first and then square the edge to it. After that corner was square I adjusted the fence to cut a 5/8″ thick board. After each cut the board was planed to remove the saw marks and another piece resawed. I was able to get 3 pieces and have one of about 1/2″ left over.
 The next step was making the boxes for the lids to go on to! Diane and I are preparing for our first craft show and were just notified that we had passed the jury process and are accepted into the Summerlin Craft Fair. This is our first joint experience and she’s doing her wonderful dolls, RagDollsRising. Since I want the wood and construction details of my boxes to be the feature of my work, hand cut dovetails is the joint of choice. Yes, they do take a bit of time to complete but there’s something so satisfying to me about manipulating hands, mind, and tools to create my work. Allow me to do a brief tutorial on the methods I employ.
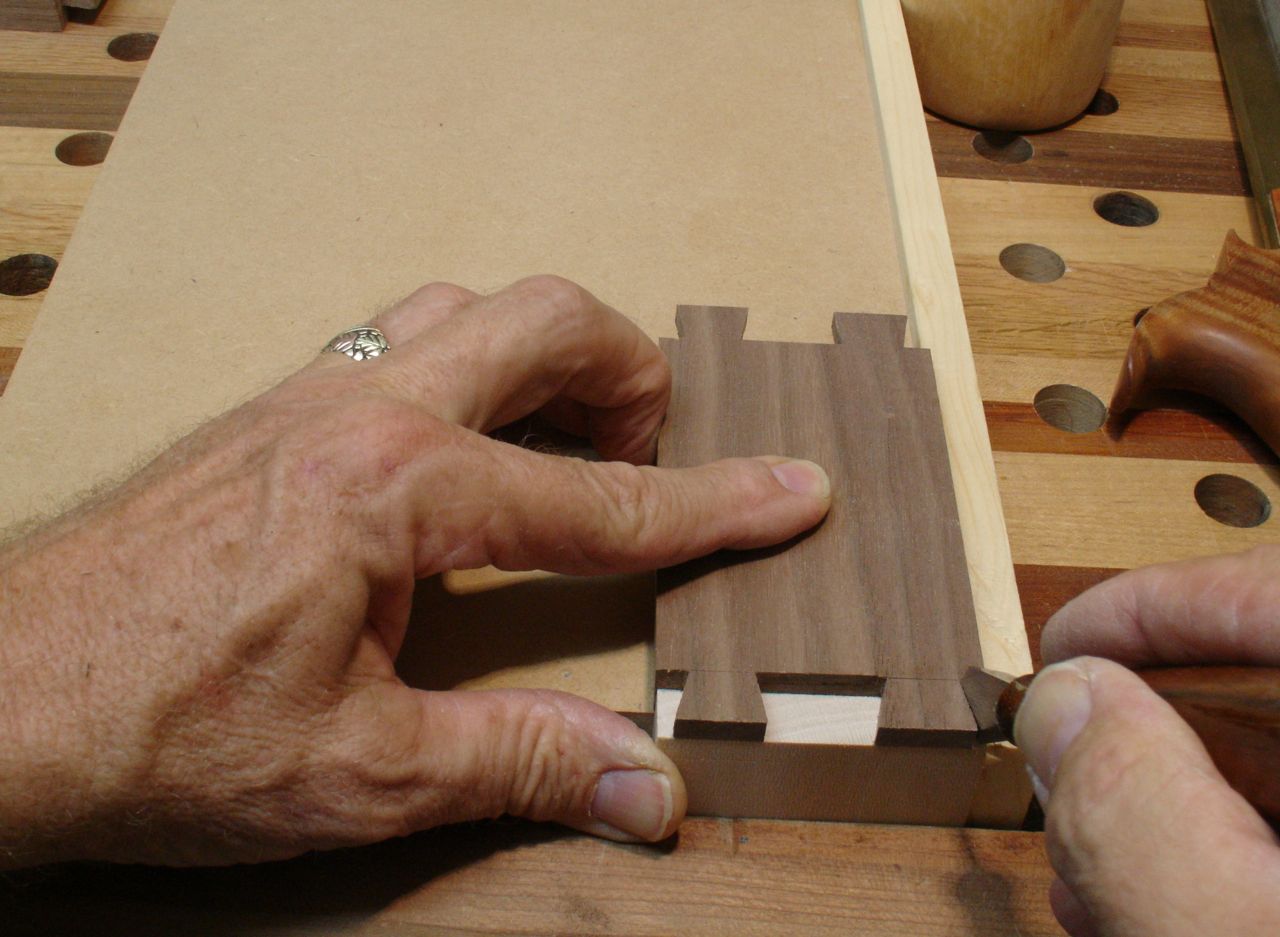
 When I teach dovetails I’m quick to point out that there are several ways to go about the process and every woodworker will probably develop their own set of nuances. I’m a “tails first” dovetailer so that’s what I’ll teach. Since the box will have a sliding lid a 1/4″ dado was cut into the top of all the pieces. At the same time, I also cut a dado to house the bottom piece. The tails will conceal this dado so that determined the layout. I marked the slope of the tail so that it will be about 1/8″ away from that dado. I’m making two boxes at the same time to be efficient. The ends of both of them were clamped together and cut at the same time. These tails will be about 5/8″ wide, since the mating joint is one that is scribed, if the size varies a little it’s not a big deal.
-

- Initial Cuts
-
- Flipped Over to Complete Cuts
 Since I’m trying to be as efficient as I possibly can I’m doing all of the cuts that are similar at the same time. Tage Frid wrote a classic woodworking book back in the 70’s which I bought. I was always impressed by this picture of how he stacked his pieces when dovetailing a set of drawers. Guess I’m trying to emulate what he did, this picture left a definite impression on me! Here he had all of the pieces stacked one on top of the other and I’m sure they all fit exactly. I’m working on getting to that point and do find that the more I work at this joint that muscle memory is making the work easier and more accurate.
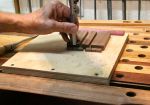
 After the tails were cut on every end piece it was time to scribe the tails onto the pin board which is actually the side of the box. Every time I use this fixture to help align the parts I love it! One of the best things I found on YouTube. It makes it much easier to align the pieces as you transfer the tails.
Anxious to see how these will finish. I’m using three types of wood for these boxes, Spalted Maple for the lids, Walnut for the ends, and Quarter Sawn Sycamore for the sides. At this time the finish I have in mind is some Blond Shellac, I have the flakes but need to mix up a fresh batch — we’ll see!

I learned something today. I have never heard of spalted wood. It truly has a beautiful unique grain. Definitely will be a one of a kind piece. Just gorgeous
LikeLike