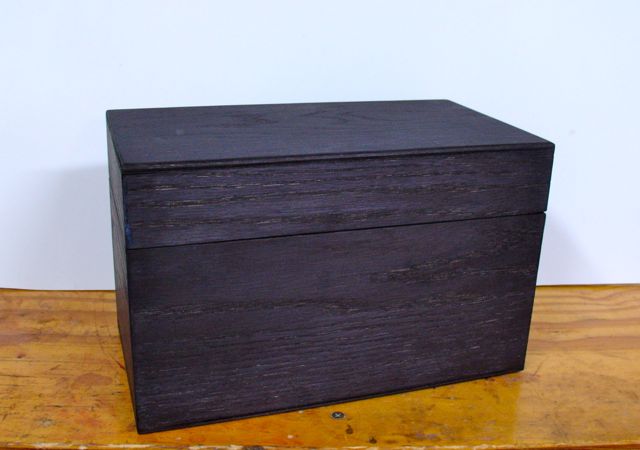
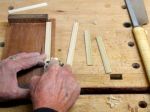
You may recall this photograph from a previous blog where I explained how to make a built in dust check. To re-cap that, a dado was cut inside of the box where the lid will separate. The thickness of the piece that will become the dust check determines how deep the cut will be. The box was completely assembled as a cube and then cut apart. I’ve mentioned that we’ve had some very, unseasonably cold weather here in Las Vegas so work is slightly behind schedule — more on that later.
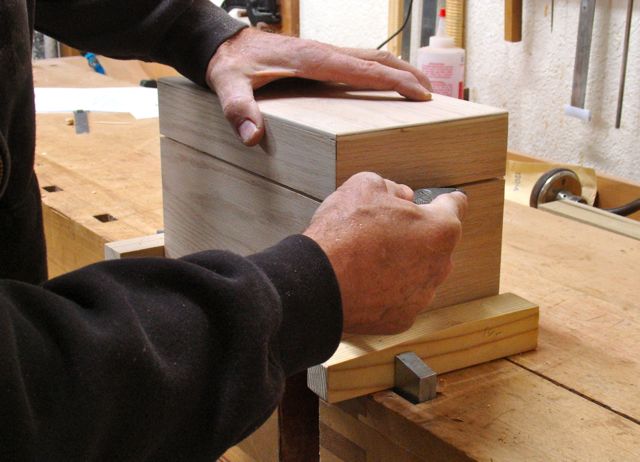 When boxes are made this way I use the tablesaw to cut the lid off. To prevent them from binding during the final cut the process is to make the cuts go completely through the sides for the long sides but then lower the blade so the end cuts do not go all the way through. This will leave a thin piece of wood that will not allow the two pieces to close, bind on the saw blade, and possibly kick back. This thin piece can easily be cut with a utility knife or zero set saw, in this instance a utility knife was used.
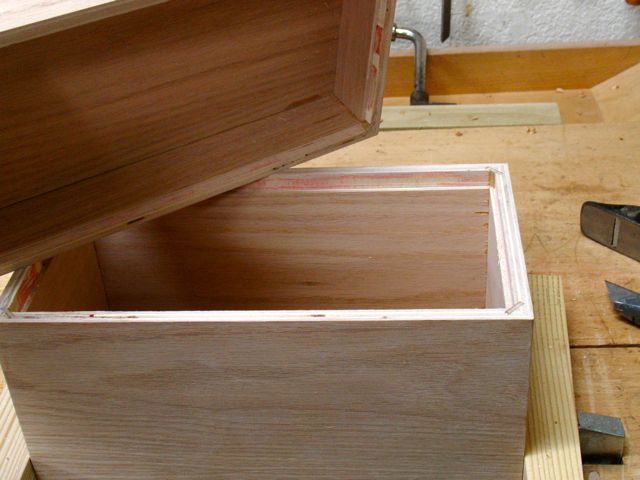 Now you can see how this all works. I carefully marked the location of the dado and set the rip fence so I’d leave about 2/3’s of it for the box and the remainder inside of the lid. This is the first time I’ve done this with a plywood box and it works okay. Solid wood will leave a smoother cut but I think this will be acceptable. Next up fitting the dust check into the dado.
Here’s that process:
-
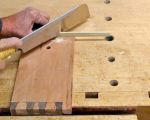
- After ripping pieces to width they are mitered with a Japanese saw and a bench hook.
-
- Once they fit properly, a taper is planed on the protruding edge for clearance.
-
- Here’s the finished dust check installed. The picture showing it prior to dying the box didn’t come out!
I mentioned that we’ve had some unseasonably cold weather and my shop only has a portable propane heater. This has slowed things down a little bit. Usually with a project this small I’m able to assemble it inside the house but I won’t be able to do the finish that way. It’s finally warmed up enough to where I think spraying the shellac will be safe. If you ever need shellac I’m going to recommend Shellac.net out of Ukiah, California. I prefer to mix my own so that it is a fresh product. I ordered some new flakes from them and asked a question regarding the temperature problems. Within one hour of placing the order via the internet I received a phone call from Ron, the owner of the company. In my order I asked if he could send me an email to answer the question. Instead, he called me directly saying it was easier to answer questions like that over the phone rather than email. That’s what I call customer service! This was early evening and not regular business hours. To me, in this world of internet businesses, to receive this kind of service is a rarity so I’d like to recommend Shellac.net highly to any of you that use shellac. Ron carries many different colors of shellac as well as related sundry items. I doubt I spend $75.00 a year with him but he still takes the time to service and give advice.
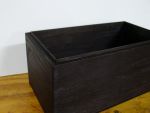
Oh yes, his advice was to bring the shellac and the item being finished in the house to let them warm up completely. Tomorrow is supposed to be in the upper 40’s so after applying the shellac he suggested waiting until it was “gnat dry” — what’s that you ask? Well, if a gnat lands on it it won’t get stuck to the surface! Makes sense to me. At that point he suggested using infra red lamps which I don’t have but due to the size of this box I can easily move it into the house to cure. I’ll repeat that for multiple coats then leave it in the house to fully cure before rubbing the finish out. Here’s what the box and lid look like now that it’s been dyed.