
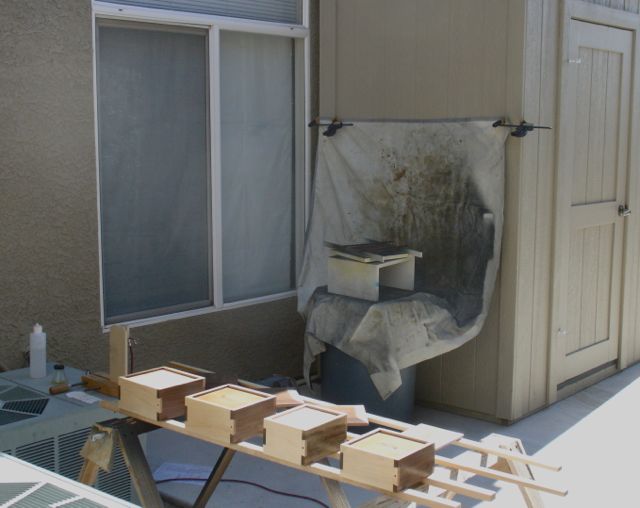
Nothing like the smell of Shellac in the morning!
So — why talk about it when they’re not quite ready to ship? Want to get this blog done and put this commission into the “complete” file to start on the next project. All that remains is to rub out the shellac and I like to give the final coat at least 48 hours to cure fully. The finish procedure on these boxes was to apply two coats of shellac, allow them to cure over-night before lightly sanding them with 400 grit paper. After the final coats applied this morning are cured they will be rubbed out with Liberon Black Bison wax applied with a 4/0 white scotch pad. Other than that the inside bottoms need to be lined with ultra suede and they’ll be ready to ship. Two are for an order and the other two will be added to the store inventory.

Radius on the corner of the bottom piece

Drilling holes for pegs
Once they were assembled the holes needed to be drilled out for the 3/16″ pegs centered in each tail. This was accomplished at the drill press with a tall fence. The last blog generated a number of comments about the box slotting bit that I used. The bit is available from Lee Valley to cut either a 1/8″ or 1/4″ slot for box bottoms. For these boxes I used 1/4″ hardwood plywood. The only thing you need to fit these properly is to create a radius on the outer corners. There are a number of ways to do this and my choice is to draw the radius on with a nickel and then remove it with a 1″ belt sander.
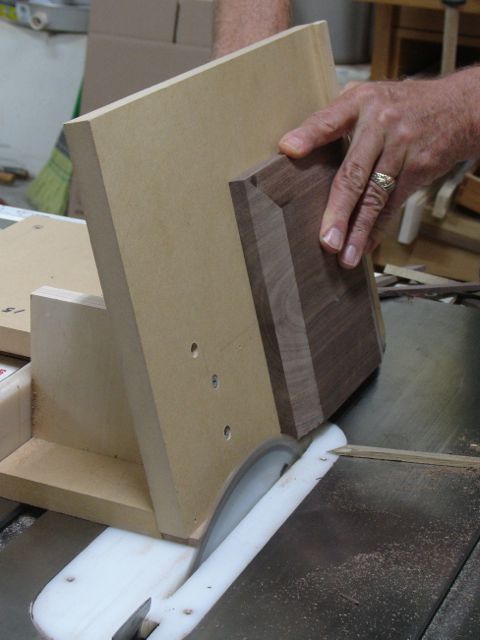
Beveling the lid at 15 degrees
Glue up was next and since this is an unconventional way to utilize dovetails it’s a bit of a trick! The glue of choice for me is Old Brown Glue due to its properties. Only a small amount needs to be applied to the long grain of the joints and on the pegs. Contrasting pegs were used which I believe adds to the puzzle like quality of these boxes. After assembly I tackled the last step of making the lids. They are a lift off affair that are rabbeted to fit the box. They are bevel at 15 degrees, the process begins on the tablesaw with a fixture that slides on the rip fence and ends with block plane to remove saw marks and ensure the corners meet at a crisp 45 degrees. I’ll have them packed up and ready to ship first thing Monday morning.
As always, I hope to achieve my personal goal of having the work exceed the expectations of my client. I always appreciate they have enough faith in my abilities to commission a project from me via the internet.
