
I must admit that my Armoire project is quite a challenging one — I see that as a good thing! Those of you following my blog know that it was started last year but a couple of paying jobs put it on hold for quite a while — also a good thing! In any case, I’m now working on the drawers, there are nine of them. My “sensible approach” is due to my frugal, Dutch nature plus I’ve run out of Mahogany, at least not enough for another drawer front so mistakes cannot be made.

Drawer Beginnings
I didn’t want this to become a mass production process but did want to be as efficient as possible. For me, this begins with cutting all of the drawer sides (soft Maple) to the required height for each opening. They had previously been surfaced to 1/2″ thickness. At the same time the drawer fronts were cut as well. My “sensible approach” is to leave everything longer than needed just in case I totally blow the joinery on the end of the board. The next step was to cut the 1/4″ groove for the drawer bottom on all boards. That’s what’s shown in the picture here.
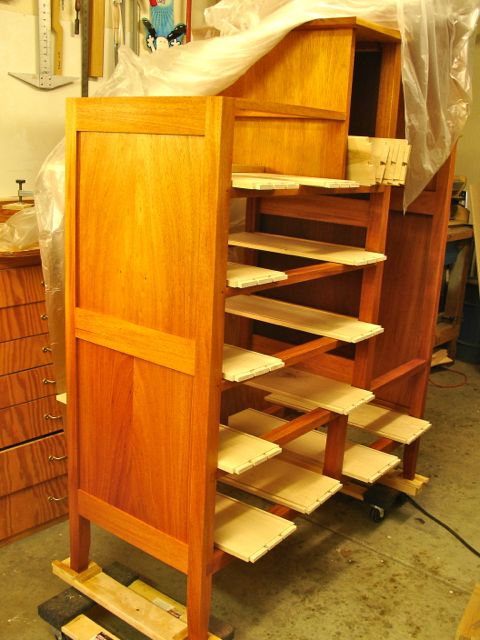
The drawer sizes vary from the three in the center section that are about 5″ tall, then one at 6 1/4″ next to them. The other drawers are 7 1/4″ for the three and the bottom two measure 8 1/4″. Arbitrary measurements determined by the overall size of the Armoire and the available material. To make sure the plan I had in mind was sound I used the single 6 1/4″ drawer as my test subject. Layout of the dovetails can be done in so many ways, I just wanted a fairly uniform look to all of the drawers that was sure to be seen as hand cut. A reason to cut the grooves for the drawer bottom first is so you can lay out a tail to conceal it. That meant I started the first tail at 1/4″ from the edge which was then duplicated at the top of the board. Whatever was left between those measurements was divided by 3 and set off with dividers. The only exception was the smaller drawers, they have one less tail. Here’s a slide show of the process, sorry about the quality; I changed the settings for some other work and forgot to change back.
Ready for Pin Boards
If you’re not familiar with the Stanley 140 trick shown in the first picture allow me to explain it. I’ve found that cutting a step on the inside of each drawer piece results in a much cleaner joint. Traditionally this was accomplished with a pair of skewed, rabbet planes. Stanley made these and they were designated as #140. Although not OSHA approved I use either a rip blade or in this case the dado set to accomplish the same thing. I wax the fence and saw table to reduce friction and hold tight. That being said, I wouldn’t allow a student to do it free hand like this but it is an effective way to accomplish this without spending a small fortune on a set of planes, although the Lie-Nielsen could be on my wish list! At the end of this step things looked like the picture at the right. The top drawer is complete and the others are ready to go.
At this point each drawer side has their tails cut so next up are the pin boards.

It seem like all the big names in woodworking do the tails first. I still do pins first but some day I’ll try the tails first and see what the big fuss is all about.
LikeLiked by 1 person
For me it seems much easier to transfer tails then pins. My next blog will show a simple fixture I use to keep boards aligned. Thanks for following me!
LikeLike