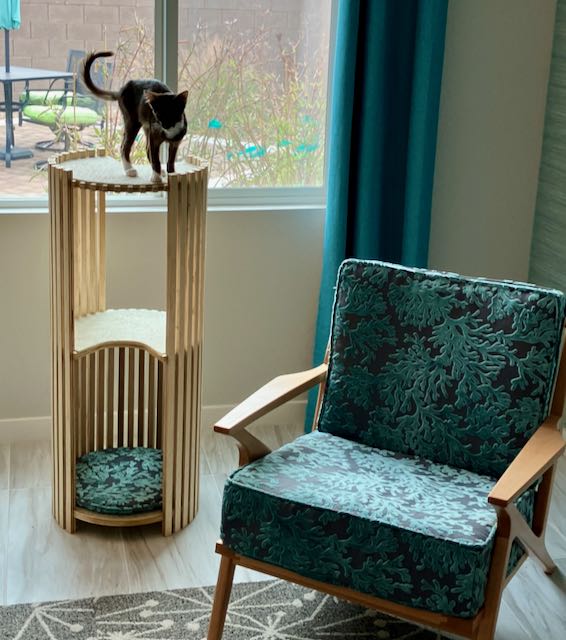
If you didn’t know, I’m a cat person and we just got a new Oriental Longhair kitten. I’m also a dog person and we have a beautiful long hair mini Dachshund. The two of them are getting along fine but the kitten needed a place “above it all” to see the world and escape the little dog. This is my second foray into making some sort of cat furniture, here’s a LINK to the blog of a more complicated piece I made for Khali who sadly passed away last year.
Typical cat furniture is usually made of MDF and carpet, fairly heavy, and maybe kind of cute but in my experience it loses its appeal and after some use the carpet starts to look pretty ragged. Okay for a back room but not something you’d want to display in your living room. After looking on Pinterest for ideas we found that the really attractive pieces were from other countries or super expensive but they gave us inspiration. Diane noted that most of our furniture is square or rectangle so a circular pieces would add some variety. In the picture above is what we came up with after she made some mockups from foam core and tape. My first choice was clear coat Baltic Birch which had 2 disadvantages; cost was the first one and the benefit of the clear coat means the plies need to be exposed in any joinery or else glue won’t stick to it. Decided to try Home Depot’s Radiata Pine panels and it worked out quite nicely at an affordable price.
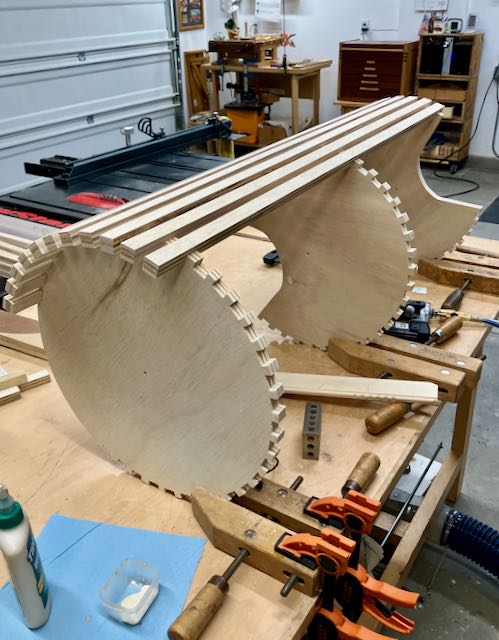
The first step was making the three circles, I knew the challenge would be cutting the dados in them but figured I’d deal with that later! I went about this in a different way, the first step was to make a compass arm from 1/4″ MDF and attach my router to it to make the circles. I wanted this smoother than a bandsawn piece and have compression cut pattern bit from Woodpeckers which makes a super smooth cut even on plywood. The bearing is at the bottom so the first step was making a pattern from MDF. Next I located the center of the plywood, attached the router compass and used a 3/8″ bit to cut a shallow dado. This dado was my guide to cut the circle on the bandsaw. After that I clamped the template to the plywood and used the pattern bit to cut a smooth circle.
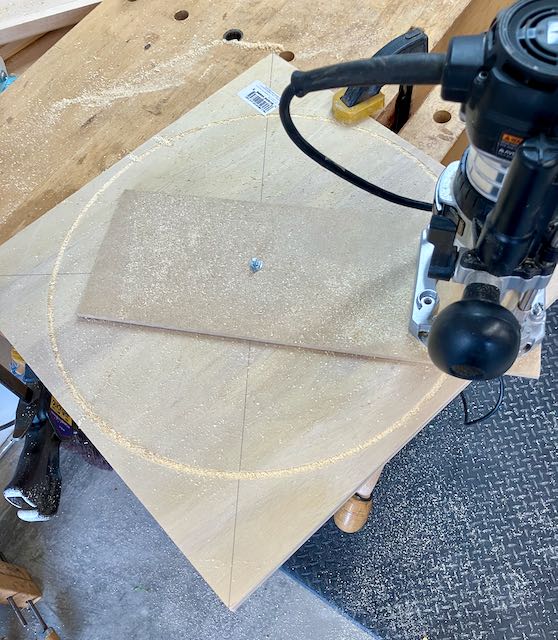
The next challenge was cutting 3/4″ equally spaced dados around the perimeter of the circle. I decided to take one quarter of the circle and use dividers to step off even divisions; that’s similar to the technique used to lay out dovetails. I learned though that where the divider mark is made in relation to the distance from the edge changes the location of it! Now, how to cut them — here’s some photos and I’ll explain the process. Here’s where CNC would simplify it but take the human out of the equation which is something that goes against my philosophy. My goal through out my teaching career was to have my students figure out their projects using their own resources at a minimum outlay for tools. Of course, it they went into it as a career they’d need to use the most efficient and quick way to manufacture their products.


Problems: First of all, I made the jig to line up to the center of the dado but discovered that no matter how carefully I “eyeballed” the line, it wasn’t always exact. There is a section on each disc that needed to be either cut out for cat access or, in the case of the bottom one, be left without any dados. Add to that they needed to be aligned so the cat access hole was in the proper location on the middle and top disc. My solution was to cut only 1 dado in the remaining two discs. Then I marked off where the access was for each and labeled them Top, Middle, and Bottom. That initial dado was used to align them and they were screwed together through the center hole. I carefully penciled in one side of each needed dado and made another mark on the throat plate of the saw to align it with and proceeded to cut the remaining dados. Note: This is rather lengthy and maybe confusing so if you decide to make something similar and have questions please don’t hesitate to send me a message. I use many of my blogs as an on-line journal to remind me how I did something in the past.
Assembly followed and the first step there was to cut the slats, the full length ones are about 39″ and made from the 3/4″ plywood. Once the fence was set to the width they were all cut on the tablesaw. I used a 2″ spacer for the bottom one, then another spacer for the distance between the discs. The slats are glued into the dado and held in place with 2, 23 gauge pins at each joint. Each disc was held on my assembly table with a parallel clamp which helped align them. I started with the dado marked bottom, middle, and top and worked my way around.
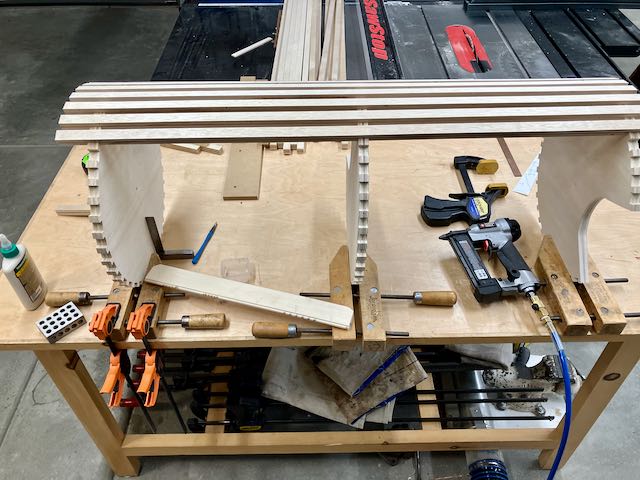
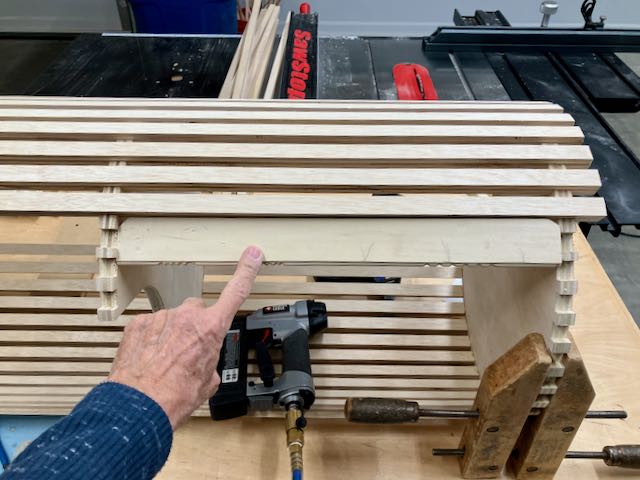
Once everything was dry the slats were lightly sanded and a coat of OSMO 3043 applied to provide some protection. We had material left over from my interpretation of the Z-Chair so Diane made a cushion to match it. We accomplished our goal which was to create a stylish piece of cat furniture that compliments our decor. Most important of all it’s been:
