
There are a few new things going on with my woodworking. First of all, this is the first post I will try to publish via WordPress! I always tell Diane that I want to grow up and be just like her in many ways. To that end, I’ve decided to follow her lead and combine my website with my blog. The website program I’m using now is rather cumbersome and somewhat difficult to update with new work. The other thing is that if I use WordPress instead of Blogger everything I do can “reside” at http://www.woodworksbyjohn.com. Actually, Di is working on that as we speak. I must admit that address forwarding, web hosting, mumbo jumbo is hard for me to wrap my head around so very thankful that not only does she grasp on to it quicker than me, she’s also more than happy to work through it for me!
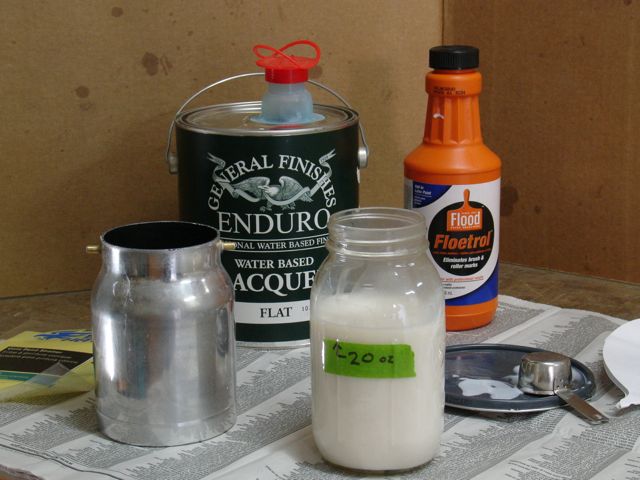 Here’s what was on this mornings menu. Probably could have used a roller or brush but with our temperatures in the 80+ and humidity around 5% that just wasn’t in the cards! When we re-modeled the kitchen I bought an Earlex, 3 stage HVLP sprayer. General Finishes makes a waterborne lacquer which we bought locally (always a plus) in a flat finish. Because of the weather conditions this was thinned 10% with Floetrol. Using a 1.5mm needle worked great. I poured 20 ounces into the mason jar, then added 2 ounces of the Floetrol and was happy with the results.
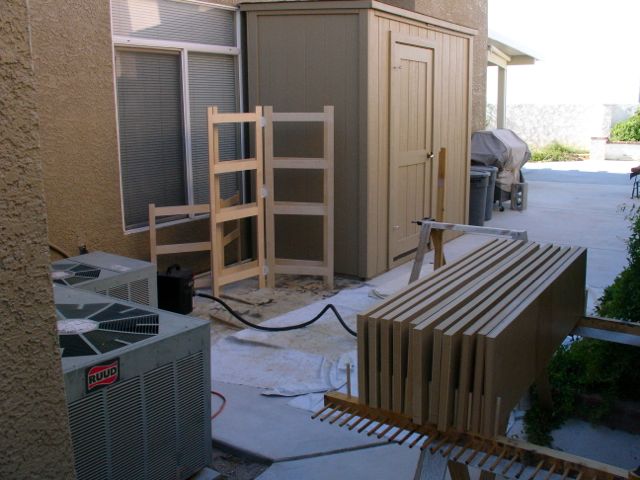
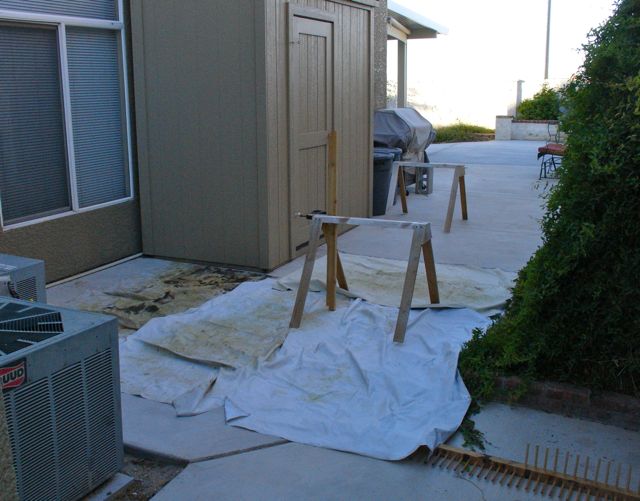 After the initial spray a few days ago I learned how to utilize my limited space at the side of the house to its best advantage. The sawhorse in the foreground has a 2×4 clamped to it to support the shelf for spraying. Once that’s done, the shelf is put into the rack you see at the lower right.
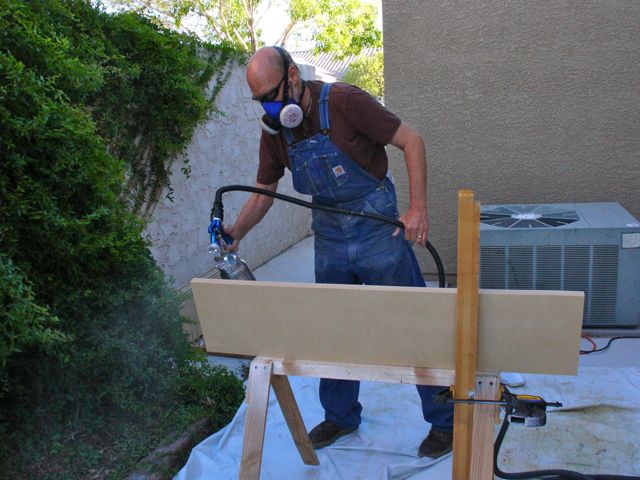
That sawhorse holds the shelf securely, HVLP does shoot out a pretty powerful blast of air and since the shelves are light I had some problems the first time out.
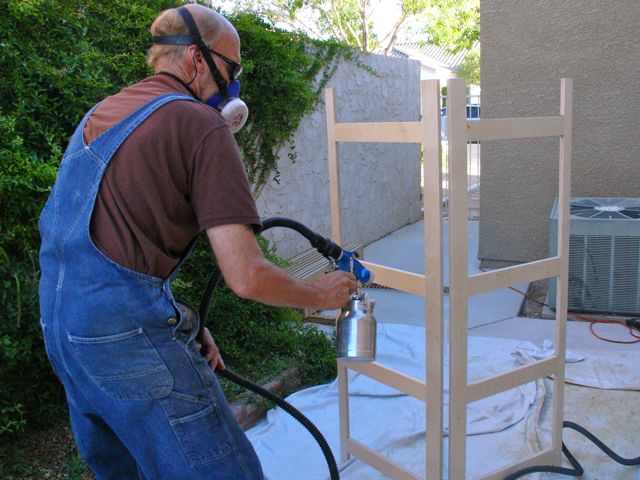
After doing all of the shelves on one side it was time to spray the uprights. These were easier since they stand by themselves. Uprights done and it was time to spray the other side of each shelf.
With the temperature and humidity levels as they were drying quickly was not an issue! Everything was sanded with 320 grit paper after the first coat. Although it’s recommended to sand between every coat since these are strictly utilitarian I skipped sanding and applied a fairly wet third coat to everything. Even though there’s enough lacquer left for a fourth coat the sun’s starting to come over the roof and it’s time to call it a morning!
All done, time for some more precise woodworking. Projects like this though make me very glad that I invested in a sprayer. Can you imagine brushing/rolling all of this and then having to wait for it to dry? Add the dusty atmosphere of the desert to the equation and spray’s the only way to go!

Great site. Great photos and great narrative. Great job!
LikeLike
Thanks Carol, you are the very first, official comment maker on my new blog!!
LikeLike