
There has been lots of process these past few days. All of the work culminated in being able to assemble the bases this morning before I went to the AWFS show that’s held here in Las Vegas every other year. I have to admit that it’s over-whelming in terms of computer controlled everything, you know I tend to prefer hand work. There’s a definite distinction between the way I view my artistic functional approach to furniture vs. the “gotta make a buck” with wood that commercial woodworkers need to pursue. In any case, started about 6:30 this morning and here is what I had completed before leaving for the show around 9:oo and 93 degrees!
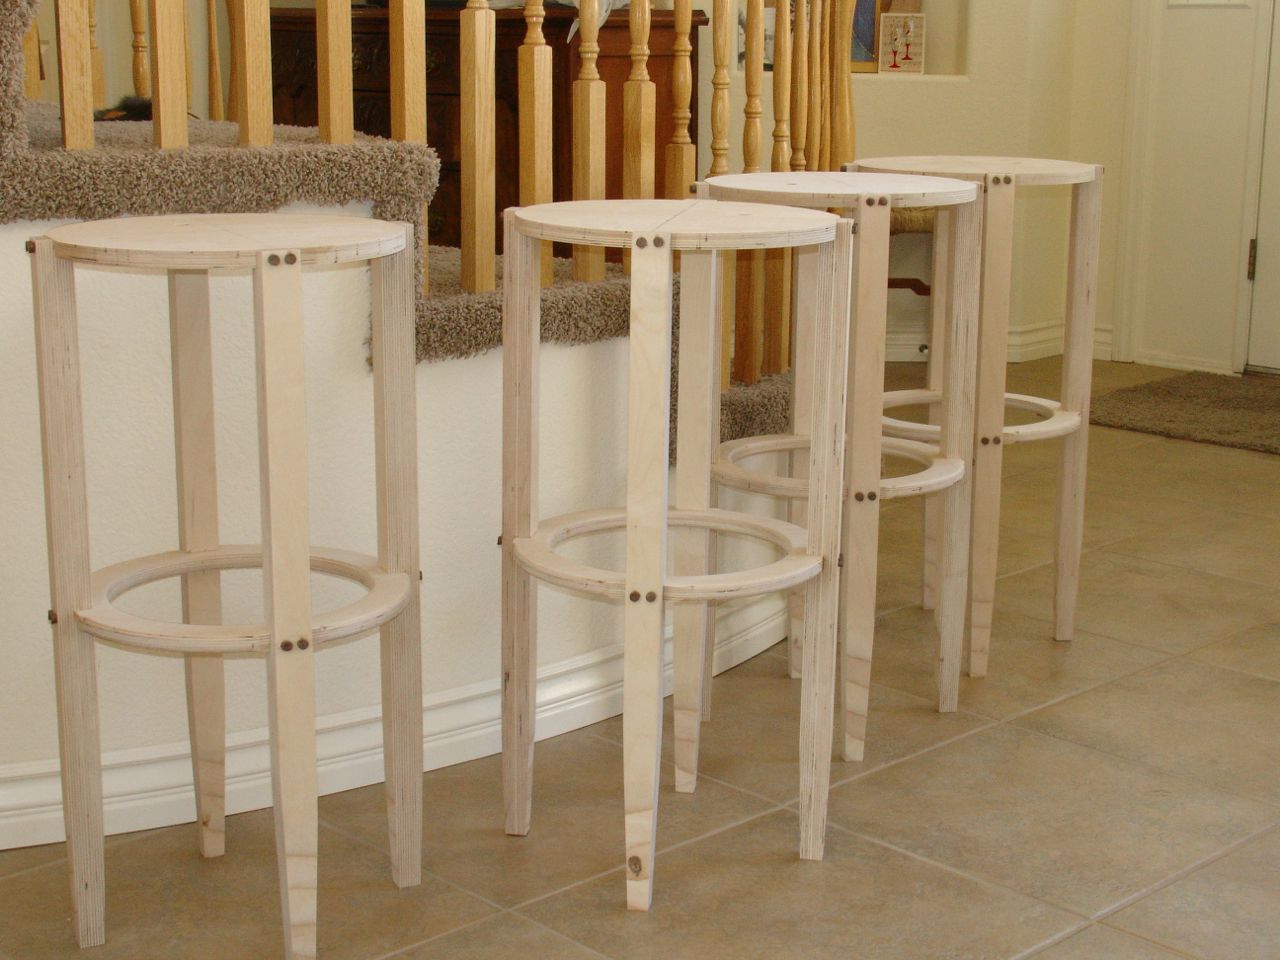
Glued, Screwed, Plugged, and Drying in the House
This is about as close to production furniture making I want to get but must admit I’m very happy with what I’m seeing. It’s one of the thrills I tried to have my students feel. That moment when the design you had in your head and maybe sketched onto a piece of paper is now in front of you in 3D form. Hopefully what you see is what you visualized in your mind. So far — so good!
 The legs (all 16 of them) required many steps to complete. After sizing them I shared how they were grooved to accept the foot rest and top in a previous blog. Next up was to taper the bottom 12″ of so. This was accomplished with the table saw and a taper jig made years ago. It worked well for this and even though you usually need a center point when cutting four sided tapers I was able to do it on these legs without that center. My guess is that since less than a third of the total was tapered there was ample support.

I really like the appearance as the plies are exposed at the bottom of each leg. It’s almost like putting a contrasting piece of wood on the bottom of a leg. Anxious to see how this will finish.
Each leg has four screws that will attach to either the foot rest or the top piece. The easiest way I can thing of to explain that is with this photo tutorial.
-
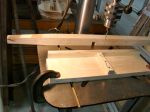
- Drill Press Jig: Leg aligns with groove
-
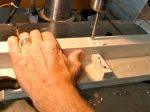
- 3/8″ Forstner Bit for Plug
-
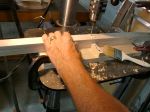
- 3/16″ Body Hole
Keep in mind that there are 64 holes that needed to be drilled and counterbored! Adding this quick jig to the process insures that every piece is interchangeable. The brush was used to keep the chips clear from the fence so that every leg would seat properly. Oh yes, before I forget there were also 64 Walnut plugs to make, probably had closer to 84 but they won’t go bad!
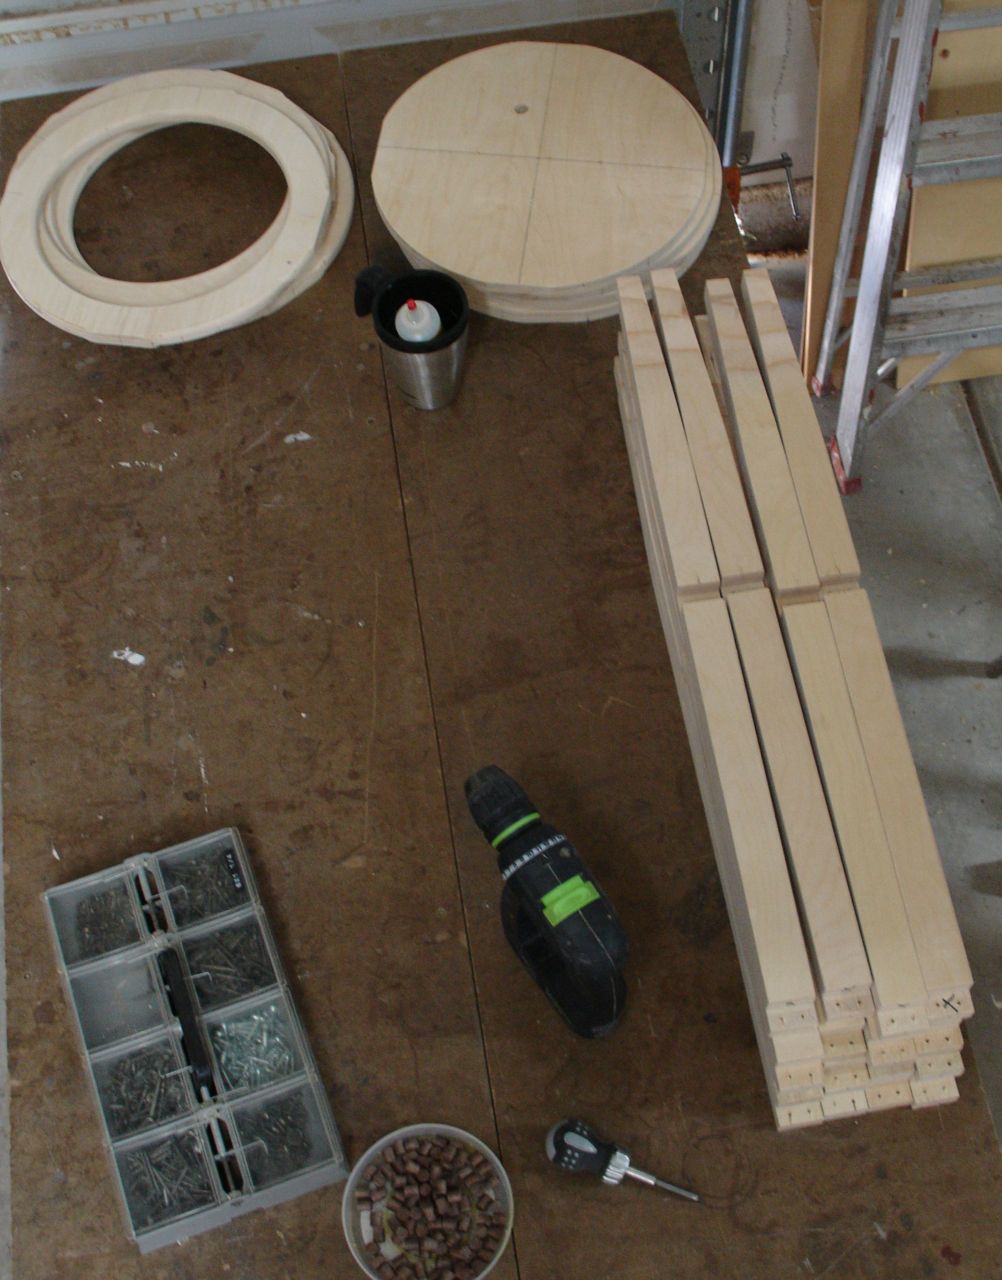
Next up was to assemble all of these pieces together. I used Old Brown Glue which is a liquid hide glue. I prefer it for a couple of reasons. It has longer open time than regular wood glue, the wood fibers don’t swell up making assembly of tight fitting joints difficult at times, and also it cleans up easier. Here we have everything in place for the assembly work. All of the parts have been semi-sanded, especially the inner surfaces that will be hard to get to once things are together.
A major concern is lining everything up. These stools are not square or rectangle — they’re circular! The approach I took was the same way most of the other process were tackled; from the center lines. I left them on because I knew they would be the only way to locate legs evenly on the discs. Here’s an example of the marking I used:

This is the inside of the leg and the bottom of the footrest. I figured that was the best place to mark them in case the pencil was difficult to remove. Doing one stool at a time began with holding the footrest in position then pre-drilling for the #6 x 1 1/2″ screws. After pre-drilling the top disc the same way, one leg was glued and screwed on at a time. 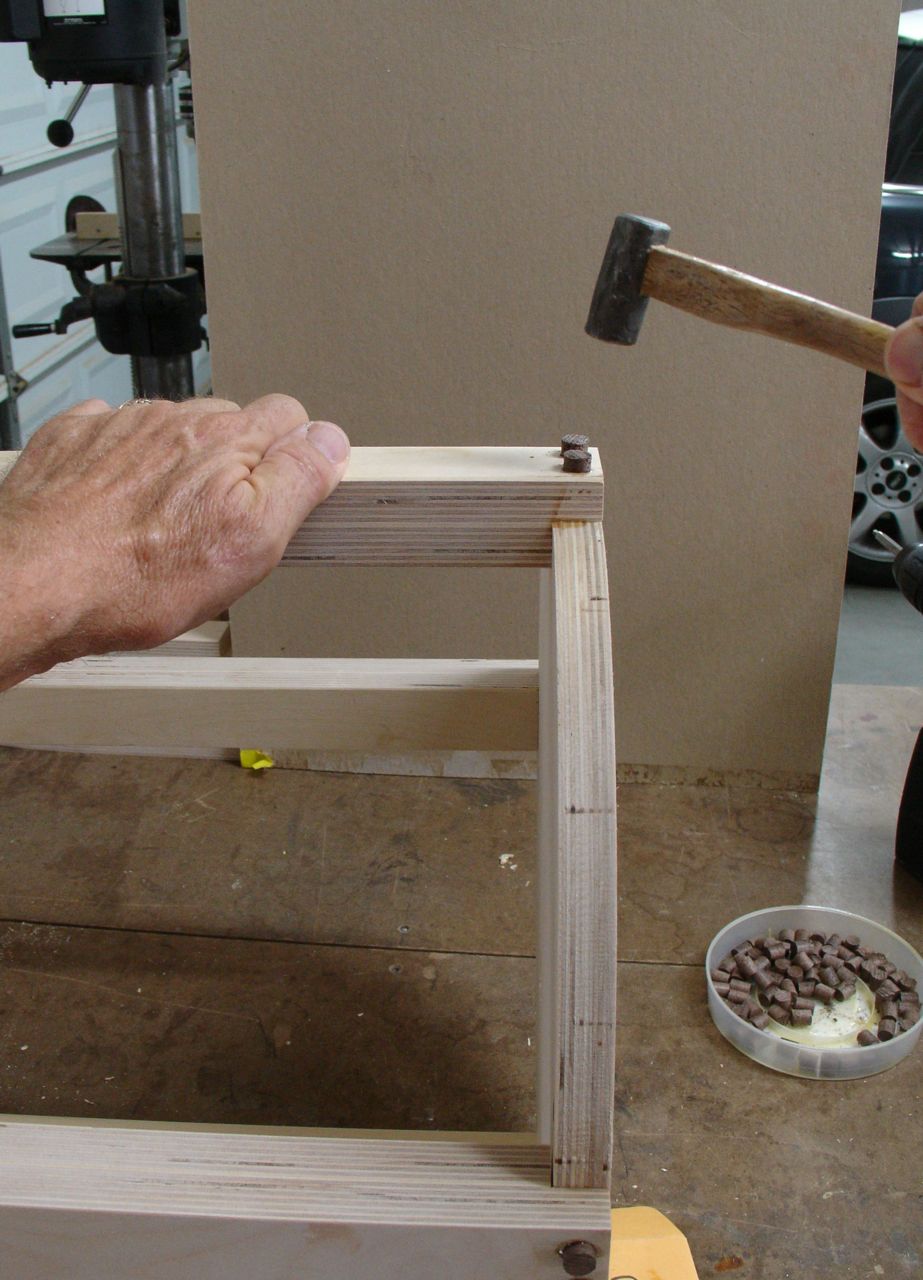
Then, each of the holes were plugged and the process repeated until all four stools were done. Love this little hammer, just the right size for plugging holes.
Attaching the existing, formed Zebrawood seat to the new bases will be done with a lazy susan type bearing. These are 9″ in diameter and rated for 750 pounds! The seat is formed in such a way that the bottom is convex to anatomically conform to your body, that’s why these seats are comfortable. This began by making a base of the Baltic Birch plywood that has an additional 1/4″ x 2″ glued to three sides. Everything is referenced to the center line so a pattern was made that matches the contour of the seat. Although it takes some trial and error to get this pattern to fit, it’ll insure accuracy for all four of the stools. This pattern is temporarily attached to the seat blank with screws for shaping. Not a real exciting process but here’s a gallery of photos explaining it.
-
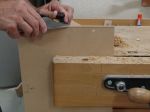
- Using Block Plane to Form Shape
-

- View of MDF Pattern
-

- Brad Point Drill to Accurately Locate Holes
-
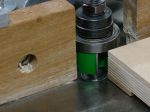
- Shaper With Top Mounted Bearing
Can’t wait until tomorrow to see how my new design will hold up!

John these are turning out to be beautiful! Great job!!
LikeLike