
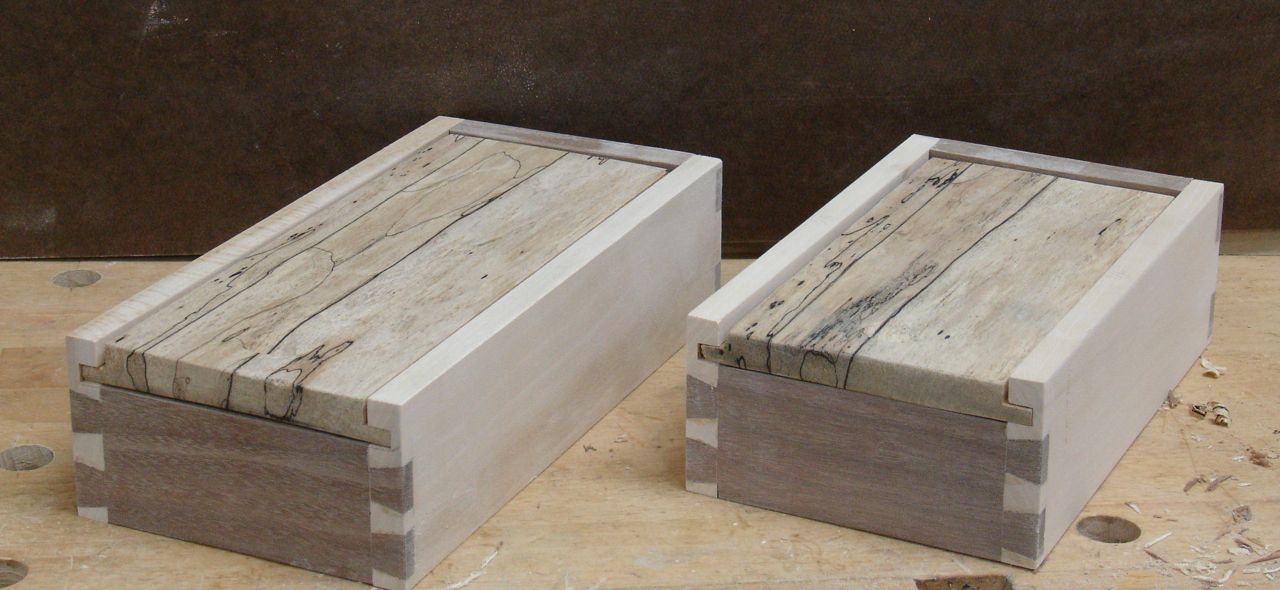
 Work is progressing nicely on the sliding lid, dovetailed boxes using the pieces of Spalted Maple I received as a gift. If you recall my last post I referred to this wood as being “punky” — wonder what that means? I’ve always used that to describe a wood that is soft and spongy feeling but Googling it I also learned that it’s wood that is ideal for starting a fire! Whatever definition you use, it can be a challenge to work with. The only previous experience with it was to make my drafting table and in that instance I had several wide boards to laminate together. You can use Cyanoacrylate glue to solidify the wood fibers. Here’s a LINK that’ll give you information on this glue, commonly referred to as CY.
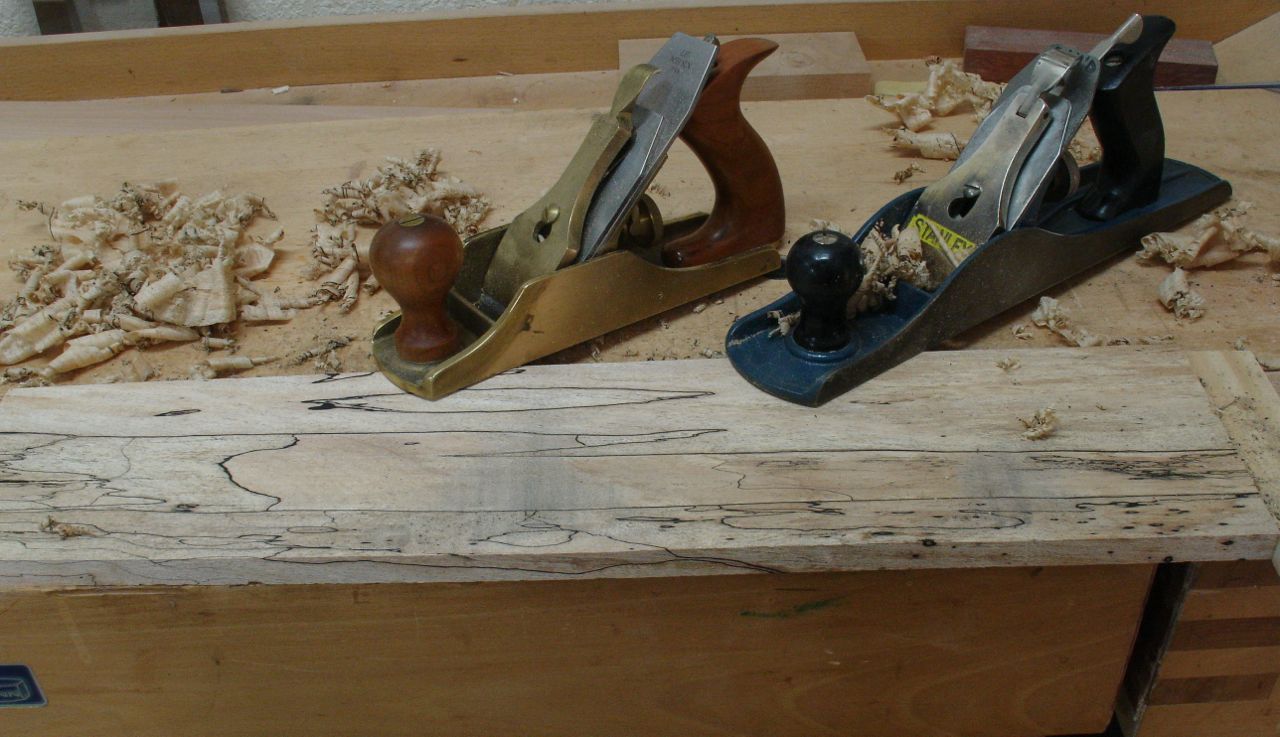 The problem I ran into was when it came time to shape the lids to fit the groove in the sides of the boxes. I mentioned milling the boards to required sizes in my previous post. One thing I discovered is that the fungus will transfer to other areas of the wood when you plane the board. It also seems to be somewhat abrasive so I decided to not use my bronze smoothing plane once I noticed that. Went to my 60’s era Stanley with a cambered blade and it worked just fine, after all; that’s all I had until I could justify the cost of Lie-Nielsens beauty a number of years ago.
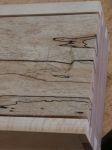
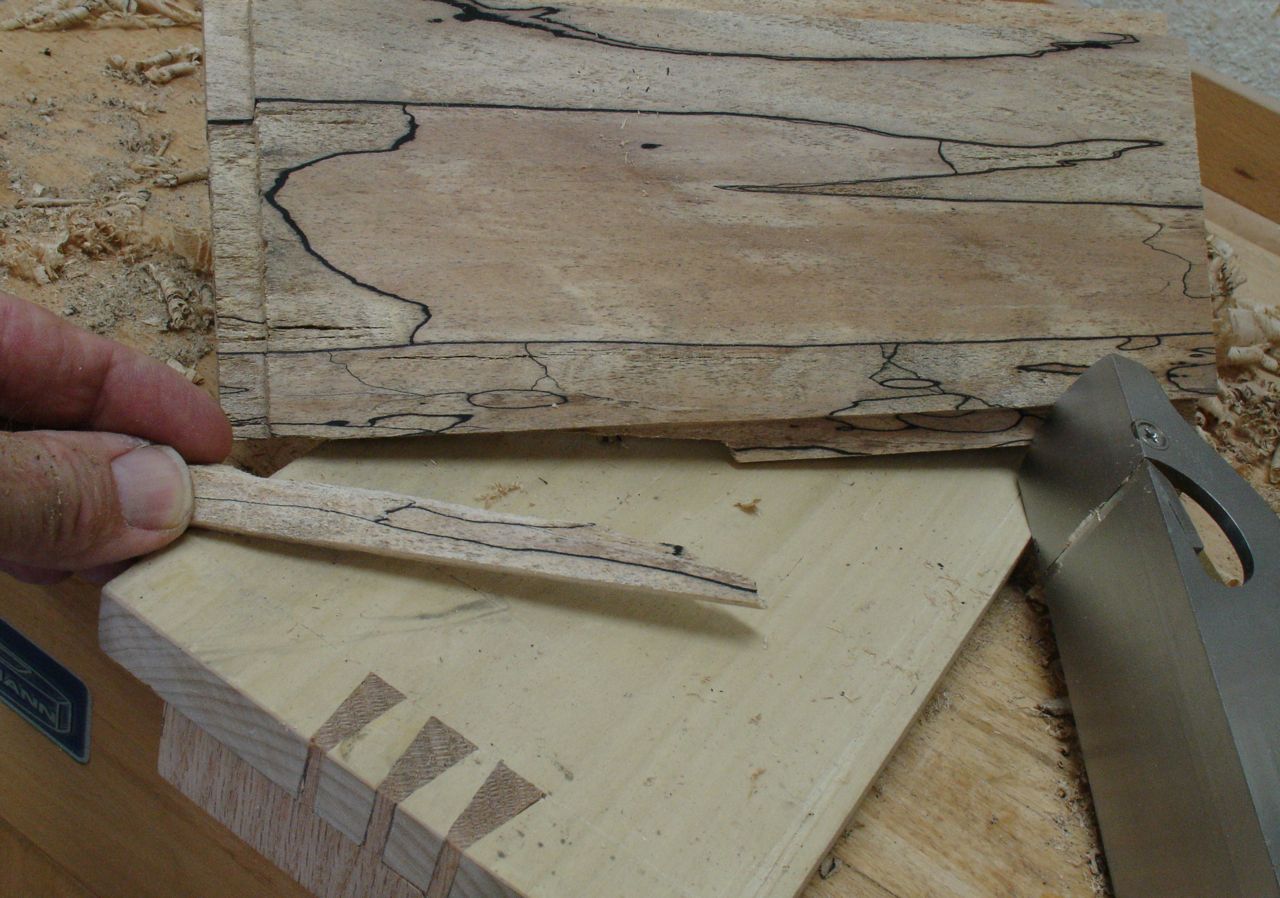 Here’s what happened with the lid, after using a router bit to establish most of it the wood gave way as it was fitted with a rabbet block plane. I wanted to use the plane on the end grain as well but the characteristics of this piece just wouldn’t allow it. Here’s where I learned that sanding this wood can transfer the fungus (black) sanding dust into the surrounding lighter colored wood. The solution was to make another lid and keep the remains of this nice piece for a smaller project somewhere down the line.
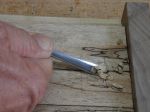
The Cy glue was used to solidify some of the edges and replace small bits that came off as the lid was formed. My next challenge was to design a way to slide the box open. You may have seen a hole drilled completely through but that didn’t appeal to me. Besides the roughness of the edges I was betting that with the characteristics of this board there would probably be a lot of tear out. I’m after subtle so used some of the remnants of the failed lid to experiment with carving a finger depression into the lid. Here’s a photo sequence of how that worked out:
-
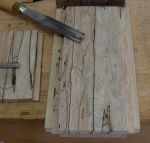
- Began with #5 Gouge to Outline End
-
- Taper Cuts with #7 Fishtail
-
- Repeated Cut Sequence Twice
-
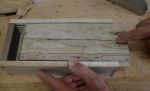
- Finger Fits just Fine!
As I mentioned, sanding the Spalted Maple caused a transfer of the sanding dust. Planing can do the same and an experiment with using a card scraper resulted in the same dilemma! I ended up using a super fine piece of scotch brite abrasive pad (white) which seems to polish the wood. The finish will be a Platinum shellac and the flakes are dissolving in denatured alcohol as I write. I’m confident that after a few coats are applied it will help to solidify the grain structure of the wood and things will be just fine! After that the surface will be sanded with some 400 grit paper, more shellac, and finally rubbed out with wax.
 I’d like to share this picture of the drafting table I made years ago. The side and front panels are Spalted Maple as is the top. When I draft it’s covered with the same material traditionally used on drafting tables. If you’re of the age that remembers those types of things rather than CAD or Sketch Up, that’s a left handed Vemco drafting machine!!
