
 One down and seven corners to go for this first run of these dovetailed, sliding lid boxes. The Lore of the Dovetail is one that has always interested me. Obviously I’m not alone in that since I’ve had numerous students wanting to learn how to cut them and given several classes at Wooditis that feature projects made with dovetails, either through or half blind. Mass production and dovetails usually aren’t used in the same sentence unless a jig, fixture, or CNC is employed. Matter of fact, some of the snobbery or elitist aspect of this joint is that it’s entirely made by hand but …. something I always point out to students it didn’t start out this way. Basically, the mechanics of this joint is what gives it the endearing quality. The original intent wasn’t too be showcased and show off the skill of the maker, rather it’s design gives it strength even if the glue fails. I’m told that Egyptian artifacts have this joint and we know that they’re still intact.
Now, as a custom woodworker the term mass produced isn’t in my vocabulary but being efficient is. Except for a select few, custom work is not about become rich and famous. For most of us it’s the love of the craft and working with our hands that excite us to create. I’m no exception so I decided to see how I could cut these joints efficiently. I touched on it a little in my previous post as I prepared the stock for the next 5 boxes that are the same basic design; a dovetailed box with a sliding lid.
To start I employ the Stanley 140 trick by cutting a rabbet on the tailboards. I’ve written about this technique before which is named after the Stanley 140 rabbet skew plane. Its purpose is to make your lay out easier and give a clean corner inside of your box. It’s referred to by this name since thats the tool used. Here’s a photo essay of how I go about it:
-

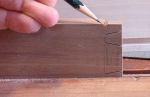
- Start by scribing pinboard thickness
-

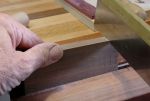
- Set up stop to scribed line. Adjust height and rabbet boards.
-
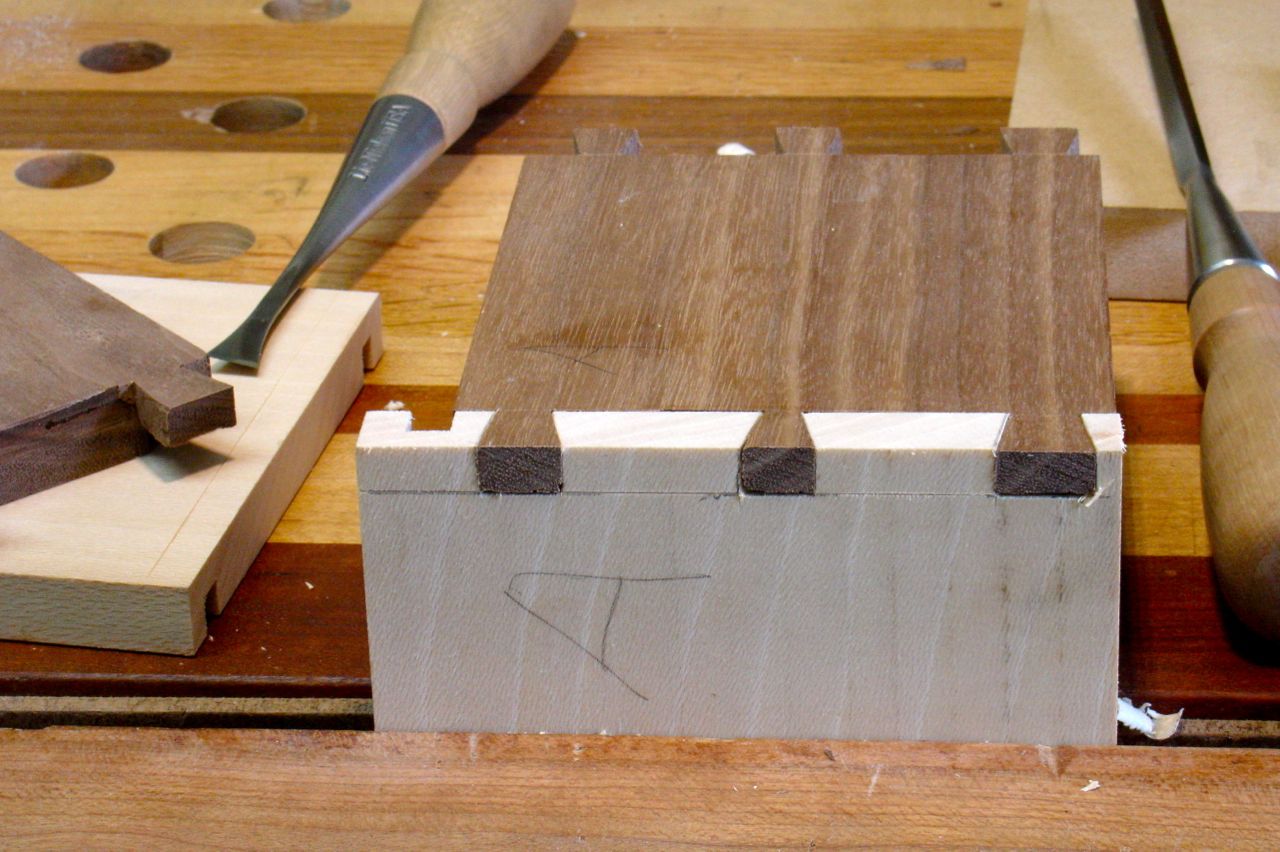
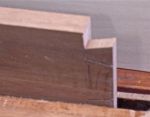
- Resulting corner.
You can see how the rabbeted edge will give a definite break to the inside of the box. To be efficient the rabbeting was done right after the groove was cut for the box lid and bottom. I figured it was quicker to use the 1/4″ set up and make two passes then it would be to change the blade.
Next came the tail lay out. Even though the boxes are slightly different in width and length, their height is the same. I’m using some Walnut and Quarter sawn Sycamore for these boxes. When making drawers I always cut both sides tails at the same time so treated these the same way. The main design here was to have the tail conceal the groove for the bottom panel, that’s what dictates tail placement. Here’s the process for that:
-
- Hard to balance lay out gauge on rabbet.
-
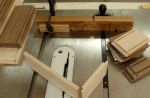
- Cut a strip of wood 1/6 angle that could be placed on rabbet better.
-

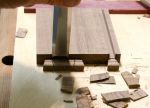
- Both tail boards cut at same time.
I did this to every board before going on to the next step. Although I tend to be a perfectionist I’ve learned that with woodwork it’s a hard goal to attain! Wood has a mind of it’s own and minor problems comes with the territory. However; when you repeat the same process you develop a “muscle memory” and find that each cut or process becomes easier and feels more natural. At least that’s been my experience.
After all of the cuts were made the waste needed to be removed, here’s my process for the cuts on the outer edge of the tails.
-
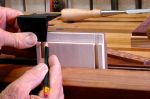
- Begin by chiseling a notch on scribed line.
-
- This provides a flat spot for your crosscut saw.
-
- Resulting cut (out of focus!) but clean.
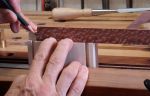
Chiseling the waste between the tails follows the same general procedure. I teach making a V-shaped cut with the chisel initially. The bevel of the chisel tends to push it back behind your scribed line as you cut into the wood. By removing a wedge (first picture) you’ve eliminated that wood that tends to push the chisel backwards. I start this on the outer face and leave material to support the board when it’s flipped over.
-

- Initial wedge of wood chiseled out.
-
- Board is flipped, notice how the “140 trick” helps hold the chisel perpendicular.
So, there you have it! Cutting dovetails is a process that I enjoy doing. I know all of the arguments for employing a Leigh or other brand of jig. When faced with a chest of drawers or utility cabinet I have an ancient Craftsman router and jig and I’ll put out my Baltic Birch drawers in a short amount of time. Luckily, most of my work isn’t based on deadlines and since the focus is the hand crafted quality I put into it this philosophy works for me. That may have to change from time to time but my pleasure comes from spending time at the bench, testing my skills and tools to create hand crafted pieces. Speaking of changing, I just received a request for a series of 10 boxes that will house men’s shaving accessories — if I get that job you can bet the miters will be cut with a carefully set up tablesaw, not a miter box and shooting board!
