
 Happy to say the bed went together as planned and after a good nights rest I can say the project was a success! There’s always a lot of satisfaction for me personally when projects go as planned and the outcome is what I was after. As I’ve mentioned before I don’t like to paint wood but the existing decor of our bedroom had that going on already. Someday I’d like to replace the bedside tables which were purchased many years ago with my own design. I really like it when tables are suspended from the wall with a French cleat. It lightens them and from a practical point of view they’re easy to vacuum under but —- that’s for another time! I do want to build an entertainment unit for our family room based on that. Let’s get into the installation of this bed.
In our house we have a curving staircase which is pretty dramatic but somewhat tricky to bring things up and down on. The two units of the bed are very light but their size makes them a little awkward. The heaviest part are the two plywood pieces that make up the base for the mattress. The older I get and the worse my ultra-marathon knees seem to get, the less I like stairs! Getting all of the pieces up required a number of trips but I had a good sleep on the new bed. Easiest way to share how it all went together is with this montage:
-

- Cleaned out and ready, what a difference in the carpet!
-

- Left & Right units in position
-

- Footboard attached with angle brackets
-

- Cross braces installed and screwed into the inserts
-

- One side of plywood then…….
-

- ….. the other. Front rim piece joins both and screws from underneath
And then, my favorite part of this job — the final test:
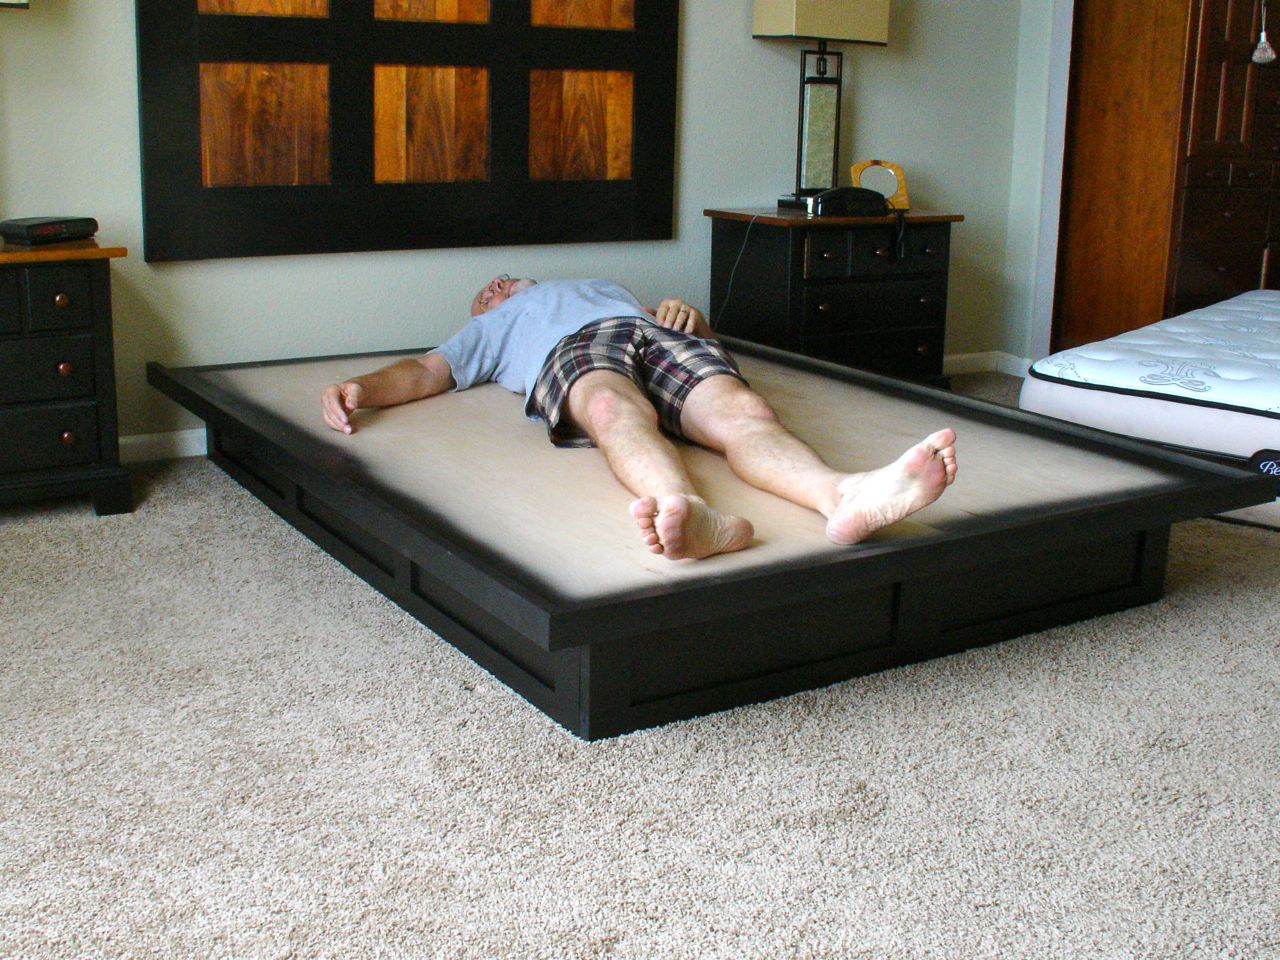
Ahhh, it is Finished !!!

Very nice. I like the modular design that enabled you to get it upstairs. like you I don’t care for a painted finish but it looks great.
LikeLike