
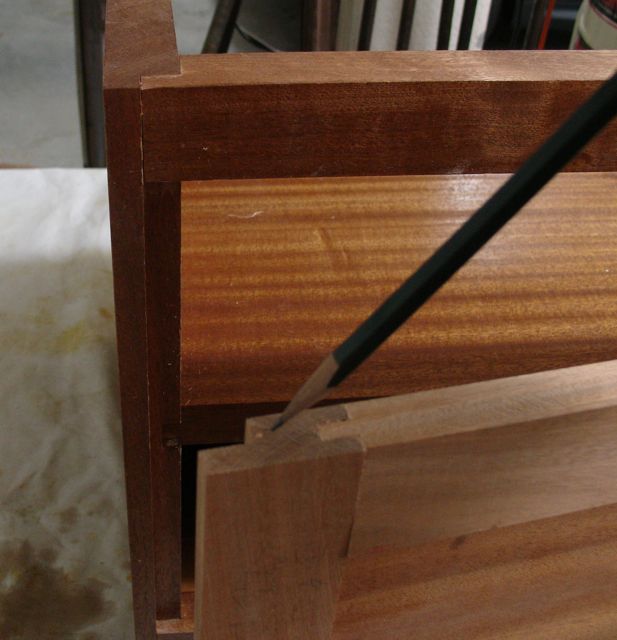
 In my latest post I mentioned how I allowed myself to get side-tracked and began to design a pull for the drawers. I think I needed a artistic break after all of the technical work of the joinery. The pull I made was very functional but as Diane suggested, it was too predictable. Her thought (which I respect) was that this piece needed some type of “wow factor” to set it apart from the crowd. She suggested making pulls that mimic the dovetail joinery of the drawer dividers so that’s what I did.
Facebook is a wonderful tool to use when you’re looking for feedback or suggestions for your work. I posted the picture above and asked for opinions. I’d say that 85% were positive which is good. The negatives I received echoed some of my concerns about the size and practicality of the design. My neighbor Mike, came over to get a first hand look at it and suggested making the pull a little bit thicker so that it’s easier to grip. He specializes in kitchen and bathroom designs and installations so his comment made sense from a practical point of view. That was one of my concerns too so I plan to make a thicker version and form it so that it’s easier to grip. If this were a kitchen or bath cabinet it would make sense to install the drawers with metal slides and easily gripped pulls since the drawers would be used many times a day. For this application I’m doing traditional drawers. Time to put it to rest and get on with building the drawers — does the phrase “putting the cart before the horse” make sense here?
Now that the cabinet was completely assembled it was time to tackle the sliding doors. You may recall that one was made of MDF which functioned as it should. The basic design has a rabbet cut on the bottom that allows the door to set into the groove without making contact with the bottom of the groove. The only place of contact is a narrow section at the top of the groove. The upper rabbet is larger and the front of the door is chamfered so you can install the door from the rear of the cabinet. This set of pictures shows the process but you can get full details from this previous POST.


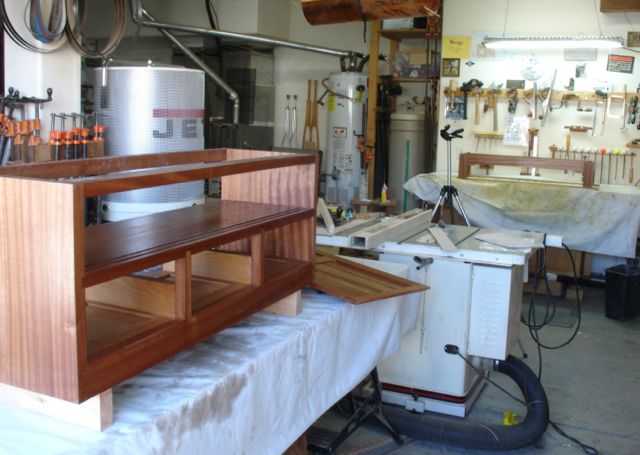
Once the fit and action of these doors was what I wanted 3/4″ finger holes were drilled at the outer edge of each one. In the meantime work has started to finish the base and the cabinet. The finish is platinum blonde shellac which is padded on. After two coats, the surface was lightly sanded with 400 grit paper and another coat padded on. This will probably be the drill for the next week or so — pad on a fresh coat of shellac, allow it to dry, and then cover the project while working on dovetailing the drawers and building those. There will be 5-7 coats of shellac at least and then after curing for a week they will be rubbed out and finished.
Rabbeted back for cabinet
One other part of the cabinet that is now done is a panel and frame section for the back. The frame is tongue and groove, made of Sapele with plywood panels. The panels are 1/4″ Cherry plywood from another project that was backed by either Sapele or ribbon grained Mahogany. Using the back as the show side blends in with the rest of the cabinet. The Cherry side is inside of it and won’t be visible. This will be screwed into rabbets cut on the edge of the cabinet sides.
Finishing Room?
I’m saving the grunt work for last which is planing the top. That promises to be a lot of work! It is 1 1/4″ thick now with a very slight wind to it. At 17″ wide it is too large for my planer (15″) so it will be entirely finished with hand planes beginning with the scrub plane to remove that wind.
