
A feature I like to add to boxes is a dust check. Essential for an unhinged box like this prototype and an added feature on a hinged one. Just as the name implies; a dust check prevents dust from getting into the box! I use the term “dust check” but it’s also referred to as a rabbeted lid. The easiest way to picture it is a like a step that locks the lid and box together. Quite a while ago, Fine Woodworking Magazine had an article on this method which I’ve used on several boxes; let me show you how it’s done.

Dado cut inside box, dust check material in foreground
The process begins before you assemble the box. You’ll need to locate where the two separate and cut a 3/4″ wide dado that is roughly centered on the separation. The depth of this will be determined by the thickness of the material you use for the dust check. I make that first, generally about 1/8″ – 3/16″ thick with a radiused edge.

Cleaning up separation cut
After assembling the box, separate the two pieces. I use my tablesaw cutting completely through on two sides then lowering the blade to leave a thin section of the box intact. That thin section can easily be cut with a utility knife and prevents kickbacks since the cut won’t close up and pinch on the saw blade.
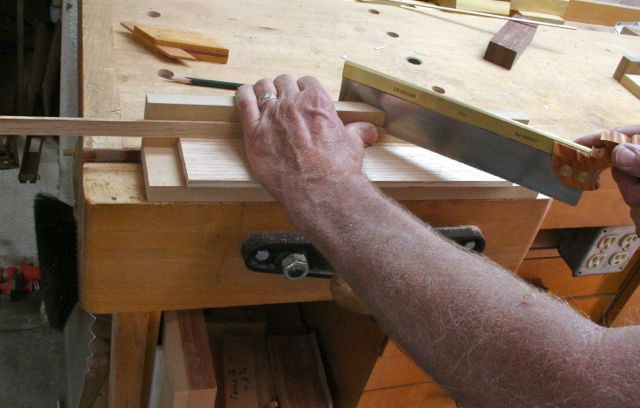
Fitting the dust check
Next up is mitering the dust check and gluing it in place. Remember that the radiused edge goes to the outside of the box.
All that remains is gluing everything into place. Thanks goodness Harbor Freight has these little spring clamps at a good price! Although this goes against my philosophy of buying American made but sometimes the wallet has to win out!


All that remains is to sand, stain, and finish this box. It may take some fine tuning to achieve a good fit but that’s easily attained by sanding the mating surfaces. If you’re familiar with the process involved with rabbeting the box and lid to fit you’ll appreciate this technique. It still requires some planing and careful measurements but the results are worth it.
