
Cloth for Model
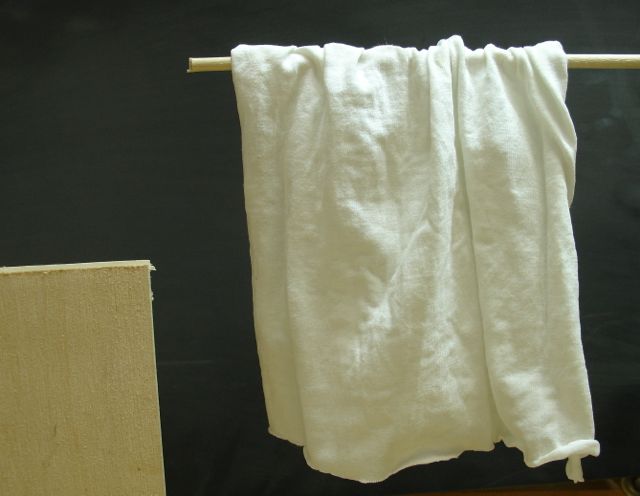
You may recall this picture that I posted a while ago. After the intense furniture work on the media center I felt the need to take my woodworking in another direction for a while. A new woodcarvers club started here in Las Vegas which has re-ignited my spark for carving. I’ve always been intrigued by carvings that resemble cloth or clothing so that’s what I’ve been playing around with. Seemingly mindless and with no definite purpose but a great way to spend time in the shop — at least until the temperature tops 104 degrees! This piece of cloth was the model for the carving and was made by soaking it in a glue/water solution. More on that later but I needed a stand for it so decided to hone my hand tool skills to make it.
Here are a couple of pictures of the completed project. Since the carving is on all sides I wanted to be able to rotate the piece. I’m not sure if the stand is too large and over powers the piece so open for your opinions. The main goal of this little project though was honing my hand tool joinery skills.


I’ve been asked to create a hand tool class for WoodItIs to teach later this summer. Jamie’s focus is more on power tool furniture work and she mentioned that students have asked for skills they can use at their own home without having to purchase a lot of expensive power equipment. She has a fantastic program at her school, after a student completes the basic course they are able to participate in her Open Shop Saturday program. For an hourly fee they not only get her expertise but also are able to use any of the power equipment she has.

Milling Stock
The design of this little stand uses a lapped joint and a bridle joint. To mix it up and challenge myself, the bridle joint at the top is angles about 65 degrees. A couple of quick cuts on a table saw with or without a dado head could have accomplished this in less than an hour but hand tool work is so much more relaxing. The material used is Poplar, ripped to about 3/4″ x 1″ then milled square with hand planes. The first step was laying out and cutting the tongue on the upright piece. I recently ordered this beautiful marking knife from Czeck Edge Tools but was having difficulties getting a crisp line with it. This is the beauty of buying from an independent tool maker — I emailed him with my problem and he responded within a day and suggested lowering the knife angle which worked well for me. The craftsmanship and materials used in this knife are excellent and it does allow me to scribe the longer dovetails I like to use.


Once that line was established it was time to cut the piece to size:


The tongue was then squared up with a rabbet block plane, even the shoulders can be squared this way. A medium sized, Lie-Nielsen shoulder plane is on my wish list but the funds aren’t! Now it’s on to the other side of the joint. Having never cut one of these at an angle before I wasn’t 100% sure of how to go about it. After cutting on the waste side of my lay out lines the shoulder line was chiseled in at the approximate angle. A line was drawn on the face to help me achieve that. The remaining material was removed similar to taking the waste out between dovetails.


Now that the bridle joint is complete the upright was attached to a base piece with mortise and tenon. I left it long not knowing how long it would need to be to support the carving. A lap joint is used to join the cross piece to the base.


Just a couple of notes on that process. Before cutting the scribed lines a shallow V was made with a chisel. This creates an easier starting place for the saw. Once both sides are sawn you would chisel out the sides at an angle creating kind of a hill in the center of the area you’re removing. It’s a process of cutting the sloped sides, flattening out the middle, and repeating until you get close to your bottom line. A small router plane is ideal for flattening out this cut but not everyone has one of those. A technique is to clamp a scrap piece of material right at the scribe line which is used to guide the chisel as you carefully pare the bottom flat.
Like I said earlier, this entire stand could have been produced in an hour or so using power tools but using hand tools is so much more relaxing. My philosophy has always been to utilize power as the apprentice for the grunt work. It’s very rewarding to have a properly set up and sharpened tool gently bringing your materials to shape and size. If the class at WoodItIs gets the required enrollment I’m looking forward to sharing that with the students.

Pingback: Tapping into my Artistic Side | Woodworks by John