
Some of you that are following the construction of the drawers have left me comments and likes which I really appreciate. Not having made a unit with this many drawers in quite some time makes me cautious so I enjoy sharing this process with you. Nine drawers of four different sizes is keeping me on my toes and it’s helpful putting my thoughts down on paper. Earlier I mentioned that I would use a sliding dovetail for the back piece on the drawers. The assembly worked well on the smallest drawers that go into the dog house but I had some concerns about the larger ones. I noticed that cutting the pin board (male ends on back pieces) that there was some inconsistencies due to some minor cupping. Lesson learned, minor cupping equals a major problem! I decided to take the piece used to set up the dovetail bit in the router table and use it as a guide to make sure things fit all the way.
Well, good idea in theory but I found out the hard way that it wasn’t quite good enough! Let’s just say that one drawer now has a two piece back and leave it at that! Although things went together well for the first couple of inches it soon became apparent that no amount of pounding with the dead blow mallet or using a clamp was going to get the drawer back all the way in position. To make a long story short, the solution was to let it dry then cut off the part that didn’t fit off carefully on the tablesaw. Next that surface was planed smooth and flush with the drawer sides. The part cut off had some trimming done to the dovetails so that I could insert it from the bottom and re-attach. I was able to bring the two pieces together and edge glue so that it’s barely noticeable. Whew, not wanting to do that again I came up with a solution: taper the sliding dovetails — something I probably should have done in the first place!
You know I consider myself a hybrid woodworker so I just may have come up with a hybrid version of a tapered, sliding dovetail. Tapering can be done on either the socket or the pin board, I chose to use the pin board technique since the inconsistencies were apparent on them. Here’s how I went about it:


The glue used is Old Brown Glue which I talk about all the time, long open time, and easy clean-up. For this application the most important feature of liquid hide glue is that it does not swell the wood fibers like PVA glues do. If you’ve ever struggled to clamp up dovetails or finger joints with PVA glue you’ll appreciate that property for sure.
To aid the clamping I always make customized cauls to put pressure on the tails and fully seat them into their corresponding socket. I’ve read and tried using soft pine scraps that will give way (usually) to the harder pins when clamped but honestly; I don’t have many pine scraps laying around so resort to the MDF method. This begins by laying out the tail locations on a piece of scrap MDF. I’ll usually cut this area out with a series of passes on the table saw but still had a 5/8 bit in the router table from the previous drawer work so used that. Anything to remove about an eighth of an inch or so. After that, packaging tape keeps the glue from sticking.


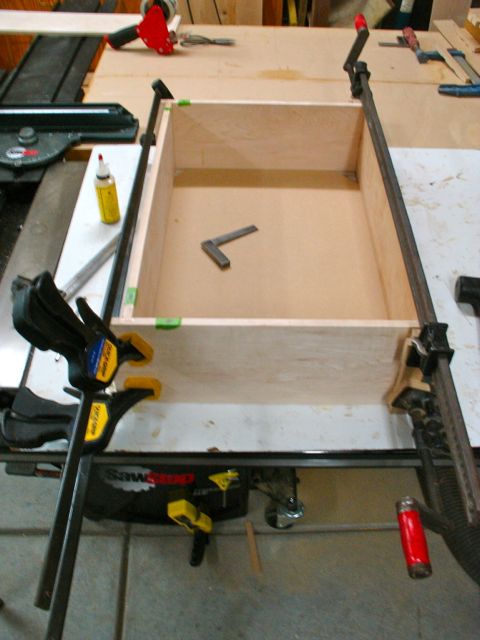
One of Nine
As of now, 7 of the 9 drawers have been assembled. Work has proceeded on those pieces of Alder that will be used for the drawer bottoms. Hardware has been ordered; hinges from Horton and knobs from Lee Valley. The to do list is getting shorter! Door still needs to be built, shelves need to be glued up, drawers need to be fine tuned to achieve a uniform revel all around and then, top and moldings need to be formed, and of course comes finishing. It’ll be done soon and then Diane says I’ll need to buy a new wardrobe to put into all of the new storage space we’ll have!
