
A recent remodeling job we did here left me with a few pieces of genuine, white-washed, Kentucky horse ranch fence boards! There’s a lumber recycler here in Phoenix, Porter Barn Wood that has an amazing collection of reclaimed wood that is so popular now. For our remodeling project an odd door leading from the dining room to the bathroom was closed off and the resulting alcove in the bathroom was clad with these original fence boards. Also bought some full, 1″ thick pieces to make the mirror frame. After adding the two shelves (painted pine) the job was complete.
-
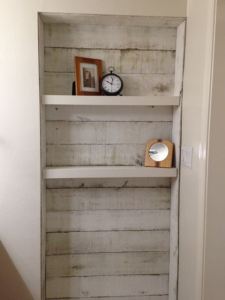
- Bathroom Alcove
-
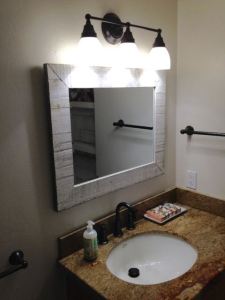
- Fence Board Mirror
What Porter does is resaw the fence into uniform 3/8″ thick boards, however; resawing sometimes goes off so the resulting boards are put into a random pack and sold cheaply — that’s what is in the alcove. The random thicknesses create some interesting textures. In any case, at the end of the job there were quite a few pieces left over. Many of them had green mold on them which we didn’t use so those were left on the curb, advertised in our neighborhood on-line bulletin board and gone within the hour! There were a few interesting short pieces left and I’m always looking for any excuse to work with hand tools so here’s how they were re-purposed:


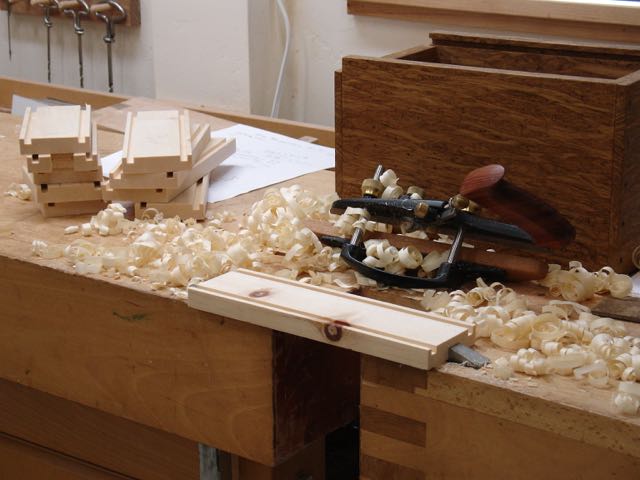
Veritas Small Plow Plane
The pine was Home Depots finest so once I figured out what size boxes I could get they were cut to size. Next up was using the small plough plane to cut the grooves for the bottom and top. Decided against trying to do these stopped and made filler blocks instead; after all this is a rustic pencil box!
The box was divided into thirds to determine the finger sizes. Using a dovetail saw was the first step, then time to remove the waste with chisels. This gave me the opportunity to experiment a little. Whether it’s a dovetail or a finger-joint my method is to remove a small notch first to clear a space for the chisel and prevent it from moving back beyond the shoulder line. Once that’s complete the remaining waste can usually be taken out but I’ve never been satisfied with how rough the results usually are. So, here’s a photo montage of what I did this time around. I start on the show face, remove that notch, then continued to work my way about halfway through the board. I’ve shaded the portion that was left. Before flipping the board over the shoulder line was chiseled.


Even though the shoulder is usually undercut, I never liked that void that is pointed out in the final picture. By taking thin slivers out once the board is flipped that was eliminated. When I teach dovetails it seems everybody is in a rush and tries to take out huge pieces at a time — no need for that. If you want to rush grab a router and a jig!
Final work on the box was pretty straight forward. Since the leftover fence boards were uneven, the only surface they could be referenced to was the back, resawn one. That was guided against the rip fence and the final fit achieved with a rabbet block plane. The finish is amber shellac and wax. One of the boxes will be taken to the Mesa Arts Center store and the other is listed on Etsy.
