
As any home owner knows, there’s always an improvement or remodel that can be done to enhance your home and customize it to your sense of style. That was the case with our home here in Phoenix. Diane has such a great eye for design, between us our home has become our sanctuary, great place to live and work. Anyway, let’s get into this project with a before and after:

Original Mantle
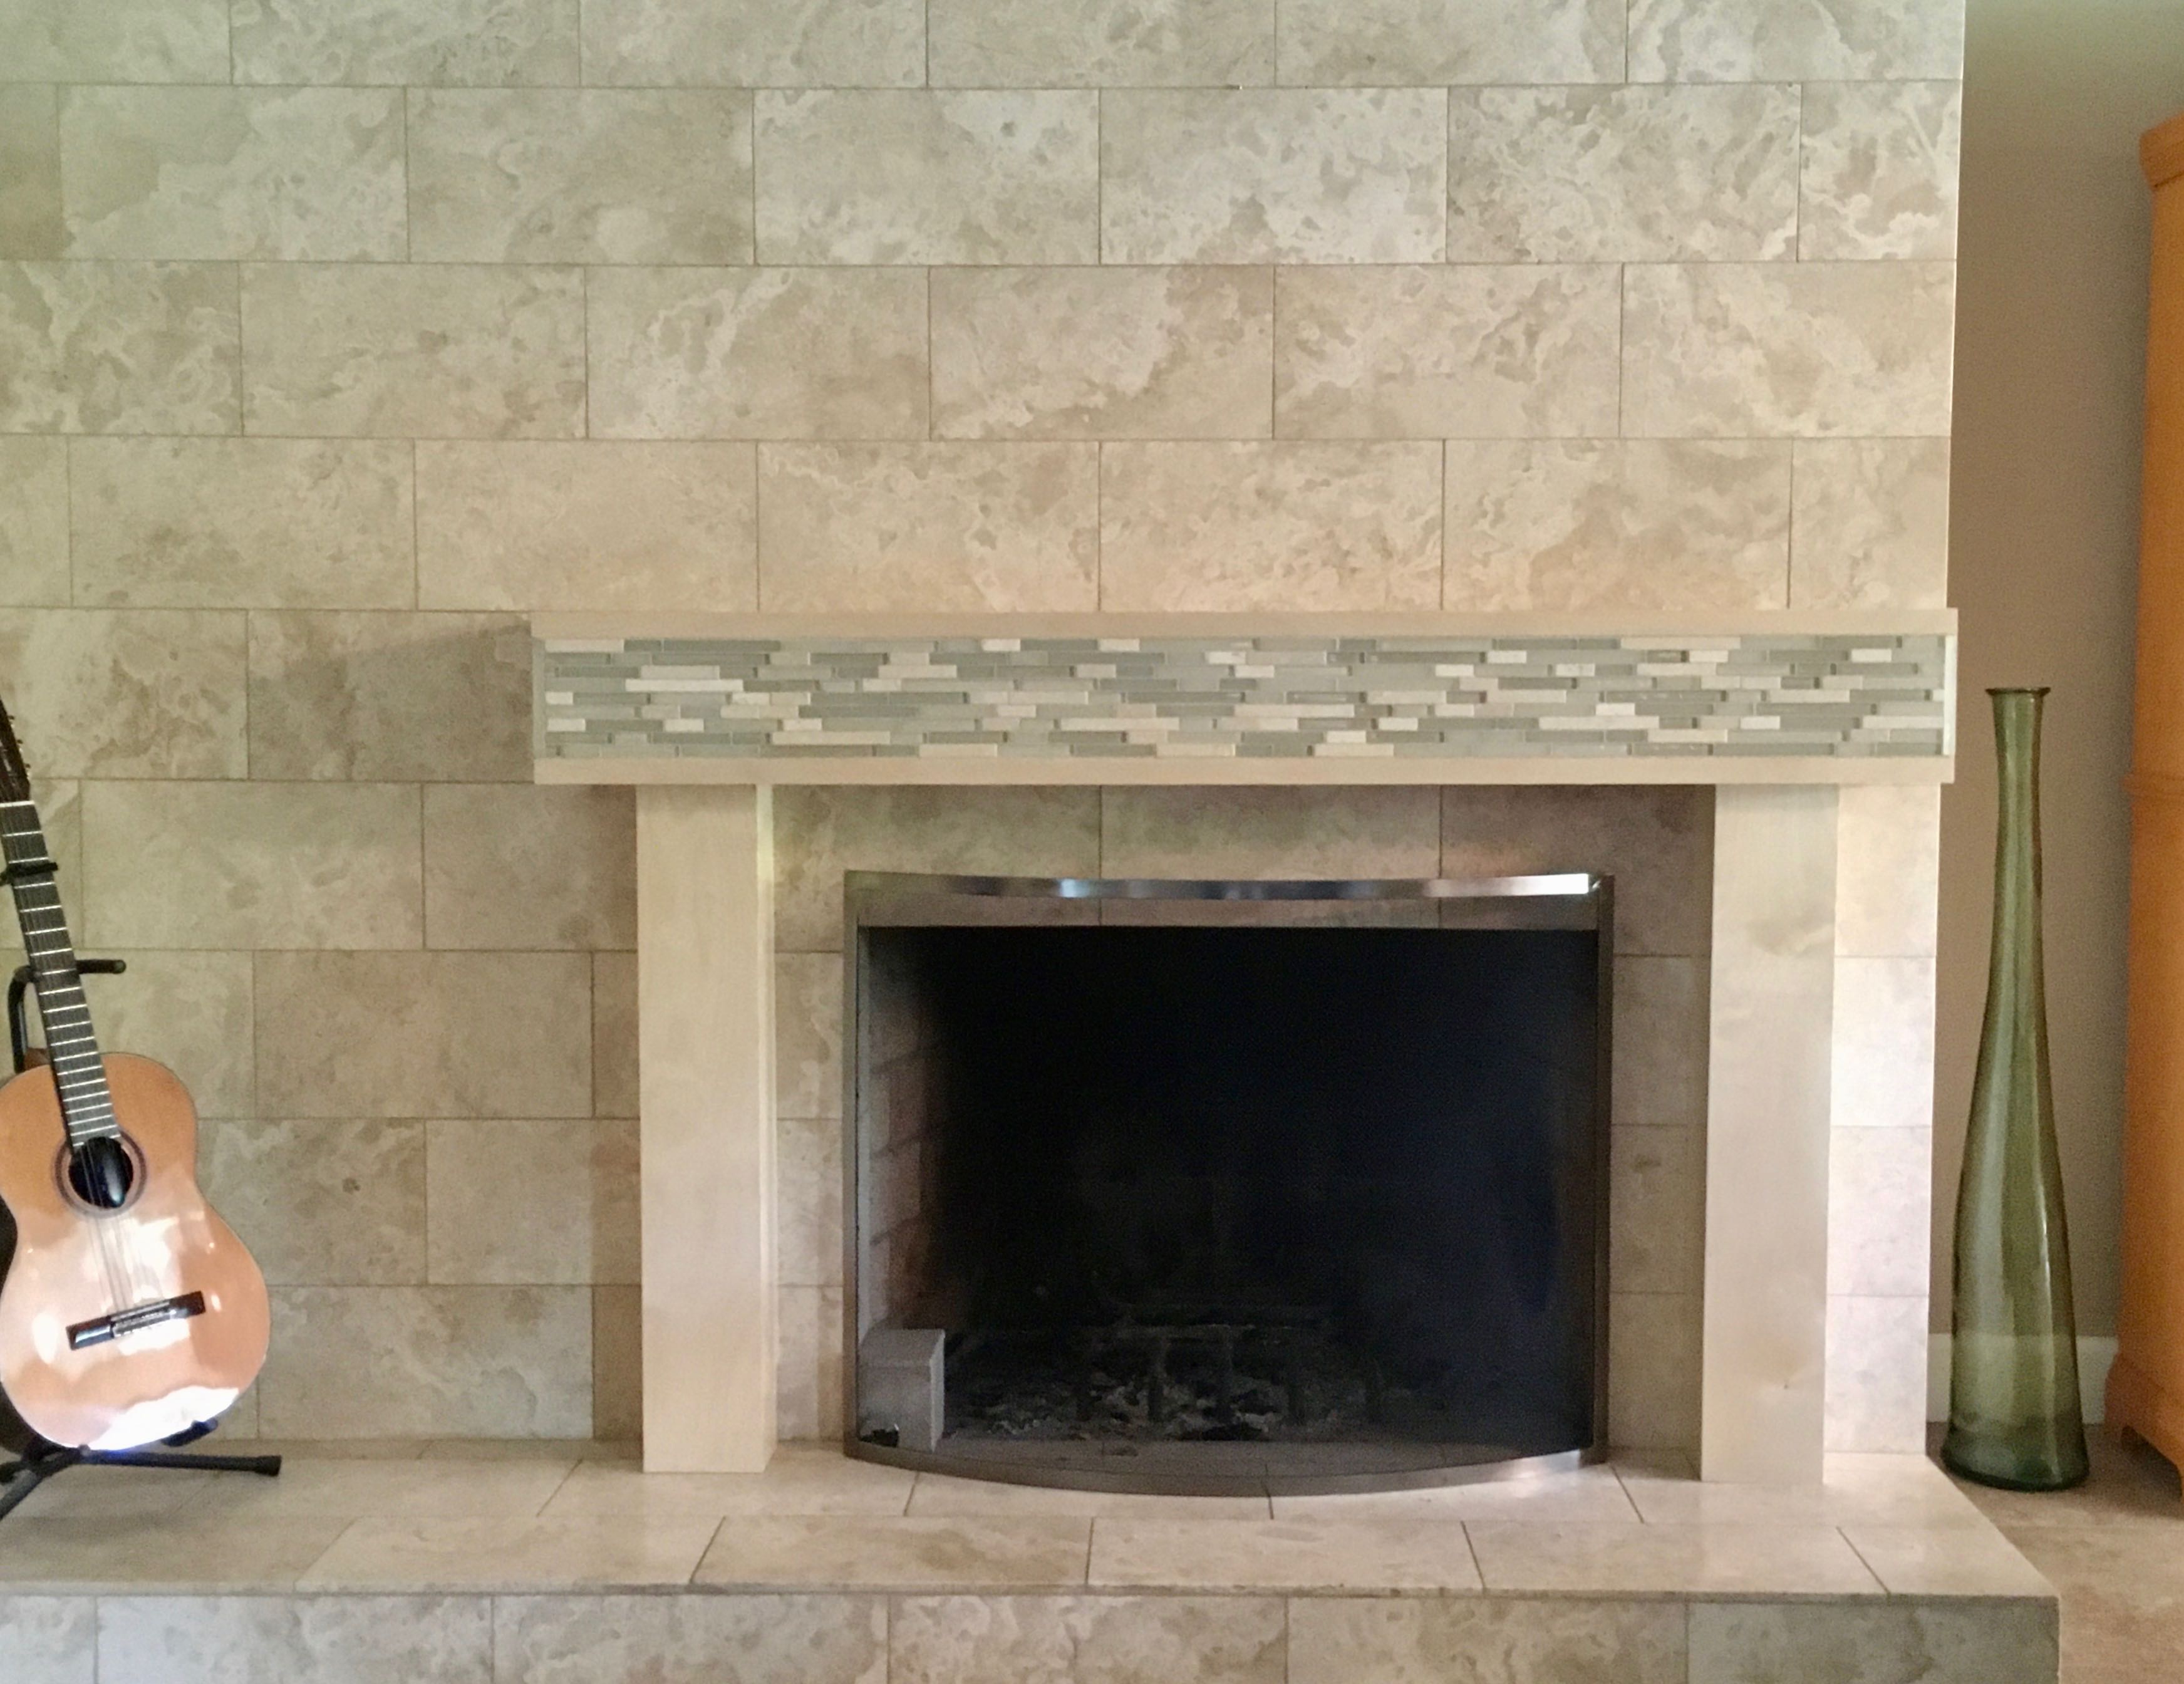
New Mantle
Quite a change eh? The original mantle appears to have been made with some left over sections of the ceiling beams and really seemed puny — like Diane said the mantle needs to be a focal point of the room, needs importance and IMHO we’ve achieved that!
The material used is 3/4″, clear coat Baltic Birch plywood from Peterman Lumber here in Phoenix. This was chosen because of the stability and appearance but primarily because it’s pre-finished and is extremely durable. I’ve used it for artists furniture and shop table and nothing sticks to it. The joinery is all spline mitered and assembled with packing tape. The corners are very sharp and a burnisher (for a cabinet scraper) was used to blunt that sharpness. Here’s a pictorial tutorial for you, contact me if you want to tackle something like this and have questions. The mantle is approximately 9 1/2″ wide by 8 1/2″ thick and 6′ long. The legs are 5 1/2″ square and the construction of it all is essentially how you’d make a box beam.
Work started by removing what I’ll call the “horns” of the original mantle, this needed to be done so that the new mantle would fit. Used a bow saw and chisel to avoid any damage to the tile.


Next step was cutting and mitering the edges of the Birch plywood. 1/8″ masonite is used for the splines. The ends will have a cap inserted into a rabbet, this was tricky; 6′ is a long piece to support on the sliding table! The goal was to leave about an 1/8″ to insert the cap into. Clamped a hold down on rip fence and the rabbet was cut in two passes.


Assembly was next and done in two steps. Important thing with a spline miter is to not have too much glue which can keep the spline from seating fully. Great thing about this clear coat — dried glue just pops right off!


The end caps were fitted and taped in place, a bit out of square on one side but scribed and block planed to fit.


A challenge was to create the area for the mosaic tiles. This is a large and heavy piece! After waxing the saw table and rip fence more packing tape was applied to the front and sides to protect the mantle and hopefully make controlling it easier. The ends were taped in place for the first passes then removed and finished after. The process was to make one pass then flip the piece around to cut the other side. The fence and feather board were readjusted for each pass until the entire space was removed.


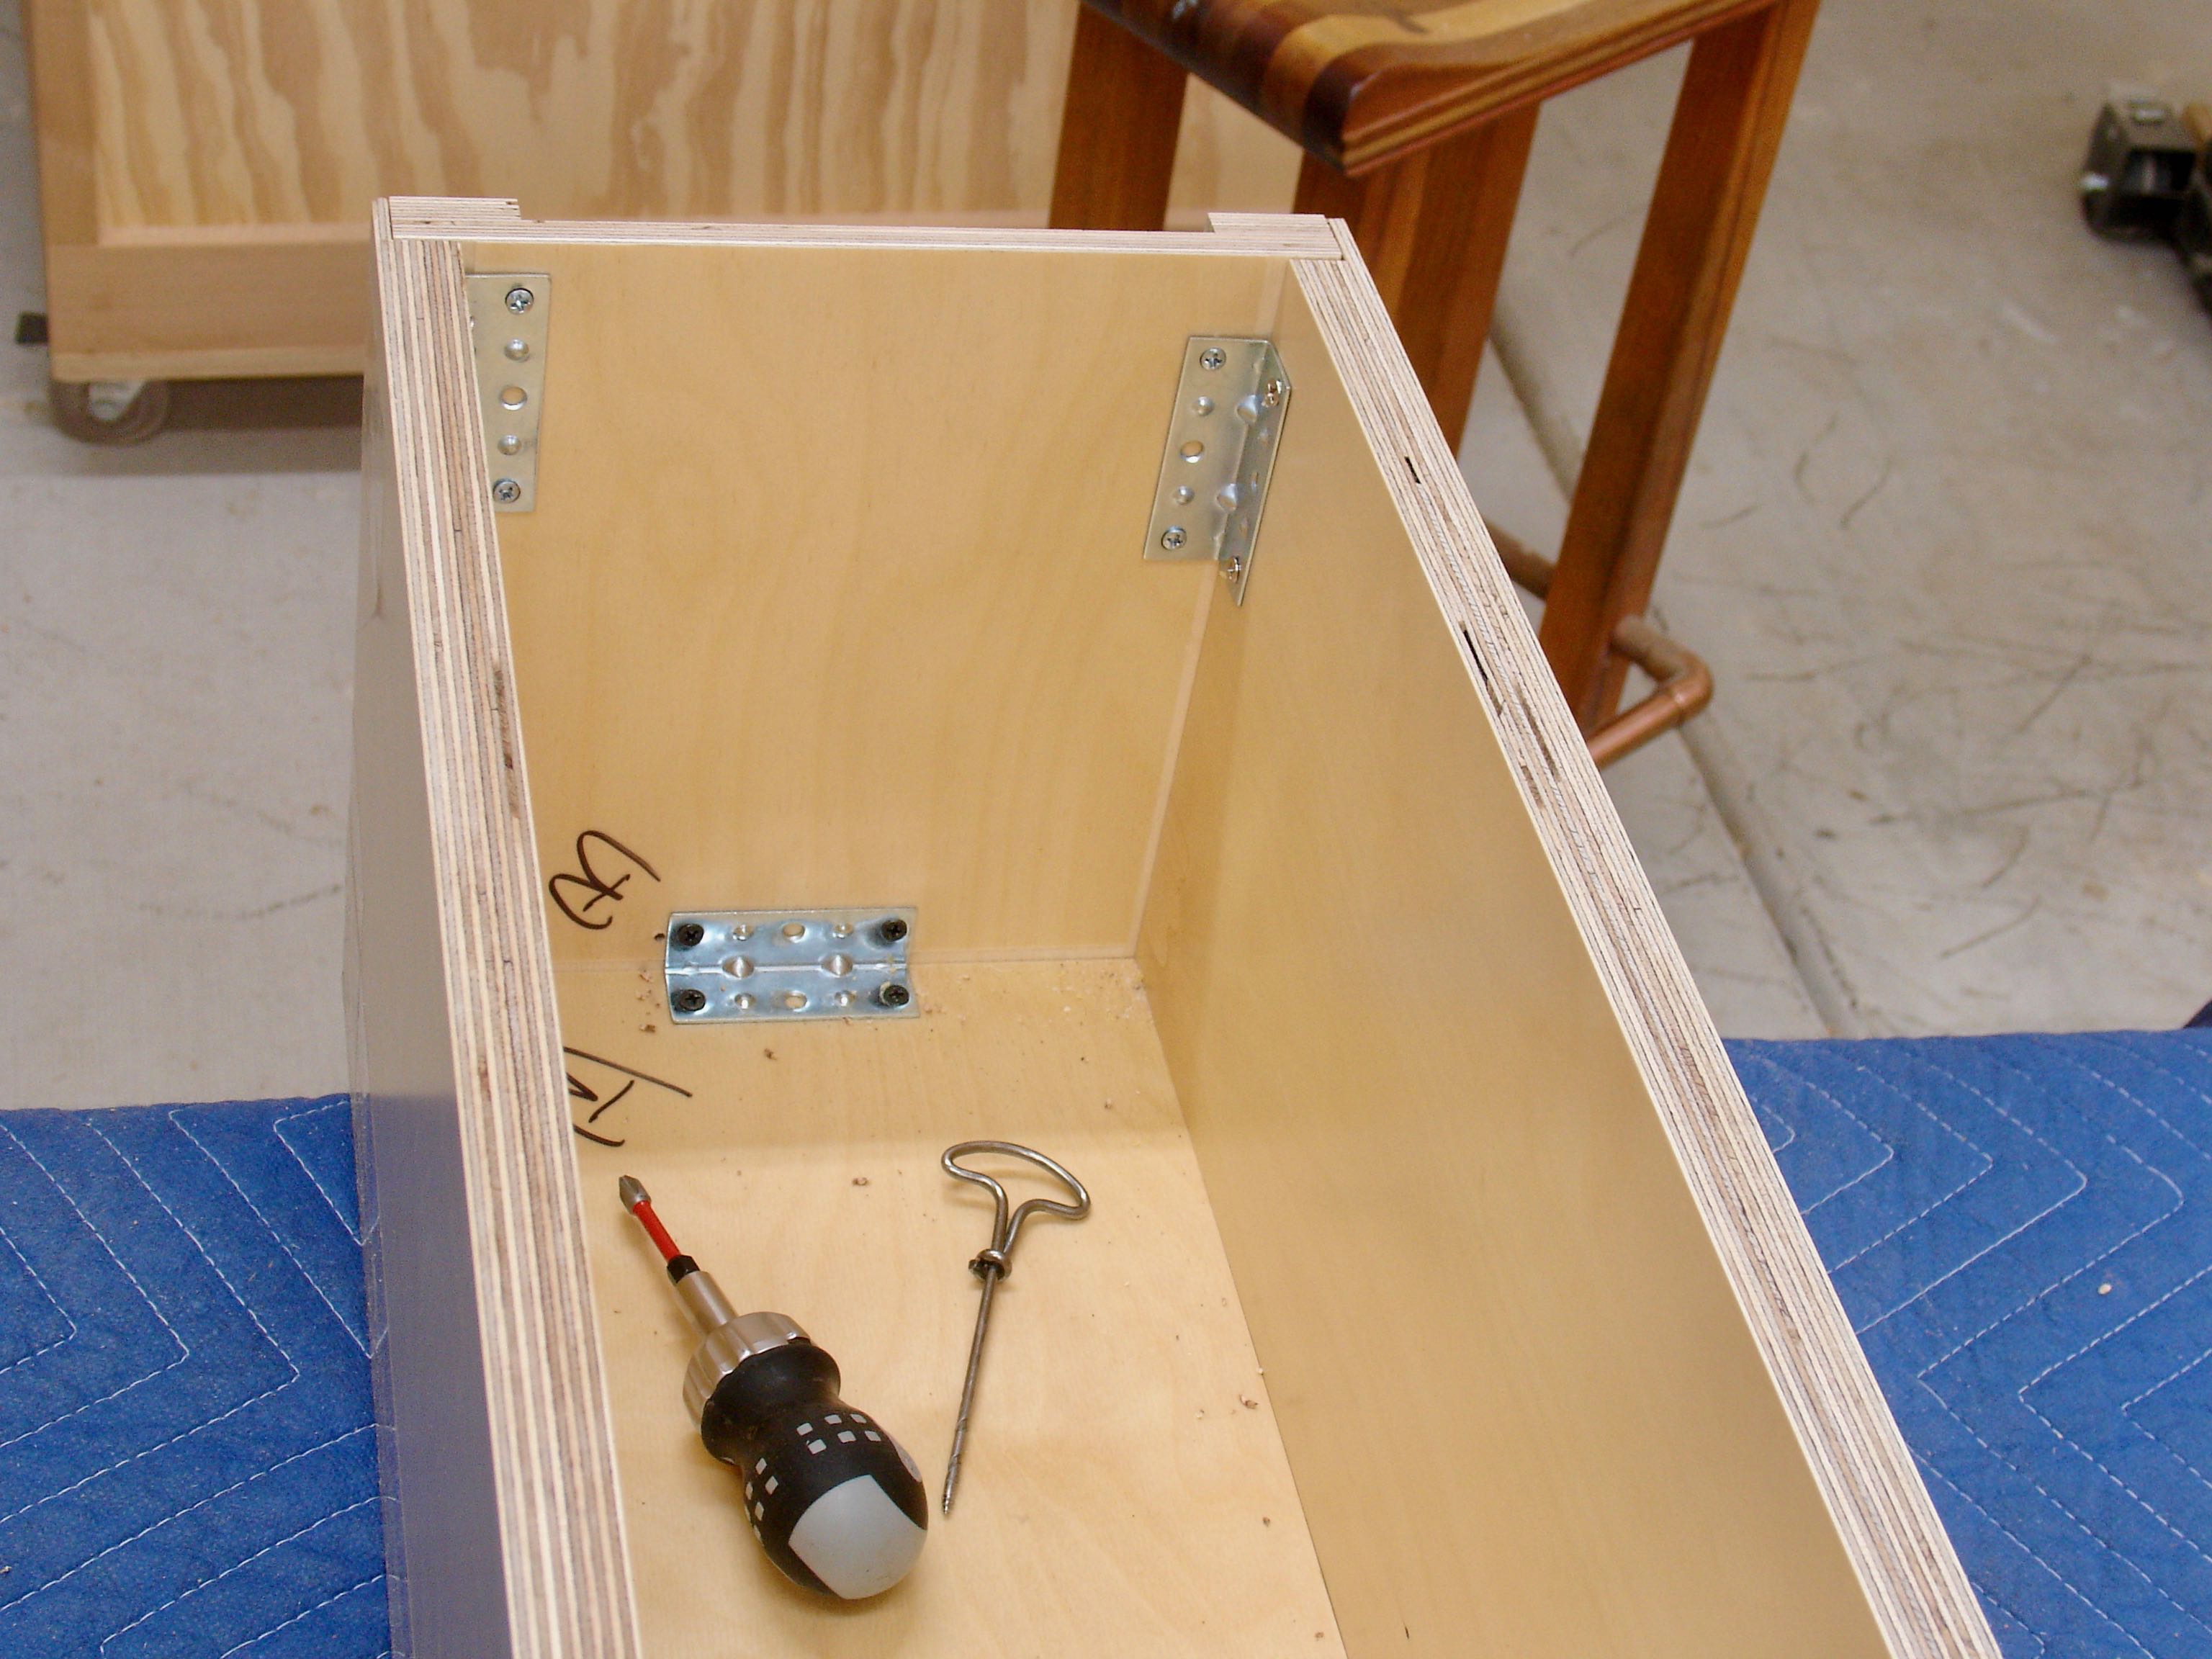
Tight space to work, but gimlet and stubby screwdriver made it possible
Lastly, the end pieces were installed with glue and brackets from the inside. As far as installation work went the mantle piece was set in place on the existing mantle and marked to notch out for the legs. Next up was tile installation. We used 12″ square mosaic tile cut in half, the ends were tricky but it turned out that one of the sections was 6″ long and was perfect for caping off the ends of the front.


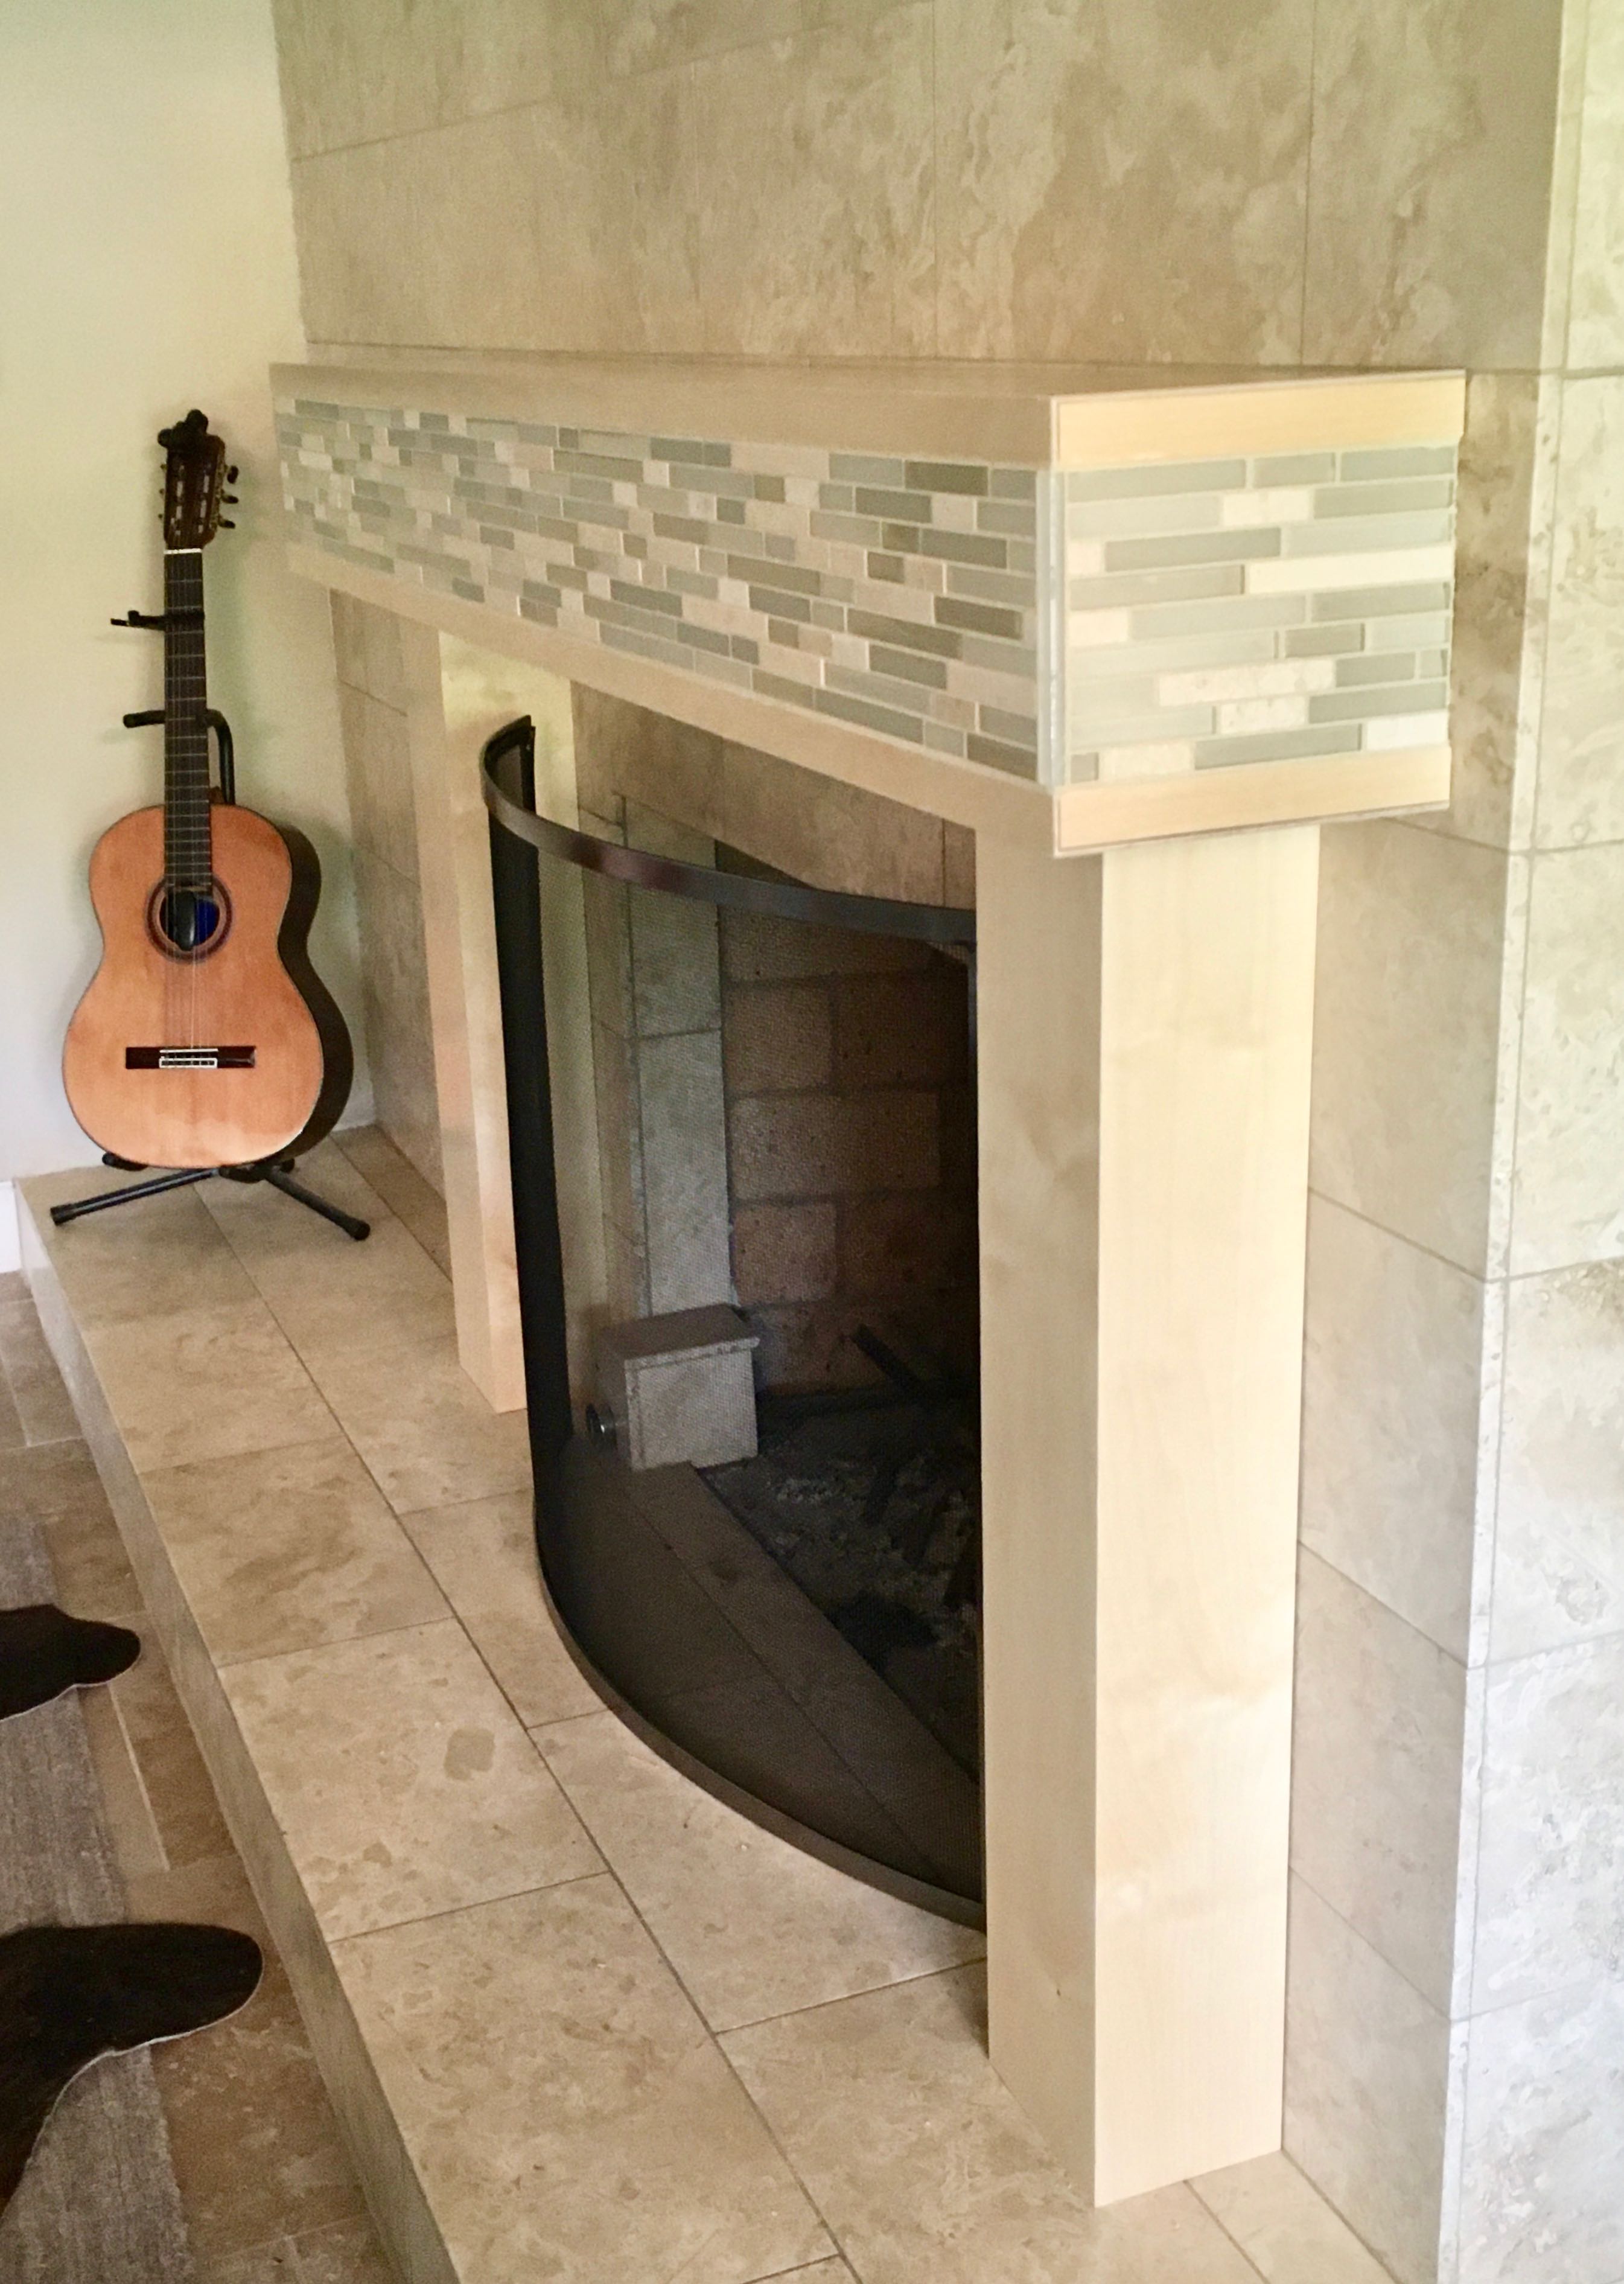
New Fireplace Screen
Once installed, it was obvious that the fireplace screen we had was no longer a good match. Diane found this sleek, much more contemporary screen which seems to add that finishing touch — agree?

You really worked hard on this one John, and it was so worth it!
LikeLiked by 2 people