
I don’t recall the first time I ever saw the carved design known as a Guilloche but it sparked an interest in me; just another challenge to attempt to conquer! A recent painting that Diane has been working on had a circular design element in the background and as I watched it develop on her easel the idea of creating a frame utilizing the Guilloche technique started to hatch in my head!
If you read the Wikipedia link you no doubt noticed the adjective; precise design. The painting is a 24″ square, oil on panel so that means the frame sides will be about 29″ long so that’s a lot of carving to maintain precisely! After doing research on the web and books I own learned there are several ways to go about it, basically you can use carving gouges of a specific size or else free hand with v-tools. Having never done either it was time to experiment. The first step though was to create the molding.
Creating the Molding
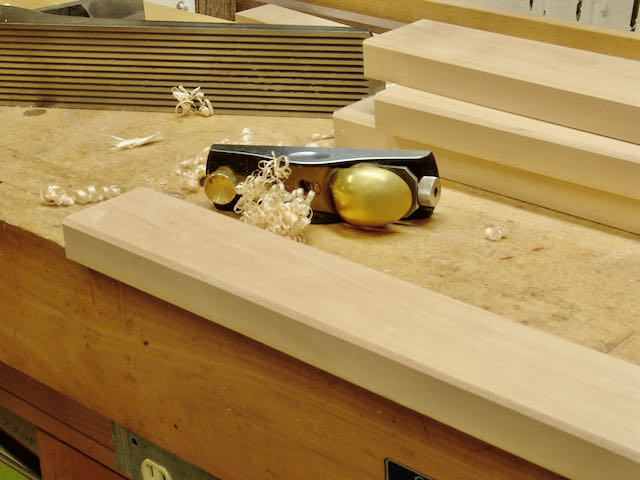
The painting is more of a contemporary style so the carve and profile should lean towards flat rather than having lots of flourishes and motion. After experimenting by drawing out the guilloche I decided the carved area needed to be about 2″ wide plus the flat areas. Looking through what I had in 1 1/8″ Basswood I had a 9″+ wide piece that would yield 3″ wide pieces economically. I’m often asked: “How long does it take you to make a frame?” Since I usually lose track of time I decided to keep track of it. To plane, form, miter, and glue this frame up it took about 1.5 hours of actual work time. The process begins with hand planing a good edge then ripping the pieces to width. I always hand plane the face of the board to remove marks left by the planer with a bronze, No.4 smooth plane.
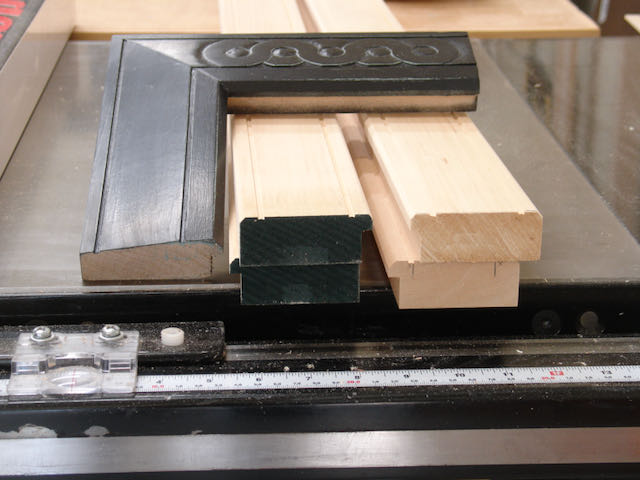
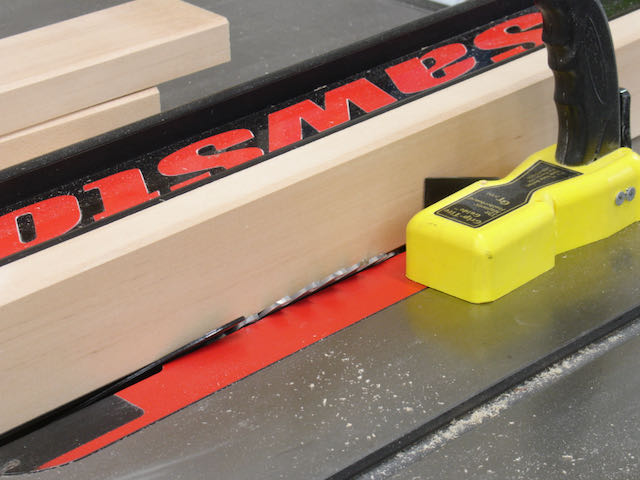
These pictures show the progression, once the pieces were sized the edges were given a 45° chamfer with the table saw then saw marks were removed with a block plane. Not shown are the two shallow grooves which establish the boundaries for the Guilloche and cutting of the rabbet.
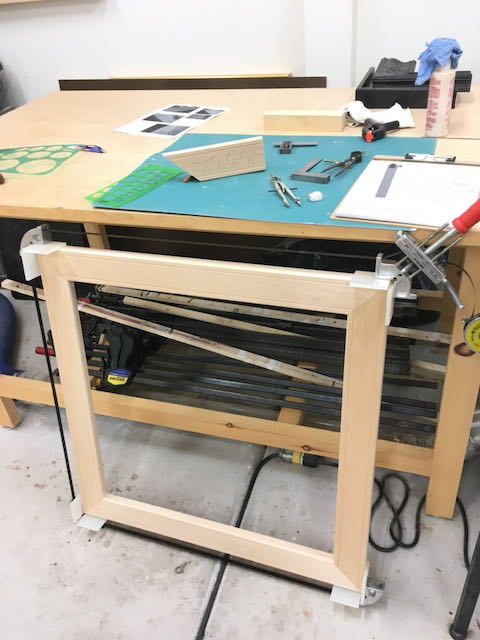

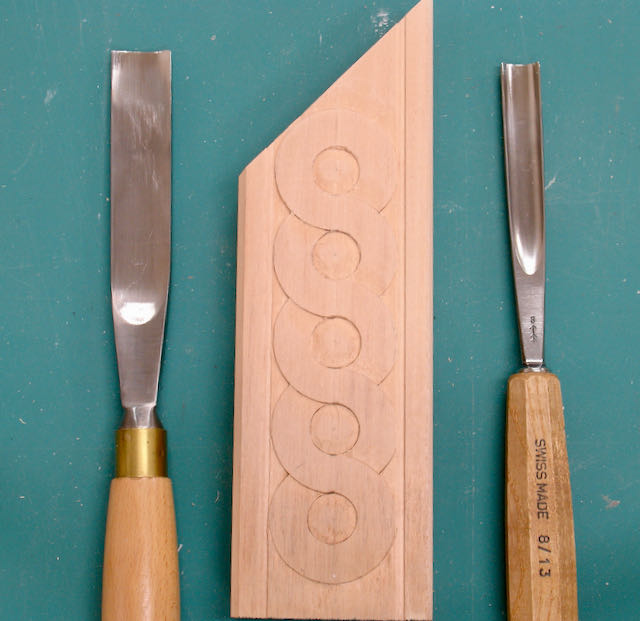
Here you see the assembled frame and the beginnings of the process on finalizing the design. The size of the middle circular element is determined by the size of the gouge. I used a #8/13, it’s used to make that approximate 11/16″ circle. Next is using a compass to draw the larger circle around it. This goes from the center to the outer boundary. The center picture shows those outer bands cut with a small V-tool (12L/3). Very difficult to make consistent arcs with this one. The picture on the right shows those outer circles cut with a #5/23 gouge and you’ll probably notice they have more precision. The center part is removed and the outer bands are modelled to achieve that overlapping, interlocked design — wish me luck!
The sample pieces are about 7″ long, I’m tentatively planning on centering a section on each leg of the frame that will be a length of 16″-18″. In the next blog I’ll attempt to illustrate the layout and cutting process. By the way, I mentioned that I’m going to keep track of the amount of time it takes to make this frame but it will only be actual work time, not the countless hours spent on research and experimentation!

That is going to be a beautiful frame. I’ve never seen one like it. Nice!
LikeLike
Pingback: LayOut and Carving the Guilloche Design | Woodworks by John