

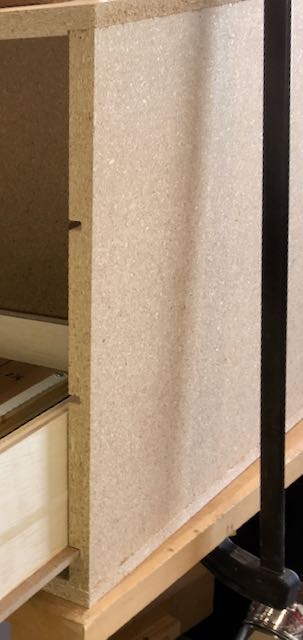
Granted, this isn’t the greatest of pictures but allow me to explain. While setting up my new shop space I realized I needed drawers so decided to make these. It’s a method I’ve used for a long time but many who have visited my shop have never seen it so I thought it’s time to share with other woodworkers. This is a unit I mounted into a metal cabinet from Home Depot. It’s made from a piece of 3/4″ particle board the builder had in the trash, 1/4″ MDF, and 1/2″ plywood. You can put a more attractive face on them but since these are strictly utilitarian the plywood will suffice. Dimensions were determined by the measurements inside the cabinet.
Particle board may not be the best choice but with the price of materials these days dumpster diving seems to be the right thing to do! My method is to always use some type of joinery, in this case a rabbet cut on the ends of each side and a full rabbet all around the back. Surely not a place for a rabbet plane so I used the tablesaw. First adjust the blade height to the thickness of the particle board. Then adjust the fence to cut a rabbet in a single pass while guiding it the piece upright against the fence. Using a rabbet helps register the pieces and ensure a square case. Before gluing and screwing these parts together a 1/4″ wide by about 3/8″ deep dado is cut to support the MDF shelf bottom. Cut both sides of the case at the same setting so they align. That’s also the “slide”. While the glue is drying it’s time to cut the pieces that will make up the drawer unit. I used some type of “sanded plywood” again from Home Depot and am amazed at the price of it!!!
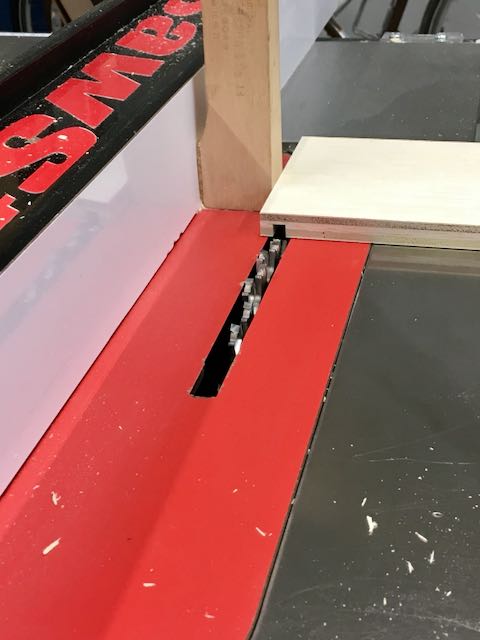
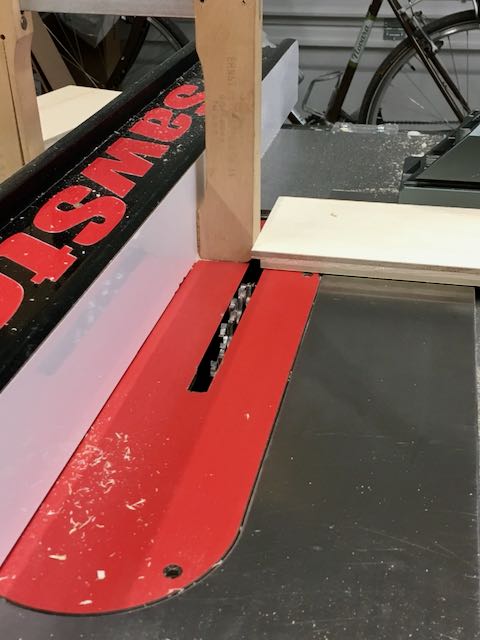
The 1/4″ dado set used to cut the grooves in the sides is also used to cut the simple tongue and groove joint used for the drawers. Use some scrap pieces to set them up. The drawers were assembled with glue and 1″ long, #18 brads. Using a brad nailer and a speed square to establish square corners is helpful. While that’s drying cut the 1/4″ MDF to fit in the slots. Although it seems flimsy, once you’ve glued and brad nailed the drawer to it it is remarkable strong and stable! These drawers are about 16″ wide, 31″ long, and 5″ deep. Also attached a couple of dividers which makes them even more stable.
Final steps are to ease the corners of the MDF, I also use a beeswax to make them easy to open/close. Simple wooden knobs were added and the unit was bolted to the shelf — works great!


The right hand picture shows the unit bolted into the cabinet, the other was during assembly. If you have enough depth in your case this system can give you “full extension” slides. Simply make the MDF bottom deeper than the drawer box. Hope you find this helpful, fairly quick project that does require a bit of careful measuring. Feel free to ask me any questions — John
