
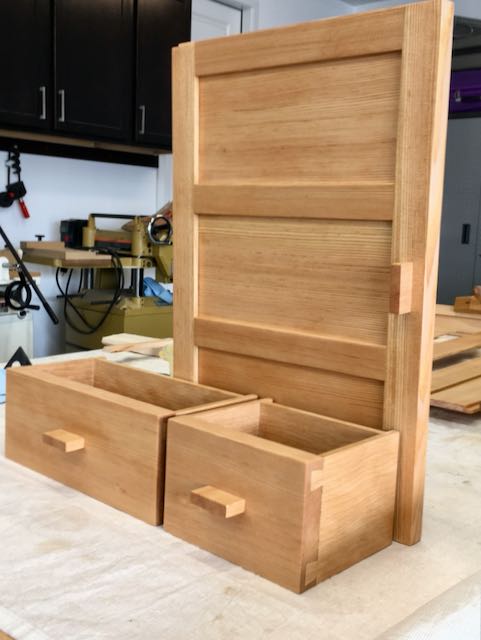
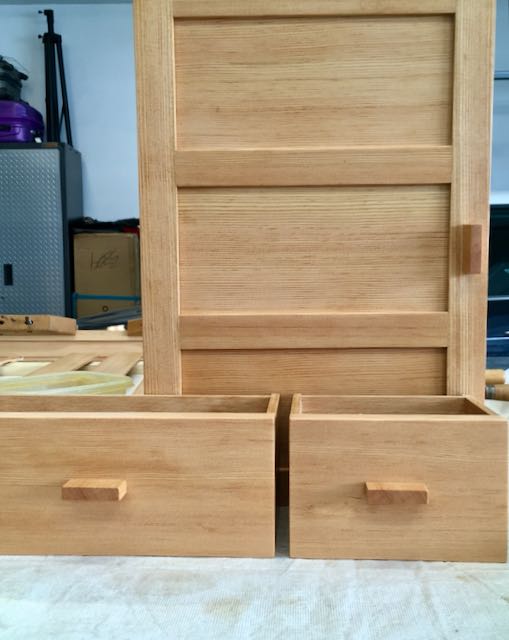
Here is the door and two drawers for the cabinet. It’s interesting how they don’t share the same coloration even though taken in the same spot with the same camera! In any case, the photo on the left is closer to the true coloration of this beautiful vertical grain Douglas Fir. To give you a sense of size, the door is approximately 10″ x 16″ and the drawers are 3 1/2″ tall by 5 1/2 and 9 1/4″ long. It’s real common for people to ask us “how long did that take” and quite honestly I’ve pretty much quit worrying about the time and am more concerned about trying to master the skills and the final result. When I taught junior high woodshop that was a goal — kids never realized the process behind the craft not to mention the math involved in a small detail like these pulls.
This project is for the Wall Hung Cabinet online class from Matt Kenney which is coming to fruition. The 6 week class ended up being a little bit longer due to some scheduling issues with Matt’s cameraman but all in all, it was a good experience that taught me things — that’s what it’s all about. You can see in the picture that the piece is almost complete and I’m only showing one, small portion of it — the pulls for the door and drawers. Although I like the way Matt does his handles with the small blocks, brass rod, and thread I wanted something different for my piece. Something that was light, streamlined, and minimalist and celebrated the vertical grain of the Douglas Fir. The piece I choose had some nice, tight end grain as you can see.

Like the title of this blog says; small details = maximum time! Not so simple, after selecting a piece of 3/8″ thick Douglas Fir with some nice, tight end grain it was ripped to 1 1/4″. After scribing 3/16″ all around one end the skew rabbet plane was used to cut a 1/16″ shoulder. This was carefully checked with a set up block to ensure a snug fit for the pull. Once satisfied with that the pull is cut to length. Lastly, a Dozuki saw is used to trim the tongue on the pull to fit the mortise.
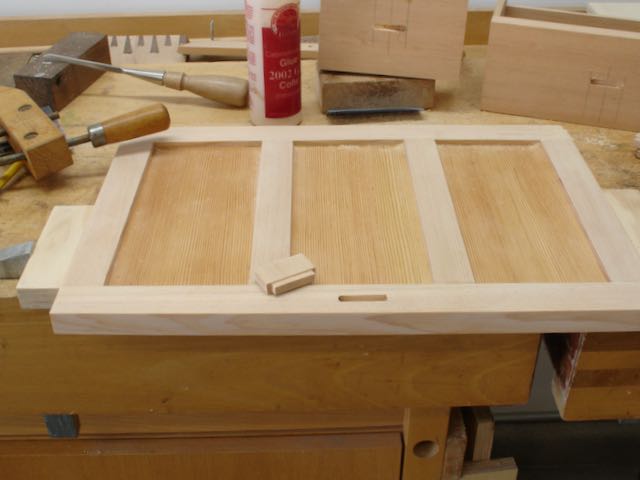
Now it’s time to cut the mortise in the centers of the drawers and door. A plunge router with a 1/4″ bit was used for this step. The rounded corners created by the router bit were squared off with a chisel before the pull is glued and clamped in place. I usually like doing this mortise by hand but since the Douglas Fir tends to chip and splinter decided the router was a safer option. Many small steps that require attention to detail to complete.
I plan to write a complete blog about the construction of this cabinet and the class taught by Matt Kenney in the future. I think anyone who wants to learn some new techniques could benefit from the class.
