

Here is a photo of the wall hung cabinet in my entryway. If you recognize the inspiration for this piece from the work of Matt Kenney you’re right! His technique of using a painted liner in a box or cabinet intrigued me so when I saw that he offered a 6 week, online Zoom class I decided to take it and see what I could learn. The class included everything from design considerations, wood selection, and he showed his methods to make this piece. I’m really pleased with how it all came out so will share with you what was required to make a similar item. My cabinet is made from vertical grain Douglas Fir and Basswood for the liner and dividers. Overall measurements are 5 1/2″ deep by 28″ long and 18″ tall. I’ll write this blog with lots of pictures.
Case
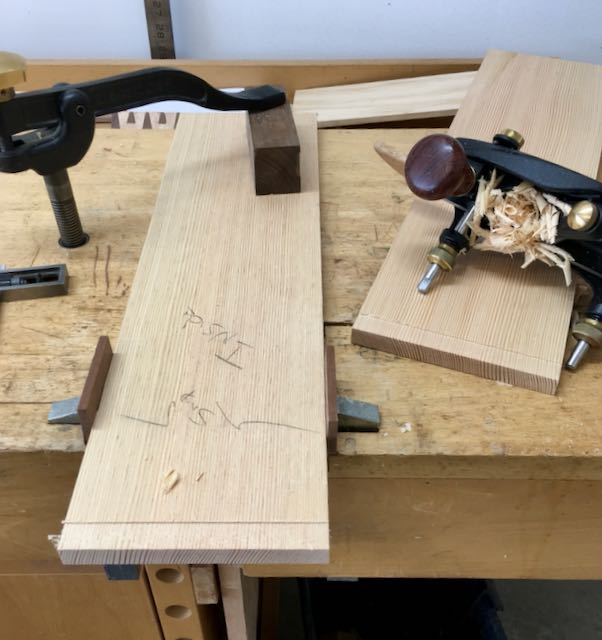
Vertical grain Douglas Fir has always been attractive to me, my earliest memory of it is in the mid-60’s as a teenager working in a local lumber yard where it was commonly used then for bullnosed stair tread material. It can be tough to work with since it tends to be “splintery” which I found out. After prepping the material primarily with a Stanley No.80 cabinet scraper it was time to cut the dovetails. Matt showed a technique using a special Forrest blade which cuts the dovetails and requires careful set up of your table saw. I prefer the quietness of hand work so always cut mine by hand. Within the last year of so I opened my wallet up for the Knew Concepts coping saw to cut the waste. After seeing so many others use it thought I’d give it a try. There is a learning curve and for me it works best if I deepen the scribed baseline with a chisel before using that saw. I also use my skew rabbet plane from Veritas to cut a shoulder on the tailboard like the old Stanley 140 trick. This helps to line things up when you transfer to the pin board and leaves a clean, inside corner.
Planing shallow rabbet on tail board. 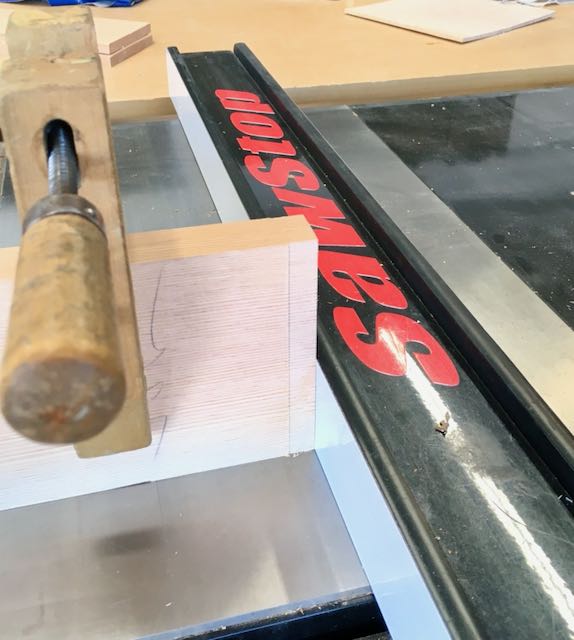
Using tablesaw fence to clamp 2 pieces together
squarely for layout and cutting tails.
Dividers and 1:6 lay out square to mark tails.
Cut with dovetail saw and Knew Concept as below.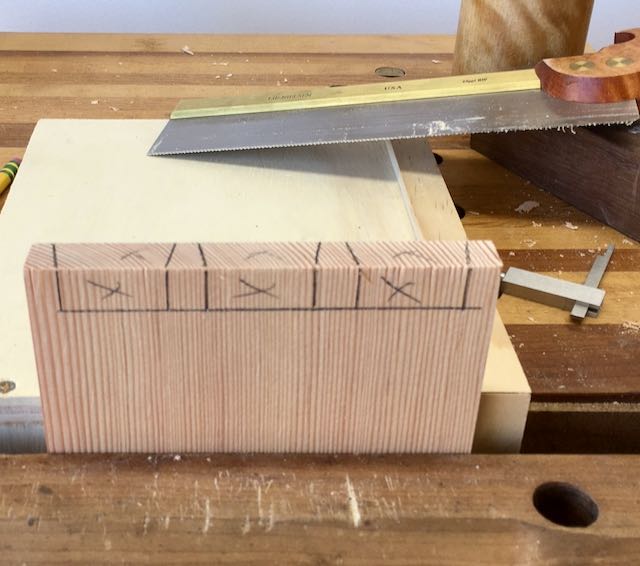
After scribing pin board same process used to
remove the waste.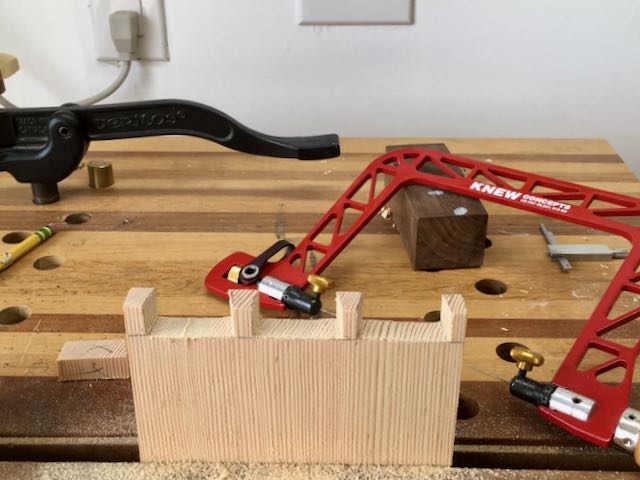
Pins cut, scribed line deepened, and waste removed.
Baseline squared up with chisels.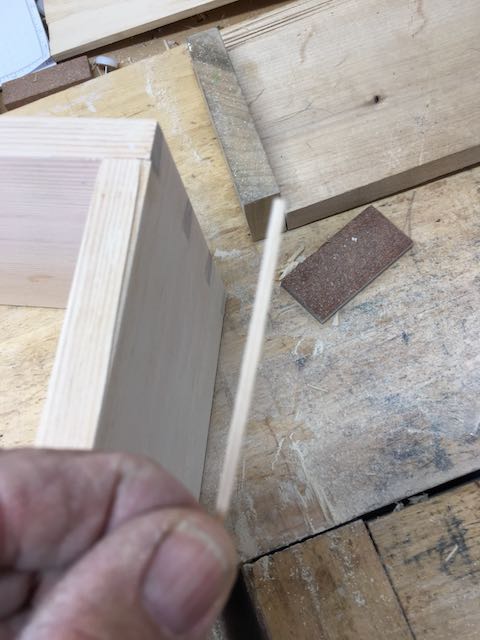
Glued and clamped together, I use Old Brown Glue.
Unfortunately a splinter came off during cleanup.
Glue and tape and after the OSMO PolyX oil it’s
barely noticeable!!
Liner and Dividers
After the case was assembled the outside and front edge were finished with Osmo Polyx oil. The inside was left unfinished since the liner is glued and clamped to it. I used Basswood and painted it with a blend of Casein paint that I use on picture frames. Only the show side and front edge were painted which resulted in some cupping. That was a concern but by using a lot of parallel clamps to hold it down while the glue set seemed to work. The liner was sized to allow space for the 3/8″ thick shiplap plus a French cleat at the back and the front was set back about an eighth of an inch to create a shadow line. The dividers are 1/4″ Basswood and were assembled using a 3/16″ blind dado cut with a router. The method used was to measure the distance the bit cut from the base of the router. I then cut a piece of MDF to the distance of the dado from the bottom of the divider minus the space for the router. This way it was possible to ensure the distance was exactly the same on both sides. The cut starts at the back and stops about 1/2″ from the front. The tongues were cut using a skew rabbet plane after carefully sizing them to fit between the dados with a shooting board. The tongues were then trimmed and everything went together squarely.

Spacer set up to route blind dado, notice
router base is marked to ensure exact placement.
Each spacer is measured from bottom of the divider
minus the measurement of bit to router base.
Sizing the dividers with shooting board. 
Cutting tongues after scribing to prevent tearout. 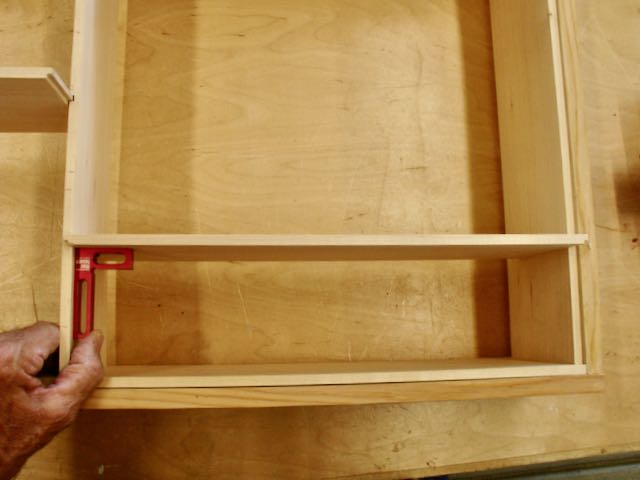
Success — every junction is square.
That’s enough for this blog, I’ll do part two and explain the drawers and door construction.
