
If you’ve seen Part I hopefully you enjoyed it so this is the follow up from that blog. I’ll start with the drawers which feature half blind dovetails and the Douglas Fir for the drawer fronts. The back and sides are from some 1/4″ thick Beech and measure 3 1/2″ tall. Dovetails are tails first and the only “trick” I can share is that when I scribe the pocket I set the marking gauge to the thickness of a piece of MDF which is more or less 1/4″. For me this makes it easy to pare the final thickness of what I believe is referred to as the web. Traditional style of drawer with a plywood bottom.
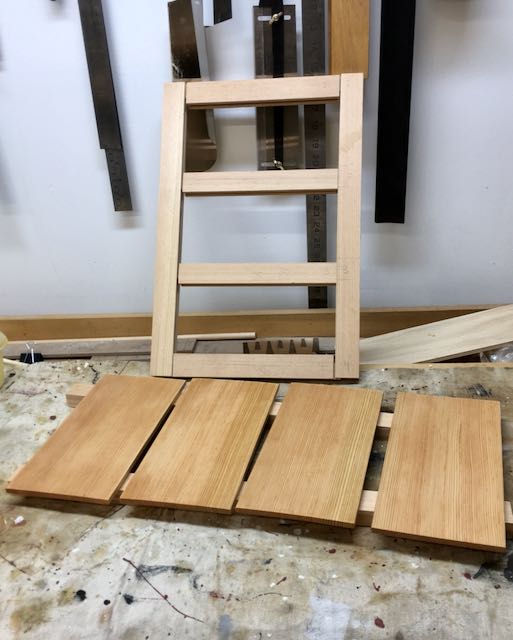
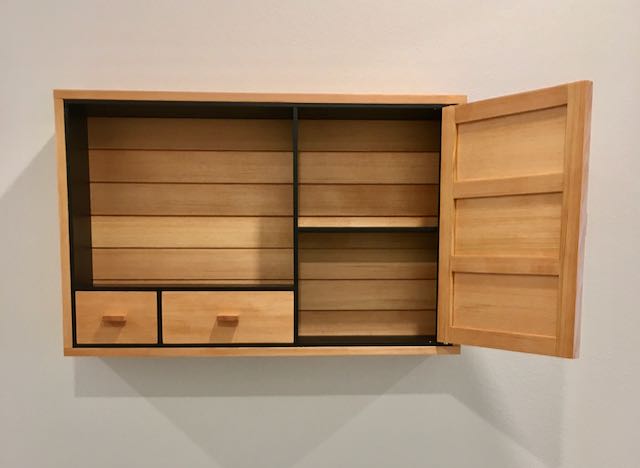
The door is typical panel and frame construction using resawn Douglas Fir for the panels and a tongue and groove frame. Since I had 4 panels, decided to finish all of them and choose the best for the door. They sit in a 1/4″ x 3/8″ deep groove. As usual, the panels were finished with Osmo PolyX before assembly.
For the pulls on the door and drawer I did a separate blog that you can see here: https://woodworksbyjohn.wordpress.com/wp-admin/post.php?post=7144&action=edit
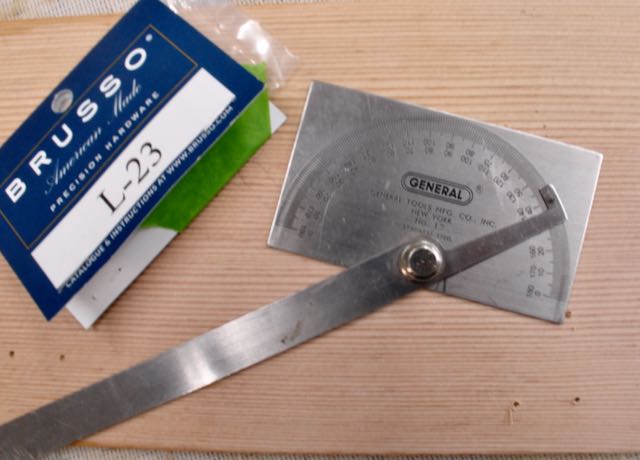
Brusso Knife Hinges
This was one skill I wanted to hone and get more proficient in. If you look on the internet there are dozens of ways that claim to be the best so just like any other process I watched how Matt Kenney did it, watched folks on line, then practiced and came up with what worked best for me. From what I understand it’s the washer on the knife hinge that determines the reveal between the door and the frame. I discovered by accident that the blade of my old General No. 17 was the same thickness which made it easy to set the reveal! I see this tool on Ebay and I’ve had mine for years so it’d be wise to check the thickness of one if you have it. I also used my mortise marking gauge to lay out the size of the knife hinge.
General N0.17 used to lay out reveal
and do final sizing of door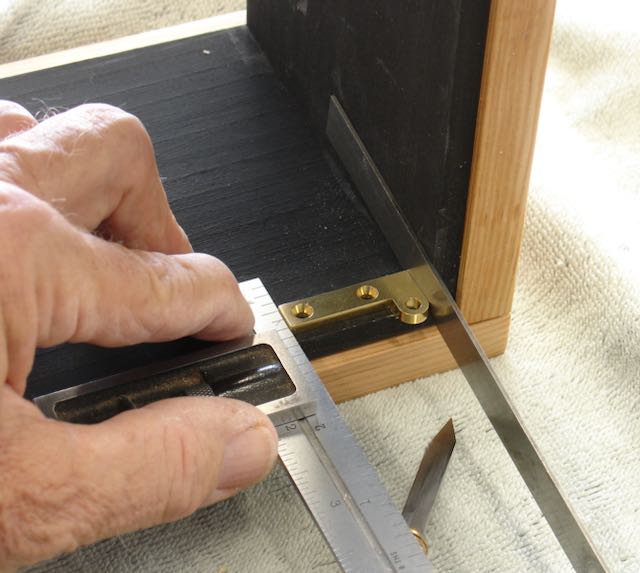
Marking end of hinge and pivot point 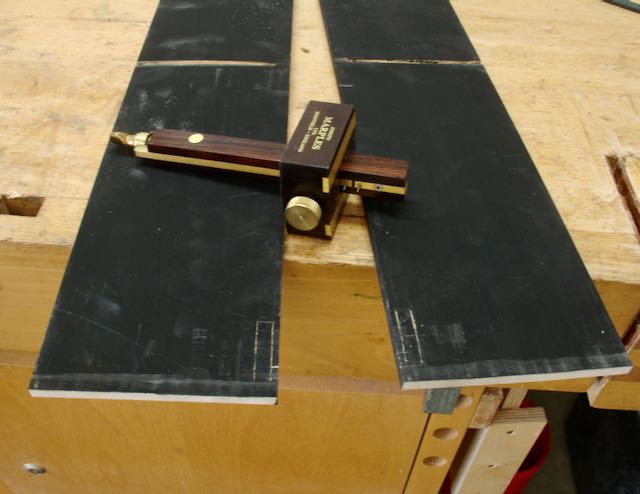
Mortising Gauge set to width, scribe on liner 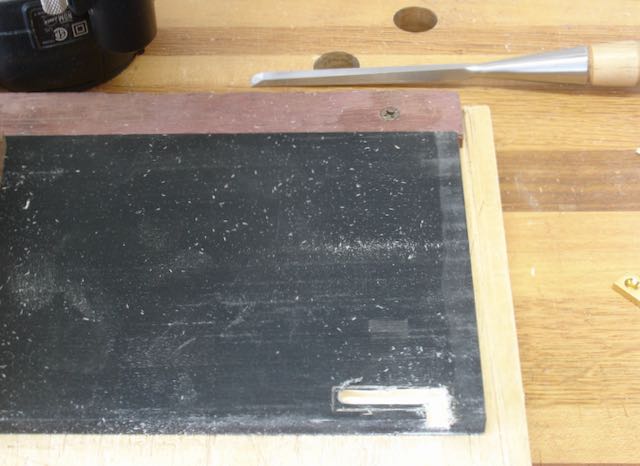
Routed majority of waste 
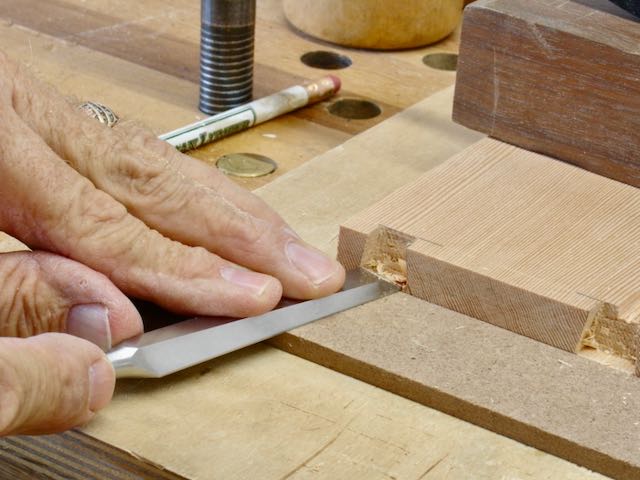
Chiseled to line and set in hinge,
drilled pilot holes with Vix bit.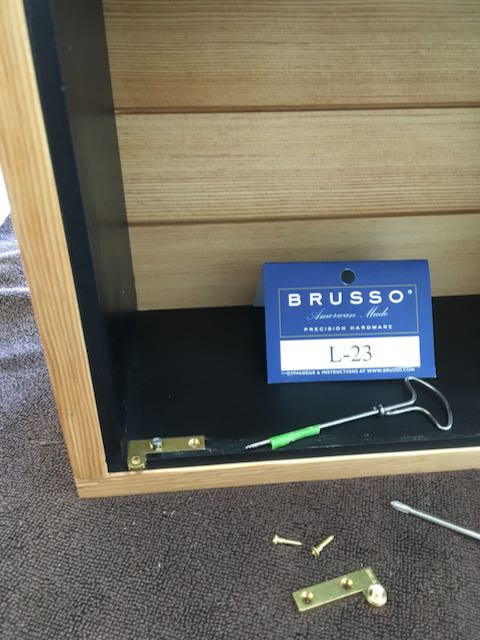
Once assembled, gimlet to finish hole then
steel screw supplied by Brusso to pre-size before
final installation with brass screws.
The last step was making and installing the shiplap back. I used the vertical grain Fir horizontally and each piece is approximately 3/8″ x 2 1/2″ with a 3/8″ lap. They are spaced 1/8″ apart with one nail at the junction of each lap. The French cleat (also 3/8″ thick Fir) was nailed and glued to the shiplap so that it was slightly proud of the back. Adding a piece of the same thickness to the bottom of the back side hangs the unit slightly proud of the wall which makes it appear to float. As you can probably tell, I’m very happy with the way this project turned out. Appreciate any comments or questions you may have — John

That turned out great. The contrast with the black really brings it alive.
LikeLike
Thanks, appreciate it. Lots of steps to that project but well worth it — John
LikeLike