
When I started making frames it was always hard to find information, I got the feeling that creating, carving, gilding, finishing, etc. were secrets that no one was willing to share so the teacher in my decided to share my work via my blog. If it helps someone that’s my intent. Am I an expert? no way but if what I share helps someone else “it’s all good!”
If you’ve seen my blog you probably know that my wife, Diane Eugster is my main client and I enjoy coming up with frames that compliment her work. I get inspiration when I see it on her easel in the studio. She recently completed a painting titled “You Can Leave Your Hat On” and I noticed how the black in the subjects hat resembled the stripe on tuxedo trousers. I wondered if it would be possible to subtlety show that in a frame. The painting is 24″ square and is a stretched canvas.

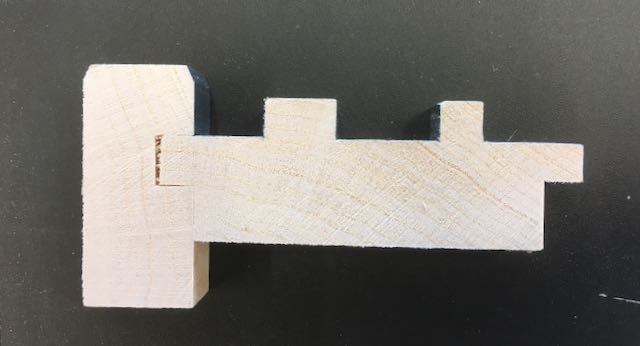
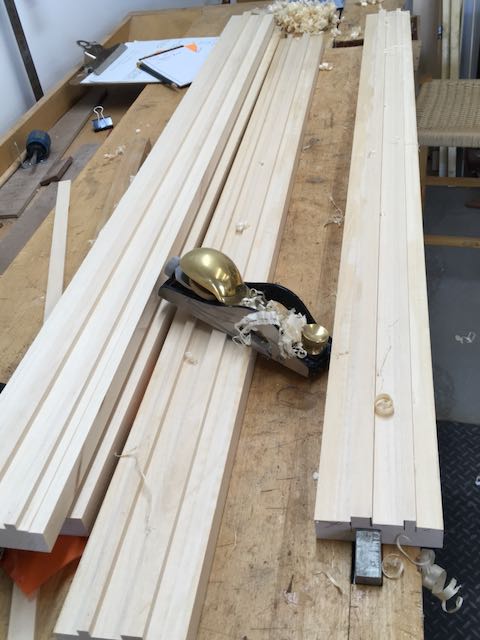
The main material I use for frames is a 1 1/16″ Basswood from Peterman Lumber which comes in random width and length. The width available will determine how wide the frame can be and Diane always tells me the wider the better! If you look at the sample piece at the beginning of the blog the side piece measures 3/4″ x 1 3/4″ and the panel is 1″ x 3″. My furniture background dictates that I use joinery for strength so after the wood has been planed to size the first step was to set up a 3/8″ wide dado to groove the edging. By using an edging like this you can create a frame to fit stretched canvas from 4/4 material. The final step for the edging was planing a slight chamfer on both edges of the outer surface.

The first step was cutting the groove in the edging that would eventually be used for the tongue on the panel. Next up was to create the profile on the panel piece. The depth is 1/4″ and the width of them is narrower as they get to the sight edge. The dado head was then adjusted to create the tongue that is glued into the edging and also the rabbet. The dado set leaves a pretty nice surface that only needed a little refining with a rabbet block plane.
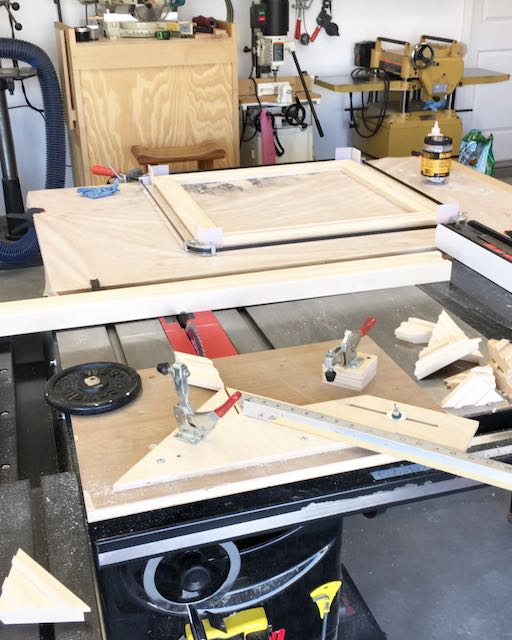
glued and clamped overnight
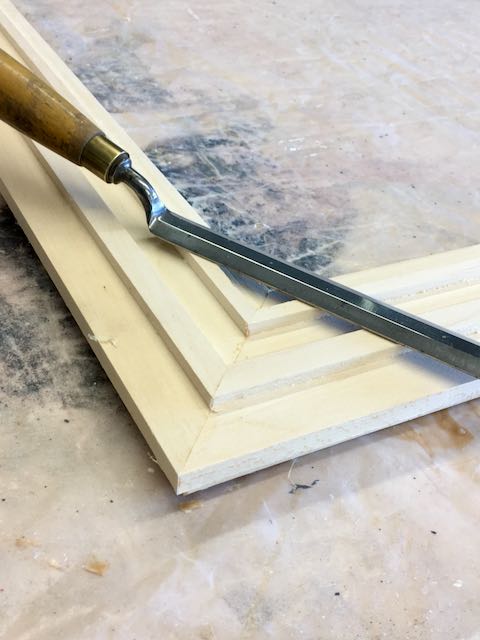
for refining corners

All that remained was to miter the edging, the tongue and groove joint for joining the edging to the panel reinforces the frame. These were glued on and clamped overnight. This makes for a strong frame and almost guarantees that the miters will never separate. After any required cleanup and light sanding the frame was first sealed with shellac and then 2 coats of Japan Drop black were brushed on.
I allowed 2 days for the Japan to cure then lightly burnished the top surfaces and outside of the edging with 4/0 steel wool. Liberon Black Bison wax was applied to those burnished surfaces which I think now mimics that tuxedo stripe effect I was after!


That looks great. You might find this article at The Frame Blog to be of interest. It’s about the frames Degas designed for his work, which aren’t that different from the profiles you’re making. https://theframeblog.com/2016/10/03/degass-frames-for-dancers-and-bathers/
LikeLike
Thanks Paul, I’d heard of the Frame Blog and it looks great! Signed up to have them email it to me, appreciate it and your compliment about my work — John
LikeLike