
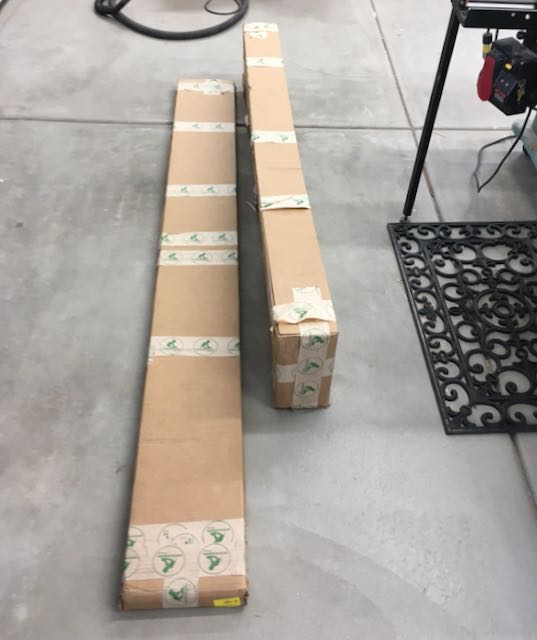
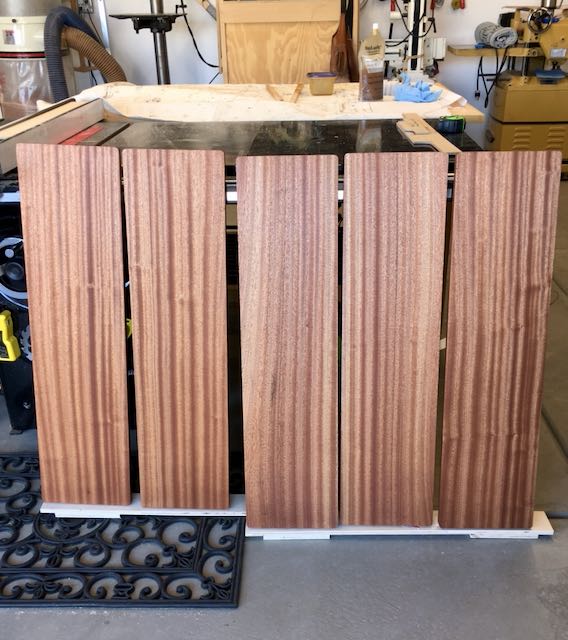
Those of you who follow my blog know I like to start with a before and after picture to introduce the project. Usually I’ll show the full size drawings I do but this goes before that — where I get the wood! For over 20 years I’ve been using Woodworkers Source in Phoenix and have never been disappointed. In years past I’d leave my home in Las Vegas at 3-4:00 am for the 5 hour ride there, get what I needed, and return home; nice day trip! When we lived in Phoenix (2016-2021) I was spoiled, less than 30 minutes on the road and I was there. Now with the price of gas I’ve been buying on-line and highly recommend their wood and service. I ordered what they call a UPS Pack of 7″ and wider Ribbon grain Sapele and the wood is beautiful.
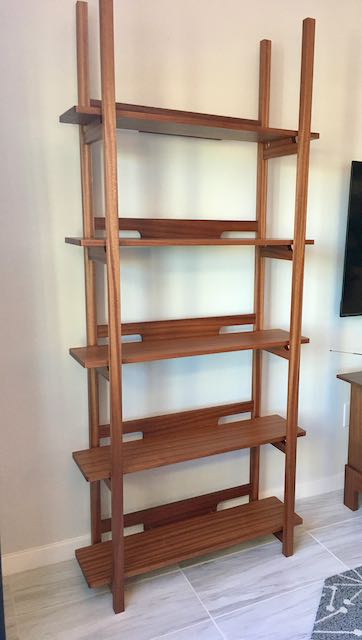
The design evolved from inspiration off of the internet and what I had in my mind. I wanted something to anchor an area of the living room that was architectural without dominating the space. The cutouts in the shelf supports and the back piece make it appear as if the shelves are floating. I choose the Sapele to match a TV cabinet that’s on the same wall. I also like to incorporate processes I don’t use very often and in this case that was pattern routing. That was necessary to insure that each of the supports and back pieces were identical.
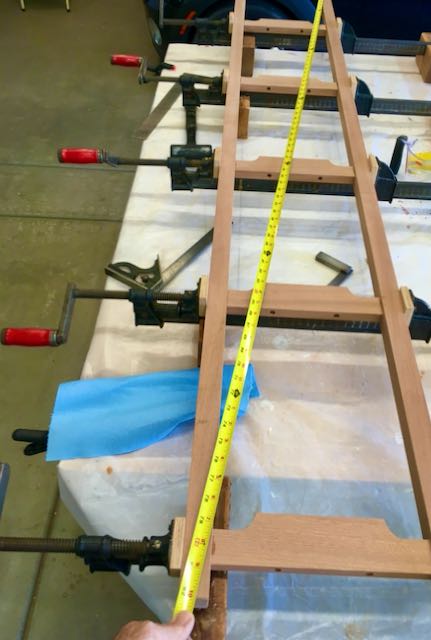
The first step was ripping the 6/4 Sapele to size for the uprights and locating all of the 3/8″ mortises required for the side pieces. This required a lot of measurement and you can bet the adage of “measure twice, cut once” was followed. I have a Jet hollow chisel mortiser which does a great job but the bottoms of the mortises do need to be cleaned up. I was careful to mark the bottom of each upright with their location to keep everything in order. Next up was to size the 10 shelf supports and cut their tenons. My technique is to first cut the tenons on the tablesaw using a tenoning jig and then fine tuning the fit with hand tools; chisels, dovetail saws, and a rabbet block plane to get a precision fit.
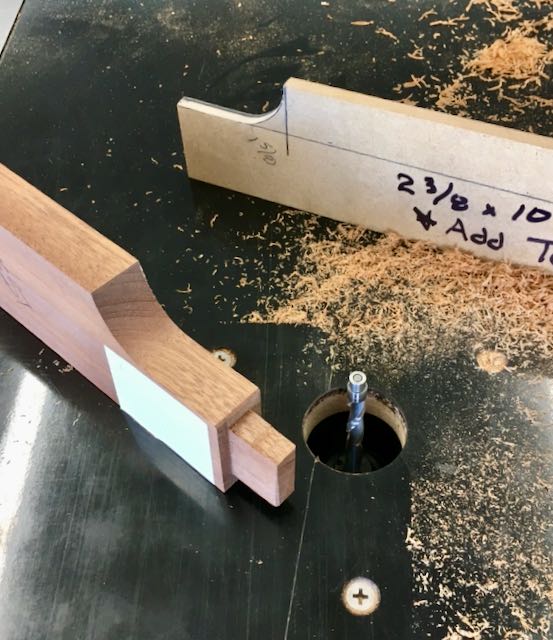
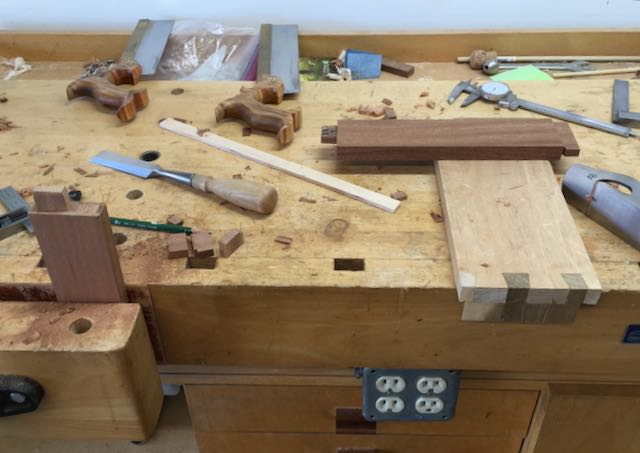
There are 3/8″ holes counter bored in the bottom of each shelf support to attach the shelves with, these were plugged after assembly. The rear supports were next so very careful measuring to locate those mortises on the inside of the back uprights. The goal was to have the bottom of them even with the bottom of the shelf so that they could be screwed in from the back. Before assembly those screw holes were located and countersunk. Now that all of the mortise and tenon joints were complete the side pieces were assembled with Old Brown Glue, checked for square, and allowed to dry overnight.

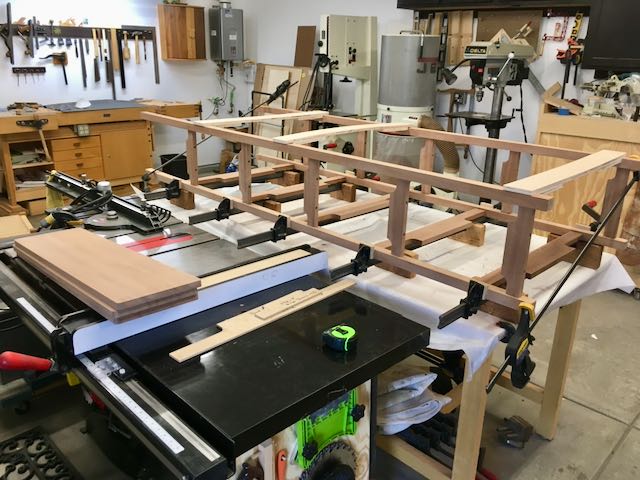
After the two sides were glued and assembled it was time to begin finishing the shelves. Planed, sanded, and a slight radius on each corner was done and then 3 coats of Osmo Polyx #3043 were applied. I use a white nylon scrubby for the application, check out the beautiful grain and finish in the photo! Between coats I also assembled the entire unit, again with Old Brown Glue which I really like because with a complicated glue up like this you need all the time you can get! In the pictures you may notice some white, plywood pieces on top, these are temporary spacers to keep the unit square since the back pieces are only attached to the back of each side. Holes were drilled and countersunk into the back piece before assembly to attach the shelves.

clamp
All that remained was to apply the Osmo to the entire unit which required lots of care. There are so many places that a small spot of finish could dry without being wiped off, I was very careful to check every side and intersection after applying each of the 3 coats — yep, found a few spots I needed to remove some build up but the results are well worth it. The shelves are attached with two screws on each side which had been counter bored for 3/8″ plugs. Since they were on the bottoms it was easy enough to first saw them with a zero clearance saw and then pare them flush. A bit of Osmo wiped onto the plug finished that step. I wanted to have the shelves appear to float between the supports so after locating the screw location on the back of each shelf a starter hole (about 1″+ deep) was drilled on the drill press to make sure it was square. I cut spacers from 1/4″ copper tubing to hide the screw, I think the copper gives a good accent to the Sapele.
Here’s a final picture of the display unit in its location. The TV cabinet is one I made a number of years ago also from Sapele. The sliding doors are Big Leaf Maple and it was finished with shellac.

