
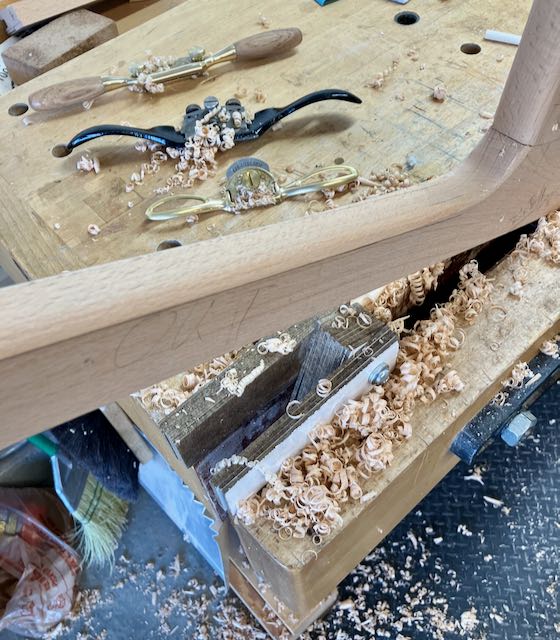
Now that all of the joinery has been cut and fitted it’s time to begin sculpting the pieces for this chair. Don’t want to use a router bit which would leave a uniform radius on every edge — boring!! I’ve had a Stanley 151 for probably 50 years and it’s seen some use but nothing like I knew this project would require. I also have a small bronze, curved bottom spokeshave from Lie-Nielsen. I sharpened the 151 to the best of my ability but the mouth is quite large and taking a fine shaving was difficult. Well, new projects are a good excuse to buy a new tool so bought the spokeshave that is a collaboration of Lie-Nielsen and Brian Boggs the chair maker and I love it!
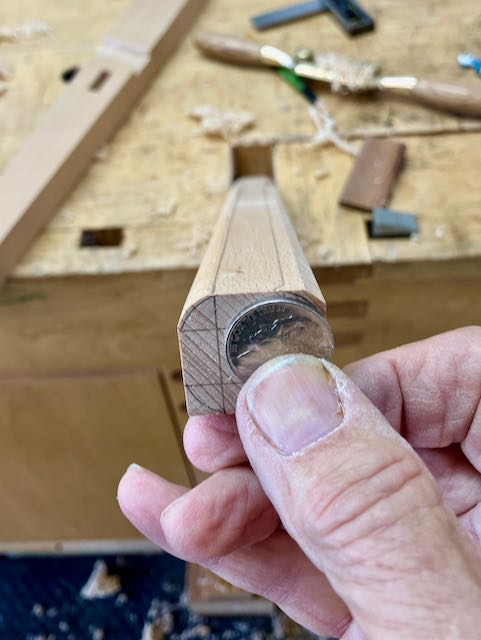


The first piece of the chair I tackled were the front legs. They have a taper from top to bottom that ends at the tenon so the entire surface is straight. Even though I used a nickle to draw in the radius that’s just a guide because the line I worked to was 1/4″ from the edge on the thickness (1″) and 3/8″ on the width which tapers — eye ball and fingers were used to “fair” the curve. I thought of this stage of the sculpting as one where I’m chasing the facet. Learned that you need to look at it while the light hits it at different angles. When I looked at a section from one direction it looked smooth but from the other direction I could see facets; your hands and fingers are a great way to feel them too. Before any assembly they were sanded with 220 sandpaper.
The areas that were a bit more challenging are those that had the flat areas for the mortise. Here I needed to taper the radius into the flat area. I used the same technique but instead of the block plane used the Stanley 151 to rough out that chamfer before using the Lie-Nielsen spokeshave to finalize the curves. The curvature that was created on the front leg and back rest was drawn onto the wood so I could remove the bulk of that material prior to glue up.
After the two sides had the front leg and backrest assembled I needed to cut a 1/4″ dado at the back of the chair to support the seat. Again those pesky angles! A piece of MDF had a slot cut into that’s the thickness of the seat. This was aligned with the slot in the front legs and clamped down in position. A 1/2″ pattern bit in the router was used and then the corners were squared to match the seat. The last step was to drill a hole for the screw and plug that will secure the seat to the side.

Assembly was next and I used the method I showed in a previous blog of using a parallel clamp attached tightly to the leg at the angle it meets mortised area. The goal is to put the clamping pressure on the center of the mortise. A scrap piece of MDF was taped to the bottom of the main leg to clamp it together. I use Old Brown Glue for all my furniture work.


Getting close to the finish line, dry fit the chair together and placed it in the house — happy day!! Measured for the foam which we get from Galaxy Foam here in Las Vegas. Diane has ordered this mid-century modern print fabric which will definitely make this chair a statement piece in out home.


The arm rests still need shaping, then final sanding, assembly, and finishing — sounds easy if you say it quickly!
