
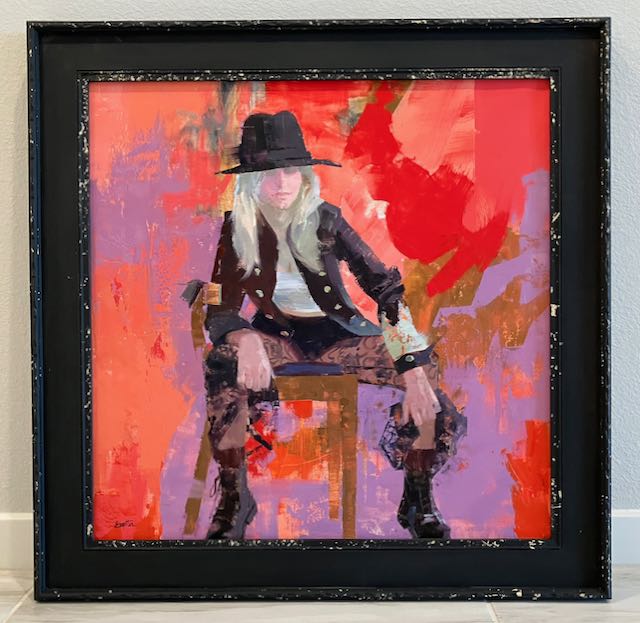
My wife and I were visiting an artist friend of hers and she showed us an antique picture frame she had. It had a lot of patina (another word for beat up) where gesso had broken off, paint was worn off down to the wood, etc. Well, Diane said she really liked that look and; as usual for me, I said “I can probably do that” and just like that I have a new project/challenge. After doing some research on the net I chose milk paint from a company called Real Milk Paint. This painting is titled You Can Keep Your Hat On.
The frame I made for her is 24″ x 24″, stretched canvas so the frame will be in two parts; a panel and an edging to accommodate the thickness of the canvas. It’s made from 4/4 Basswood and as with all of my work, much is accomplished with hand tools. The panel measures 3/4″ x 2 1/2″ and the edging is 1/2″ x 1 1/8″. The panel has a tongue which is glued into a groove in the edging. I went into detail on making this style of frame in a previous post, here is a LINK.
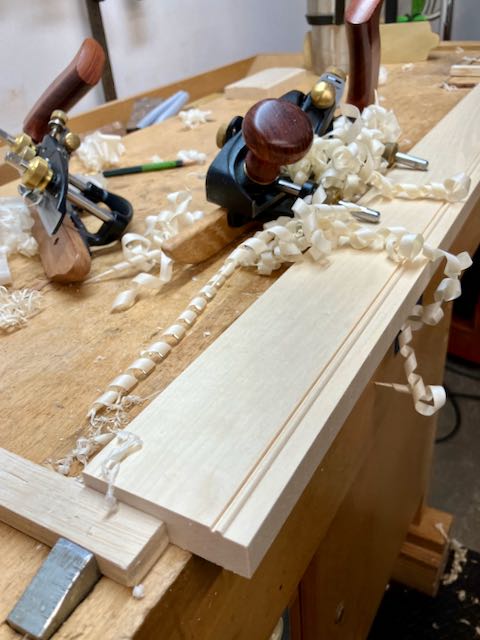

The first step on the panel was to cut a 1/8″ bead and then remove the inside material to make that bead stand proud by cutting a rabbet on it. This outlines the sight edge. The edging is first grooved and then there is a 1/4″ bead cut on the top. The challenge here is to now bring the sides of the bead down flush. Plow and rabbet plane are used. I use a Veritas small plow plane which has cutters for beads and grooves, I prefer that to a noisy router!
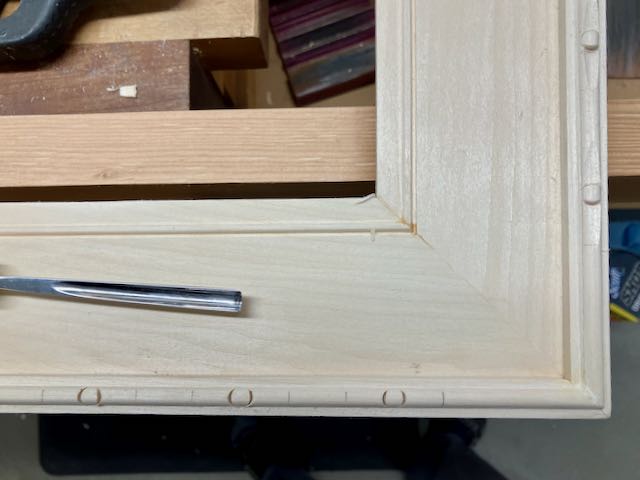
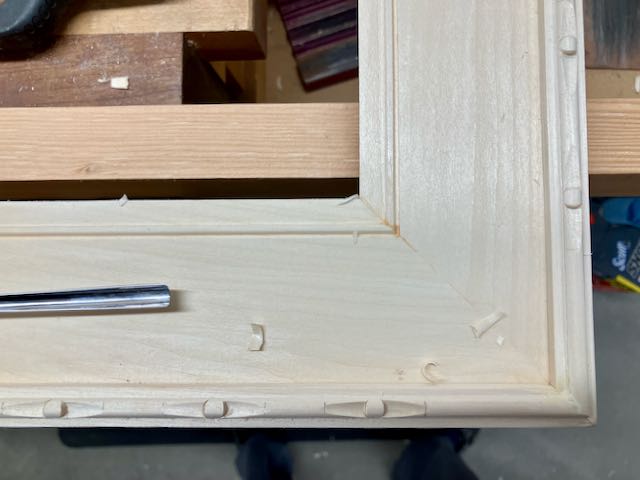
The frame was assembled in my usual method, first the miters have a biscuit slot cut and are then glued and clamped overnight. Then the edging is mitered and glued into place. For this frame I used small finish nails rather than clamping. The bead on the edging was carved as shown and it adds texture to the frame. Now comes the finish process which is a new one for me. I did a few sample pieces and learned that it’s somewhat unpredictable. Authentic milk paint comes in powder form which you mix with water. Ready made milk paint that you can buy in a can is not the real deal!
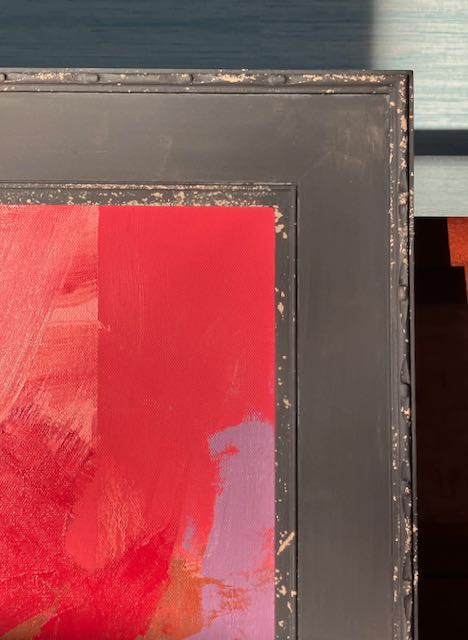
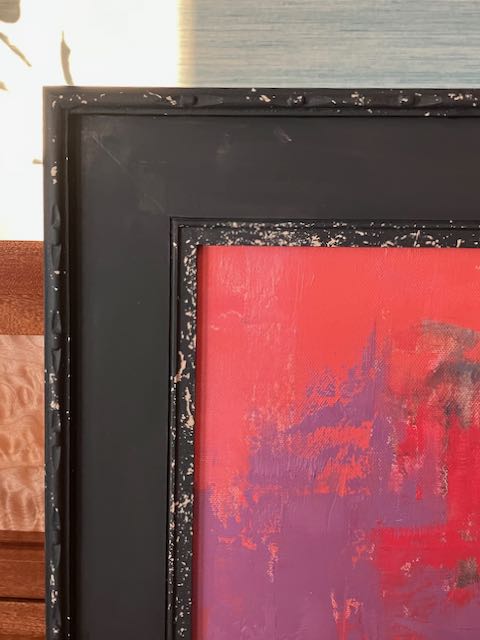
The finishing process began with 2 coats of the base color which in this case was one called Cheesecake. It dries quickly. Once dry the panel and outside edge was taped off and I used a product they have called Chippy. Anywhere it sticks to the surface will resist the top coat to expose the base coat. This is the unpredictable part; I tried tooth brush, grout cleaning brush, but settled on an acid brush which worked best after cutting about half of the bristles off. Allowed that to dry and then brushed on 2 coats of Black Iron.

Now things get interesting! I used a white scrubby between the coats of the base color. For the top coat you don’t use that until both coats have been applied — then the magic happens! I started gently but as the Chippy material was removed the base coat was revealed. The random, hit and miss pattern of it is what adds interest to the frame. You need to seal this finish and I was told by the very helpful people at Real Milk Paint that the OSMO Polyx I use is an acceptable sealer so that’s what I used. If you check out their website there’s a lot of information about how to use their products. I’d like to experiment with mixing the colors to achieve different effects. Here are two corner samples, interesting isn’t it?

Pingback: Frame #249 Real Milk Paint and their Chippy Product | Woodworks by John