
After writing about the box/finger joint I made for my SawStop sliding table, a few readers asked me how to go about it. Since I needed to make one to cut 1/4″ joints, I decided to turn it into a tutorial. If you make this jig I’d be interested to hear how it worked for you.
Parts Needed
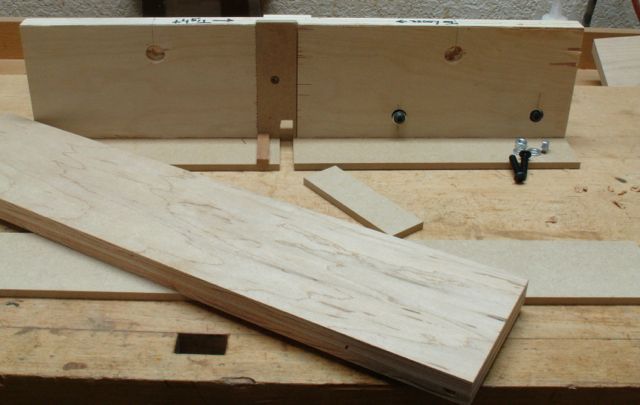
Here’s a listing of the parts needed for these jigs:
- Plywood for back — 3/4″ x 4″ x 18″
- 1/4″ MDF for bottom carrier — 2 1/2″ x 18″
- 1/4″ MDF for backing piece — 1 1/4″ x 4
- 2 Metric buttonhead capscrews M6-1.00 x 25mm with flat washers and nuts
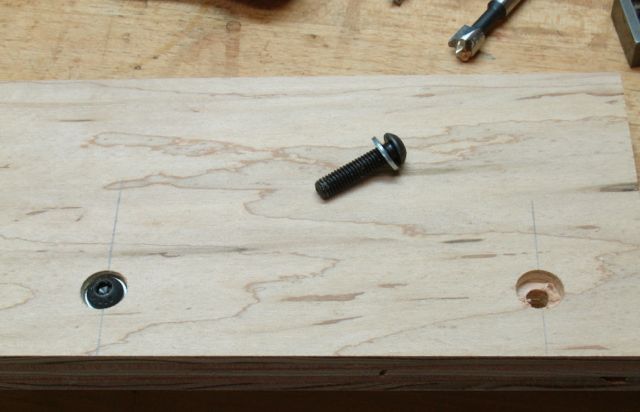
Mounting Holes
The first step is to locate and drill the holes used to mount the plywood piece to the sliding arm. Including the 1/4″ MDF carrier they are 1 – 3/32″ from the bottom. Use a 1/2″ forstner bit to drill a counter bore so that the buttonhead capscrew and washer are flush with the surface. Use a 1/4″ bit to complete the hole for the capscrew. Not too critical of a measurement but I located them at 1″ and 6″ from the left of the board when viewing it from the back.
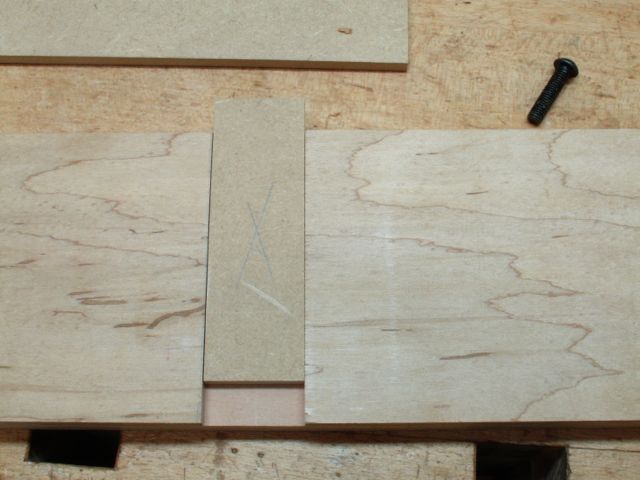
Backer Piece
Before attaching the plywood you need to use your 1/4″ dado to cut a recess in it for the backer piece. It’s located approximately 9 1/2″ from the left and centered on the dado. This piece prevents blow-out on the back side of the joint. It’s important to have the height of the dado match the height of the backer board. Locate the center of this piece and drill and countersink for a screw to hold it in place. I made the mistake once of cutting some finger joints in a 1/2″ thick board and then in a 3/8″ thick one. Because the first cut was more, I had some blow-0ut on the 3/8″ pieces — lesson learned!
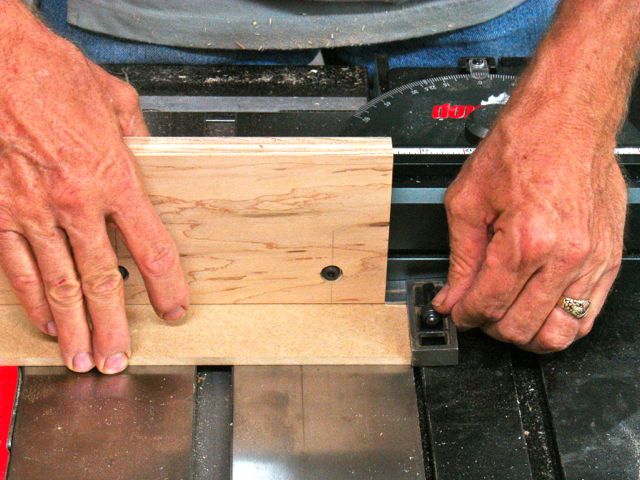
Carrier shifted 2X dado width
Now it’s time to put a very shallow, 1/4″ dado in the carrier piece. Attach the plywood securely to the slider arm and move the carrier twice the thickness of the dado. Since this is a 1/4″ dado it’s located 1/2″ from the left. After that is cut, attach the carrier piece flush with some screws and glue but be sure not to put any screws in line with the blade.
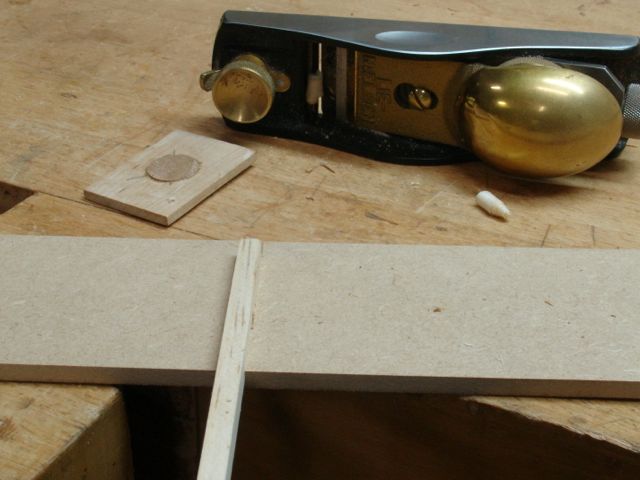
Fitting the key onto the carrier piece
The next step is making a key that fits the dado exactly. Make the key longer than what you need for the carrier piece, you’ll use it to set up the jig. You can either cut some dados or use the MDF as a guide. I think using a scrap piece and cutting dados 1/2″ deep will give you a more accurately sized key. This is glued into the dado on the carrier piece. At this time I like to glue a piece of wood on the back side of the jig where the blade comes through. This acts as a “no go zone” for my fingers when cutting the joints.
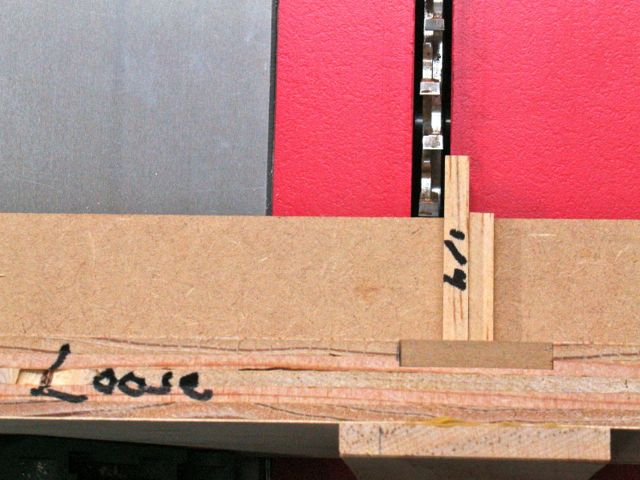
Align dado to jig
Attach the jig to the slider arm snugly. Use the extra key piece to align the blade. For testing I’ll use some 1/4″ MDF to make the initial cuts. This process gets like Goldilocks and the Three Bears! First too tight, then too loose, and after a few more “tastes” it’ll be just right! Took me about 7 tries to dial this one in to my satisfaction. Too loose means you move the carrier to the right, too tight to the left. I use a sharpie and write on the jig so I remember. Doesn’t take much to throw everything off. It’s also wise to use a test piece that is as wide as the pieces you plan on jointing. A minor discrepancy is magnified if the board is 5-6 inches wide.
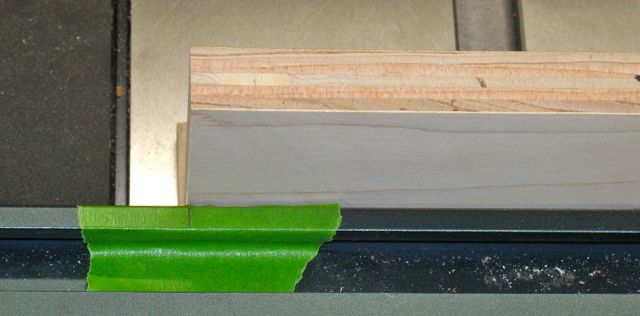
Movement gauging hint
To gauge how much movement is going on as I tap the fence right or left I’ll place some tape on the fence and pencil in where I started. This way you can actually see the very slight movements needed to get this just right.
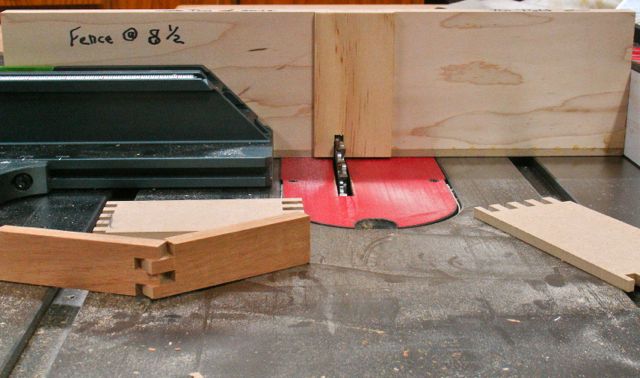
End Result
Here’s the end result of the jig making process. Once everything was dialed in I slid the rip fence up against the right side of the jig. It read 8 1/2″ so that will be my initial setting the next time I use this — write it on the jig with a sharpie. See the piece of wood glued on in line with the blade? That’s what I refer to as my “no go zone”; your fingers will feel that and as long as you don’t put your hand in that area the SawStop finger saving technology won’t be activated!
If this is your first time visiting my blog you can see a video of the jig in use on this previous POST. It does take a little bit of time to construct it but if you make boxes or ?? that need a box/finger joints it greatly simplifies the process.

Pingback: Another First for the Phoenix Shop | Woodworks by John
Pingback: Utility Sink Progress | Woodworks by John
Pingback: Utility Sink Progress | Woodworks by John
Pingback: I Love the Challenge! | Woodworks by John
Pingback: Utilitarian Project — Kitchen Improvement | Woodworks by John
Pingback: Utilitarian Project — Kitchen Improvement | Woodworks by John