
When you’re a woodworker there are times you build a project just because you can! That’s the case with this one, a semi-portable bench that I can put in the house whose main purpose is providing a base for carving and then gilding picture frames. The carving can easily be done in the shop but the gilding requires more of a dust free area to allow the size to dry (12-14 hours) without picking up a lot of dust. Hmm, dust and woodshop seem to be inseparable in my world.
We have a spiral staircase which made having this be a knockdown affair crucial. Light weight was another consideration so I chose 8/4 Poplar and 3/4″ Baltic Birch ply for the materials. Stability was important as well but most picture frame carving is of low relief so the bench doesn’t need to be as stable as my main bench where you’d use a mallet as well. For me, at 6’2″; the height of the bench is very important. This one is 39″ tall which makes it a good height, harder to straighten up the more years I add to my life! When I carve, the portable bench I use will add another 10″ to my working level which is comfortable for me. The top measures 21″ in width and 45″ in length.
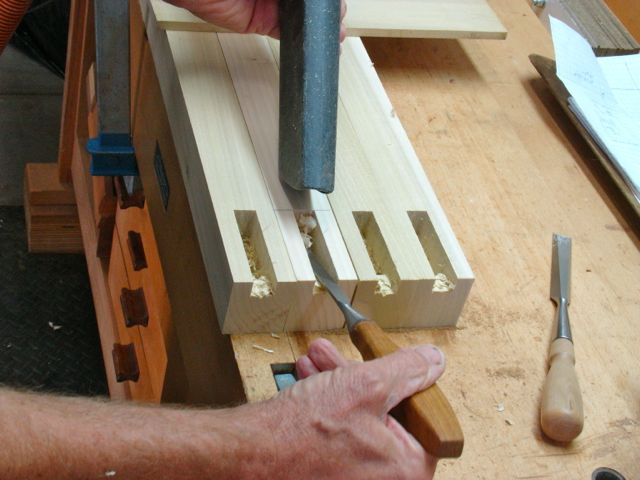
Cleaning Mortise; Chisel and Vacuum
Let’s get into the construction of this thing. After cutting the Poplar to size and planing to uniform thickness, 5/8″ x 1 1/2″ mortises were cut into the legs. As much as I enjoy hand tool woodwork these are times I’m thankful for my hollow chisel mortiser. A vacuum and chisel help clear away the chips. The plan is to have the side pieces of the bench mortised and tenoned and glued up for strength. There are stretchers that will be bolted to them using large lap joints. I debated whether to use a tenon jig or a dado head to cut them but in the end the dado won out. Unfortunately, the SawStop requires an 8″ dado head which I don’t have! The next best option is an 8″ box cutter set from Freud which worked just fine. I’m really liking the SawStop with the sliding table, so much more accuracy and ease of movement than the shop made tablesaw sleds I used to make.
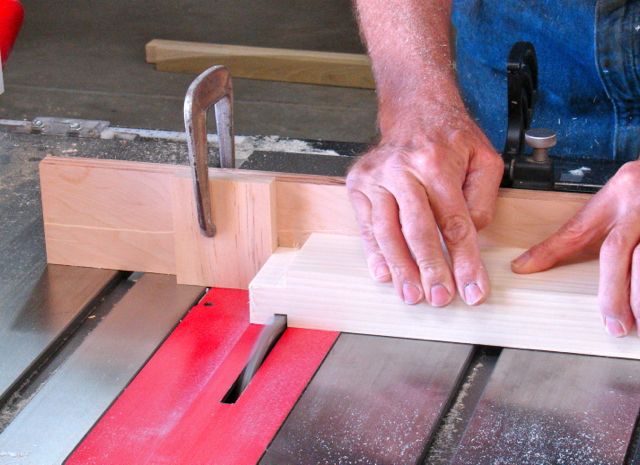
Tenons
Cutting the tenons is pretty straight forward by clamping a stop block to a sacrificial fence. These are cut ever so slightly over-sized so they can be fitted precisely with a rabbet block plane. Cutting the half lap joints with this setup was nice too. By combining the stops on the arm of the sliding table with the rip fence, I was able to dial the width of them in precisely. If you click on the images you’ll get the entire picture.


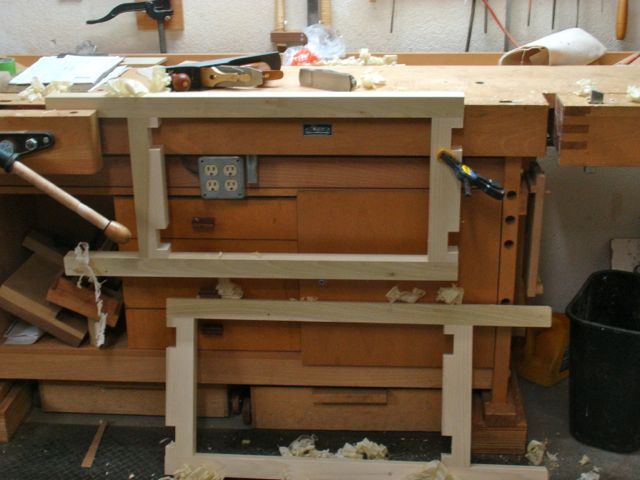
Before gluing up the leg assemblies they needed to be drilled for the bolts.


All parts were marked with machinists letter stamps for a permanent system — don’t know how often or where this may be moved to in the future but might as well do it right. The bolts are 3/8″ x 3″ and you can see the process used for assembly in the pictures above.
Preparing for Finish
After the frames were glued together they were surfaced using a smooth and block plane. Since I had some Helmsmen water based, satin spar finish left it was the obvious choice for my finish. I can spray it on the driveway and was able to get two coats on before I ran out — not to worry though; this will give it a bit of protection. The top and shelf are made of 3/4″ Baltic Birch plywood that is banded with a rabbeted piece of Poplar. Since I tend to pre-worry there is also a removable piece of 1/4″ MDF on the top that I can flip over and replace if necessary.
Now that all was set the pieces were brought upstairs for assembly. The study is painted a light, peanut butter color which really created an odd color cast on these pictures but you can get the idea of how it went. The shelf simply fits between the legs and is left loose. The top is bolted to the stretcher, there is a piece of Poplar glued/screwed to the underside of the top which you can see in the slide show here:
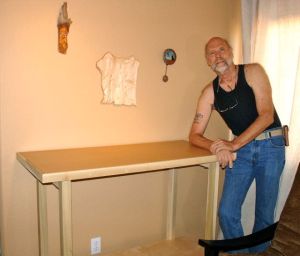
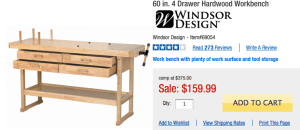
As luck would have it, shortly after buying the materials for this project, Harbor Freight came out with an advertisement for a bench at $159.00. Mine cost about $30.00 less and is perfectly sized to meet my requirements so I’m happy with that.
-
- John Built
-
- Harbor Freight (China) Built

Pingback: Change in Focus — Picture Frames, Carving, & Gilding | Woodworks by John