
As I mentioned in my last post, it’s been a long time since I’ve done much in the way of hand woodworking and joinery. Didn’t realize how much I’ve missed it and how relaxing it is to be in the shop doing it! I heard someone say recently that the less electricity he uses while working the better he feels about it — something I can relate to. Now that the box has been assembled it’s time to tackle the lid. The tricky part will be angling it to fit into the box. I’m decided to do it somewhat backwards by cutting the rabbets and angles first and then follow up with the planer to achieve the approximate thickness required.
After planing the piece to width the rabbets were cut with a #78, Stanley Rabbet plane. I’d forgotten how rewarding it is to use this and thought maybe I should make a video for the blog, whoops; one of those senior moments — I’d already done it so here they are. Pretty short so it won’t take up a lot of your time! The technique is to make a pass or two drawing the plane backwards so that the knicker scores the wood.
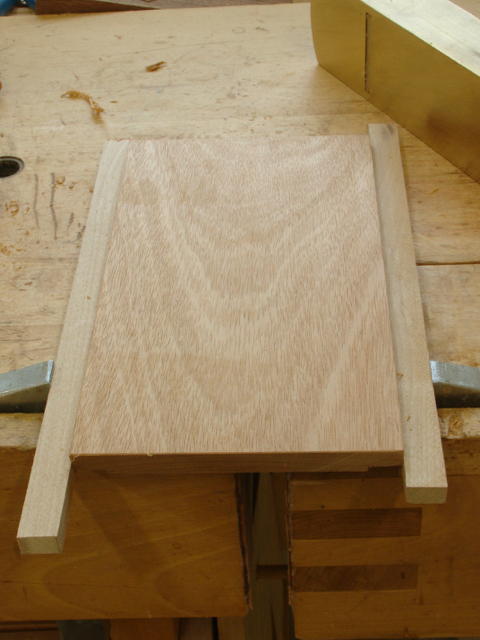
Smooth Plane the top
I did use a chop saw to cut the lid to length since they needed to be angled at 15 degrees to drop down into the box. The lid was too thick, it was brought down to almost size with my power planer followed by hand planing to fine tune the fit. I’ve always heard the term “striking light” as one you should have to see the results of your smooth planing. First time I’ve ever had it and now I see what it means! The workbench is placed under west facing windows and it’s now apparent what still needs smoothing. Hard to see in this picture but it’s the bottom and middle left that haven’t been surfaced yet. If you look real close, that part of the wood is a bit darker — nothing like a hand planed surface!
I forgot to mention that after using the rabbet plane it was necessary to fine tune and smooth the rabbets out with a block plane (rabbet) to get a good fit.


Last step of the day was cutting a mortise for the lid handle. I have a box of random box handles made over the years, I’ll make a foot or two of an interesting shape when I’m in the mood! Found a nice piece of Australian Lacewood that has about the same coloration as the Mahogany so think it’ll work well. Here’s a pictorial collage of the technique:


The day was finished off by gluing the handle into the mortise. Making boxes is a great way to utilize left over wood and maintain my skills. It’s also a lot of fun especially when you sell these things, I heard that wonderful “cha-ching” sound of an Etsy sale this morning and found that one person bought both of these boxes!


The sides were from a piece of Brazilian Satinwood while the box on the left has a Black Limba lid, the other box is Monkeypod wood. It’s all about the wood!!
