
To be sure, if there’s one thing I can be accused of it’s of over-building and/or over-thinking a project. Recently Diane asked for a floater frame for a recent work of hers. I can’t show the completed picture of it as her painting hasn’t been revealed on her blog or to her gallery so all you’ll get is a teaser image! Here’s a definition a floater frame if it’s something you haven’t heard of before. Where a traditional frame has the painting inserted from the back and held in place by the rabbet of the molding the floater frame has the painting inserted from the front. Generally there is a gap between the painting and the frame which is painted black so the painting appears to “float” within the frame.
Like so many of us do, the first step was to do a YouTube search for how to do floater frames. As with many instructions found on the web, most tended to be pretty crude consisting of different pieces of wood glued, stapled, or taped together. These methods may be okay for a quick project but not the gallery quality framing needed for this work. Diane asked for a gilded finish that allowed some wood to show through to compliment her painting which features a girl standing in front of a weathered, clapboard house. Rather than cobble pieces of wood together the frame piece (1 3/4″ x 1 1/2″) has a 1/4″ groove cut in the inner surface. Another 1/4″ x 1 1/2″ piece was milled to fit in that groove and support the painting. Timber Woodworking and Machinery had some beautiful 8/4 Basswood for this project. Just like with furniture work; joinery and glue results in better quality then using just glue and nails or staples.


After mitering to size, a #0 biscuit slot was cut into each end and the frame was then glued and clamped overnight. I realize that this is easier for sizing, the gap of 1/4″ all around can be off a little one way or the other and no one will be able to tell!
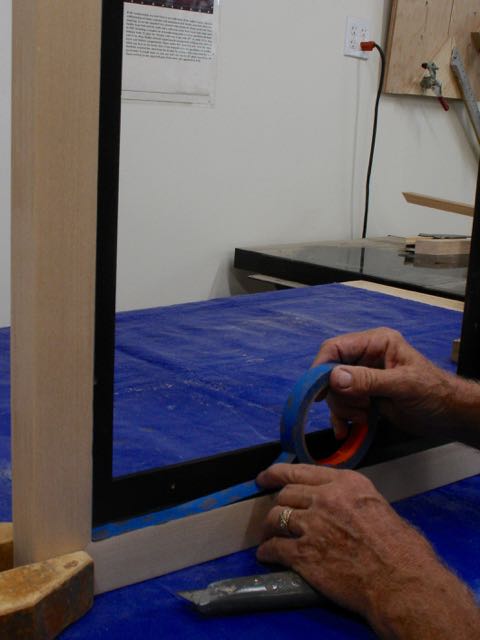
Masking off the inner surfaces
The cut offs from the molding were used to experiment with the finish for this frame. Prior to the size application, the face was taped off and the inner surfaces painted black. Once that was dry it was time to tape off that black, inner surface and apply the oil size — lots of masking tape for this project! My initial thought was to just apply a coat of slow set size and gild directly over that but apparently the Basswood absorbed too much of that to get good adhesion for the leaf. A second coat was needed for good adhesion of the leaf. In the future the frame will probably be sealed with shellac prior to applying the size.

After the gilding was complete and the frame thoroughly dry it was time to achieve that weathered look Diane wanted. Using the cut-offs to experiment with the technique was a good choice. Steel wool (4/0 oil free) will take down the gold but the results are rather scratchy and rough. A slurry of rottenstone and denatured alcohol worked into the surface gave an okay effect but the rottenstone added a grayish, dirty effect to the finish. The best results came from using a white scotch pad and denatured alcohol. By wetting a 12″ section or so first and then going back with the DNA and pad I could remove bits of the leaf and expose the wood underneath. The first, wetting application of the DNA was done with light pressure and moving the pad back and forth. This softened the leaf slightly and also took away some of the abrasiveness of the pad. Increased pressure and moving the pad in one direction allowed me to observe what was happening and stop (hopefully!) before going to far. The surface felt slightly tacky but after drying for a couple of hours it was sealed with two coats of clear shellac applied with an air brush. The final step for the frame was using the white scotch pad with Liberon Black Bison wax to smooth out and completely seal the frame. I think that if you look at this picture the effect on the frame mimics the weathering on the house in the painting. Most importantly though — Diane is very happy with it!
One final note about this frame. Some of the video’s and info on the web suggested using double stick tape to mount the painting. I opted to pre-drill the frame for #6 screws. The holes are slightly oversized to allow for any slight adjustments. Spacers (1/4″) were placed around the canvas when it was in the frame to locate and center it properly. After pre-drilling the stretcher bars with a gimlet the screws and washers are attached and we’re done!

")

Pingback: Gilded Floater Frame in Progress | Woodworks by John
Pingback: The Eugster Collared Floater Frame | Woodworks by John