
Custom Frame
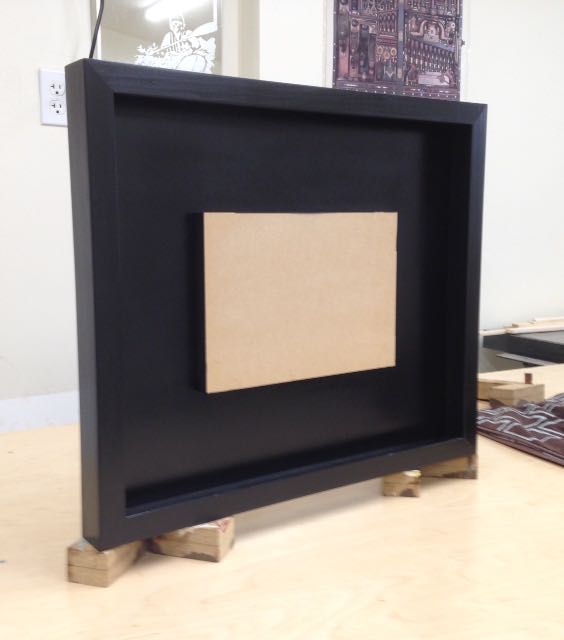
June has been a busy month as far as frame making goes. Kind of ironic because I’ve just fallen down that Kumiko rabbit hole and have a project half way started with that. However, with my philosophy of keeping this passion self funded, paying clients get priority! A frame that was recently completed is the one shown at left. It is currently at FraminWorks here in Phoenix and they are doing the mounting of the pastel which will be attached to the block in the middle. Very thankful that they are doing that for my client, pastels are much trickier to frame than oil paintings. Ironically enough, I’ve had contacts with the farmer there on the Picture Framers Grumble! As soon as my client gets it from them I’ll post a picture of it. The pastel is of three, colorful ice cream cones and will be mounted under glass.

Fine Tuning the Miter
The bigger frame order was for five frames with a custom profile that are scheduled for delivery this Thursday. The milling of the wood and assembly of the frames is covered in this BlogPost. Actually, the final finishing steps for these frames took the bulk of the time! My client asked for the smoothest possible finish without any wood grain showing through the finish. They are finished with three coats of satin black paint over a clay based sealer. The sealer I use comes from LA Gold Leaf in a few different colors, for these I used their red. Since these are closed corner frames it’s important that the miters do not show. No matter how carefully frames are glued up, there may be a little variation at the joint. In some instances that may need to be planed off but usually sanding is all that’s required. I use pencil to go across the miter, when the pencil lines are sanded off completely the corners done. Once I was satisfied with the corners it was time to brush on the sealer. I always tape off any part of the frame that won’t be finished to leave a smooth, clean transition. After the sealer is completely dry it is block sanded by hand with 320 and 400 grit paper. The beauty of the sealer is that you can see which areas need attention due to the color change.


Corner Sample for next frame
Since these paying jobs are almost at the finish line it’s time to go on to the frame for one of Diane’s latest paintings. It’ll be carved and I was inspired by the subject and palette to try a rust colored sealer and a series of randomly placed leaves. I’ll leave you with a teaser picture of it and go into the details on the next blog. Of course, there’s the box with the inset Kumiko Asa-n0-ha piece waiting for me too!
