
There’s a feeling you get when you complete a long project that is often compared to childbirth, kind of a let down that it’s over but overwhelming joy at the results. As an ultra runner that was a feeling I’ve experienced many times. After months spent training for an upcoming 50 mile mountain race as you reach the finish line there’s a mixture of joy and sadness that it’s done — finito! With all of the interest I’ve had with this project I hope to make a few more for others. Always a challenge for shipping but if you’re in the Phoenix area and interested please do contact me. Here are a few pictures that Diane took with her camera and the lighting she uses in her studio for her work.


Every project is a learning experience and this one was no different. I’m often asked about the methods used to design my work and it generally begins with sketches then progresses to scaled drawings with detailed joinery done on 1/4″ graph paper. The legs started out just being tapered but after doing a mock up (another one of my design methods) I could see that curving them added a lightness to it. Since the Kumiko is “light” the top was tapered on the bottom edge and I wanted it to “float” as well — emphasizing that feeling of lightness.
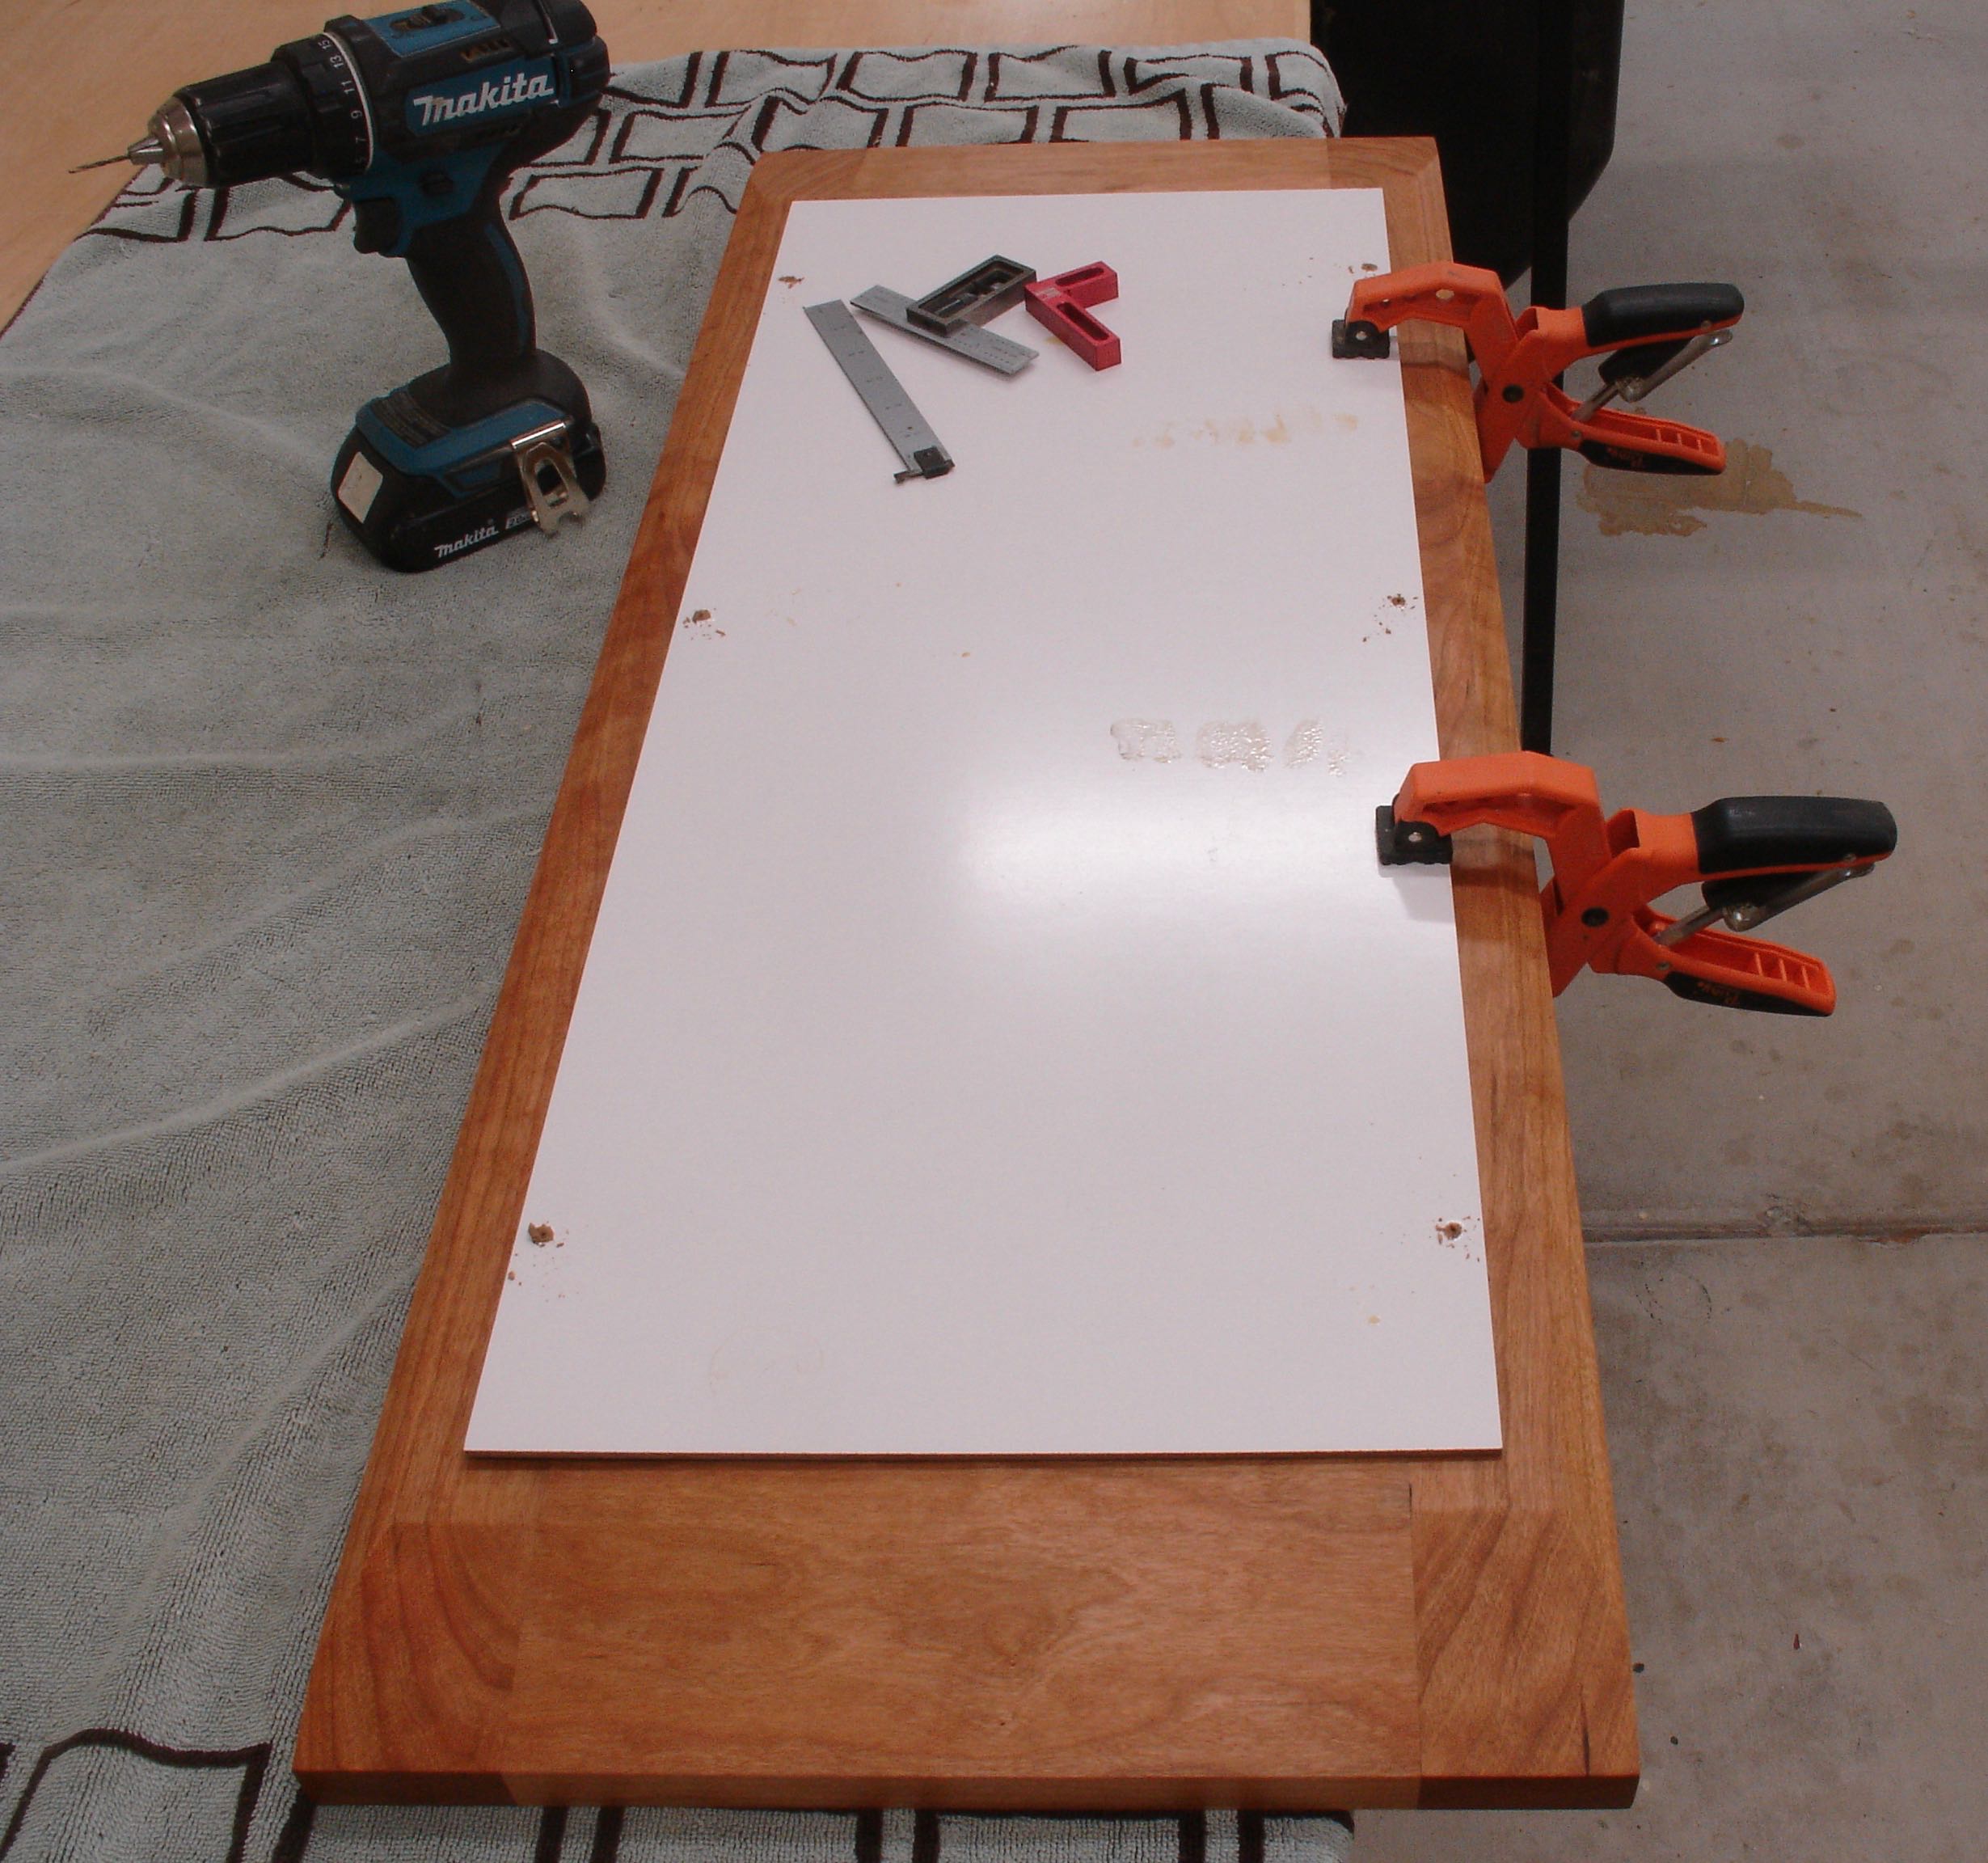
Template for top/apron fitting
The challenge of locating the 6 dowels accurately in both pieces was solved by making a template that fit the top of the apron exactly. After drilling small pilot holes the template was turned over onto the top. After centering it and locating the holes they too were drilled out. The top floats about 5/8″ above the apron. Gorilla glue was chosen for this since removing any squeeze out is relatively easy. The table and top were finished before this happened.
The final step was to fit the Kumiko panel into the table. Acme Glass in Scottsdale is where the 3/16″ tempered glass was purchased. I needed to lower the rabbet a slight amount which was harrowing to say the least! Something learned on Kumiko is that a panel of this size can bow a bit, also the pieces I’d cut for the rim needed some fine tuning to hold everything securely. Also needed to completely remake a short piece by scribing it with the panel in place, then marking which side to cut on, and finally mitering it to fit.


All things considered, I’m really pleased with this project and hope to make more pieces like it. It’s all about the wood, Diane took thispicture of the Kumiko panel, under glass with her camera which really emphasizes the contrast of the Cherry with the Basswood. As I look at it my eye goes to every little mistake I can see — isn’t that what we all do? I’ve learned over the years that perfection and woodworking rarely go hand in hand so just strive to do the best work possible.

Kumiko under glass

Beautiful table John. I think the design is excellent and I love the kumiko.
LikeLiked by 1 person
Very beautiful uncle.
LikeLiked by 1 person
Thanks Michael and Happy Birthday yesterday!! Glad you’re looking at my work, it takes a lot of time and often wonder if I’ll ever get as good as I’d like to be. That’s what keeps us going right?
LikeLike