
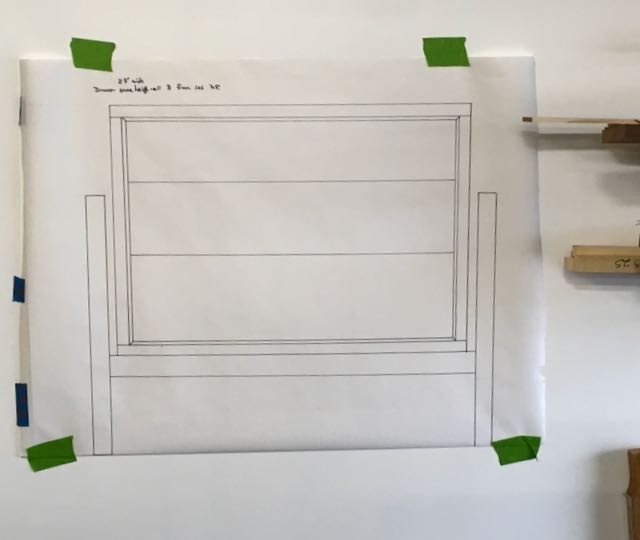
After having our nightstands for quite some time and then seeing how the cabinet turned out for our guest room we decided that we too could use some new night stands! Previously I did a project using vertical grain Douglas Fir and even though it’s challenging to work with decided to go with that material. The first step for my work is to do some sketches and then make a full size drawing which helps me see proportions better. These night stands will have 3 drawers in each unit and be approximately the same size as our existing pieces.
My source for the wood is Peterman Lumber here in Las Vegas. The usual way lumber is purchased is random width and random length but the VG fir is stocked in 1×4, 1×6, 1×8, 2×4, and 2×6 and you are required to purchase the complete board! Most of the stock was 16′ in length so careful planning was needed on my part to not under or over purchase. After looking through it all and figuring where to cut it so I could transport it I brought it home to begin work. Unfortunately, one piece had some internal cracks that didn’t show until I began to process them so ….. ended up getting another 16 footer two drawer fronts, no problem, they can be used later.
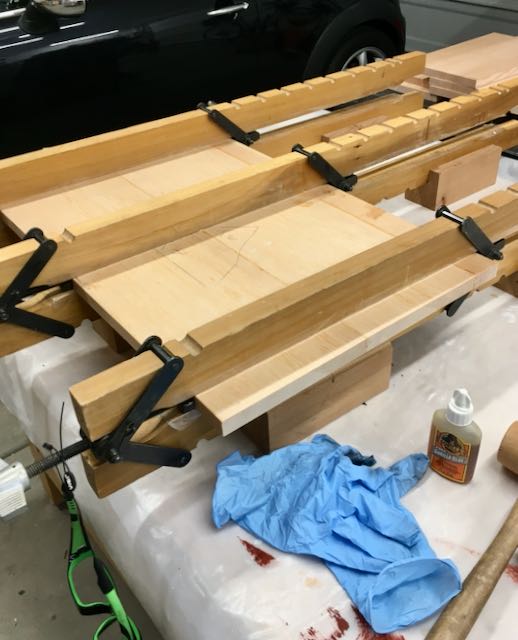
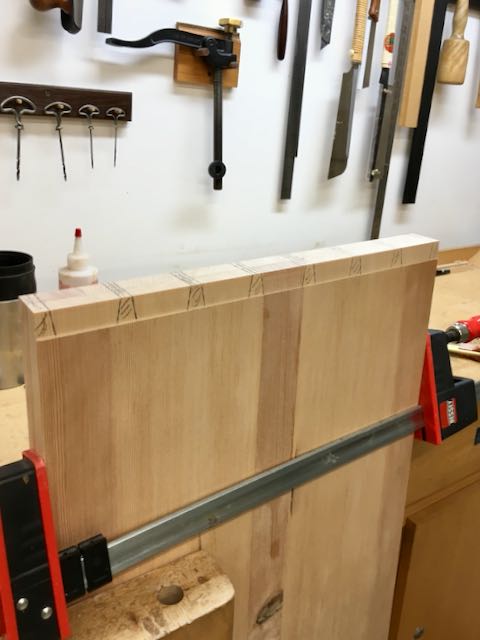
The 1×8 stock only measures 7 1/4″ in width and has radiused corners, these need to be planed off and square to create each panel. Since I need a width of about 16″ a narrow piece is needed to get to that width. My first thought was putting the narrow strip in the center but that created a stripe which was acceptable for the bottom pieces but not the top. For the top and sides I created panels and tried to match the grain/color as closely as possible with two, full width and a narrow piece that will be on the back of the units. I use these old parallel clamps that work great and Gorilla Glue to do all of my panels. It’s one of few times I’ll wear gloves, that glue really sticks to my skin!
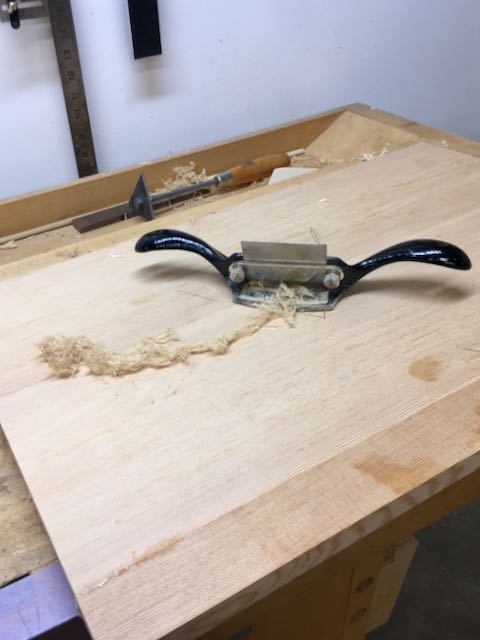
After glueing up 8 panels work began on the dovetail joinery. The panels came out nice and flat (thanks to those clamps) and the joints were flattened with my old Stanley #80. While glueing up I chose the pieces I wanted for the sides, tops, and bottoms. Some of the bottom pieces have a couple of knots and sap pockets but I don’t mind them there. The construction is through dovetails which I chose to highlight the grain, My design plan is to have the end grain of the pins make an artistic statement — the goal being to create a piece that is contemporary and functional with clean, straight forward lines.
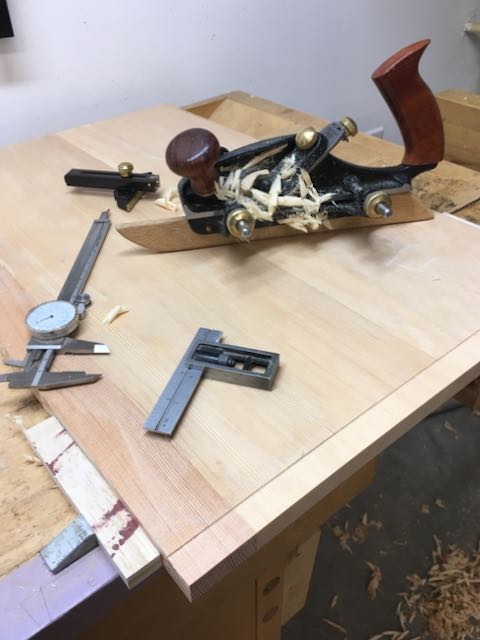
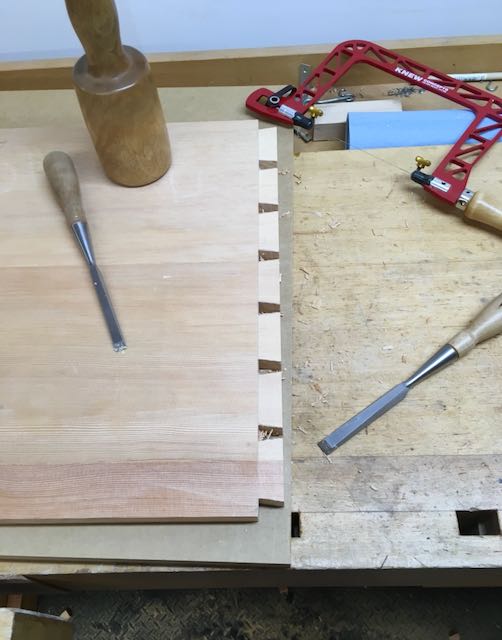
I’ve been accused of getting too wordy so I’ll let the pictures do most of the talking. I use Lie-Nielsen dovetail saws and chisels for my work. I also cut a slight rabbet on the inside of the tail board to create a clean corner, this is referred to as the Stanley 140 trick. This time I also used a tried technique I saw in Fine Woodworking magazine by Michael Pekovich where he used blue painters tape to lay out dovetails. I diid that because the vertical grain of the wood is so pronounced it made it difficult to scribe straight and accurate lines — it worked great! For the first time too, I used a guide to clear the waste between pins. That space is about 1 3/4″ wide and I wanted it to be as straight as possible. I also deepen the scribe line before sawing out the bulk of the waste. My glue of choice is Old Brown Glue and it gave me ample time to get things together.
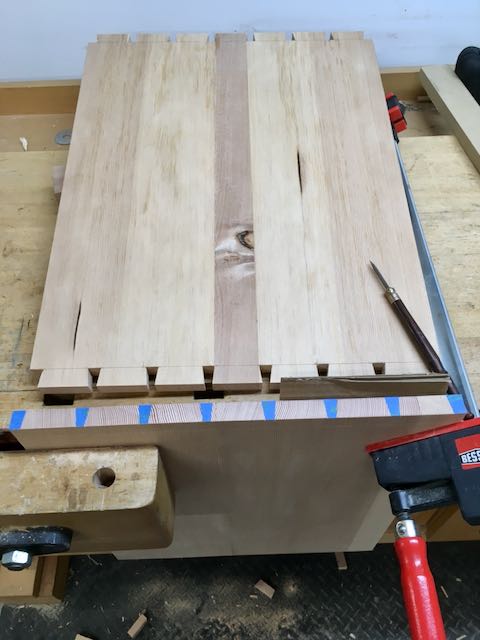

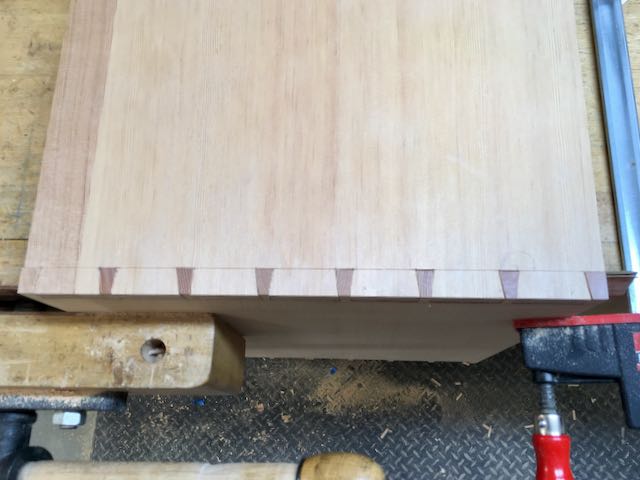
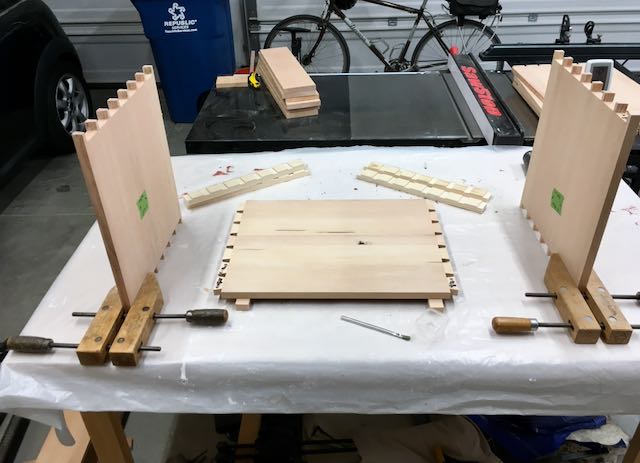
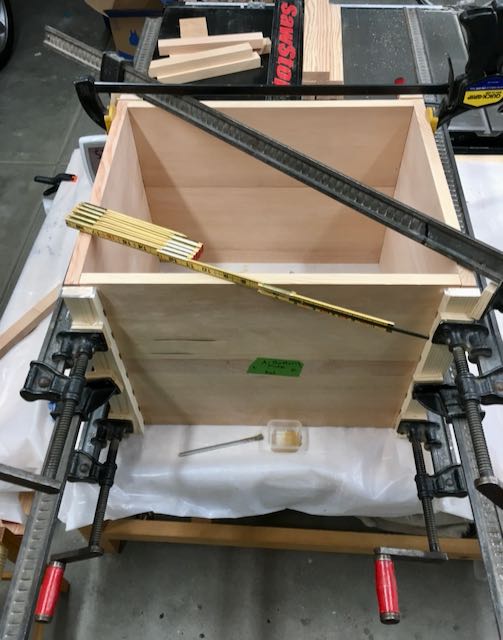

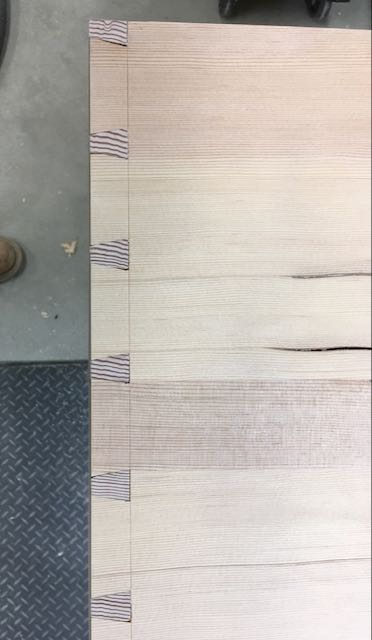

The last three pictures show the before and after of how the end grain of the pins look once they’re planed flush — I really like the contrast. I had to be creative to figure out how to hold the assembled cabinet but like they say: “where there’s a will, there’s a way”. I’ve continued work on the legs, stand, and backs of these night stands and plan to get most of it assembled before tackling the drawers.
