
Those of you that follow my blog probably remember the rabbit hole I fell into a number of years ago when I first started doing Kumiko work — well, I believe I’ve found yet another one; weaving wood to create panels! This all started last Christmas (2025) when my Christmas wish list included a reed basket weaving kit from a company called My Own 2 Hands . I’ve always enjoyed weaving Danish cord and Seagrass for seating and we could use a basket to put shoes in by the front door. Long story short, the company had just started shipping to the USA and the reed they supplied was way too thin and very poor quality. I asked for and received a refund and assurance that they would ship a new kit when available, free of charge. Apparently they haven’t succeeded in that because several emails over this year haven’t resulted in a new kit and so …….. on to another Rabbit Hole we go!
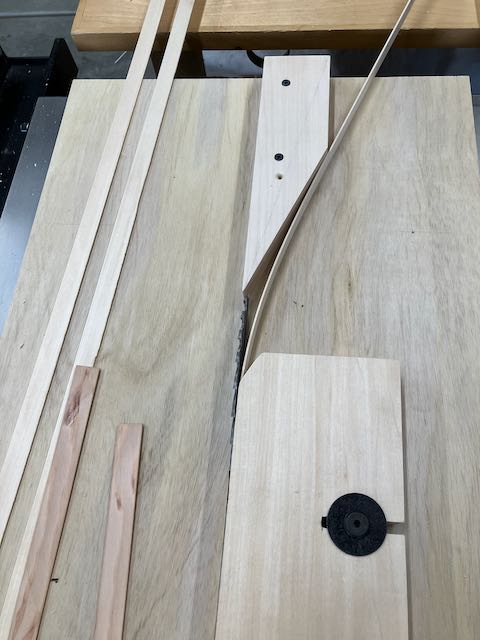
This is what’s to blame — a thin strip jig for the tablesaw that started showing up and you know how that goes. Once you hover over a post the algorithm starts feeding you more and more of the same! I never ran across one that gave dimensions but was able to figure it out and here’s the resulting sled. The strips are pretty consistent and it’s adjusted for just shy of 1/16″ thick. One thing I noticed is that there is a tendency for the trailing end of the strip to get thinner, no doubt due to no support at the end of the board. Easy enough to cut them a bit longer than needed and trim off 2″ of them. I’m using Basswood and Sapele. Next up is making a framework that is somewhat basket like.
The basket will go underneath a hall bench that I made some time ago. I had some European Steamed Beech so that’ll go nicely with this bench. The basket will measure roughly 12″ deep x 14″ high and 22″ long. The first step was to make the framework using mortise and tenon joinery. The sides were left about 2″ long, my plan for assembly is to use splined miters to join them. Once dry, a 1/2″ wide rabbet was cut into the back side about 1/4″ deep. The plan is to insert the yet to be made woven panels there. They’ll be glued and pin nailed in with battens — at least that’s the plan!
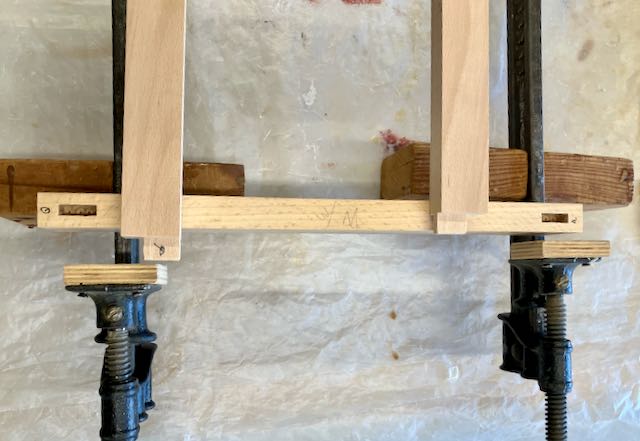
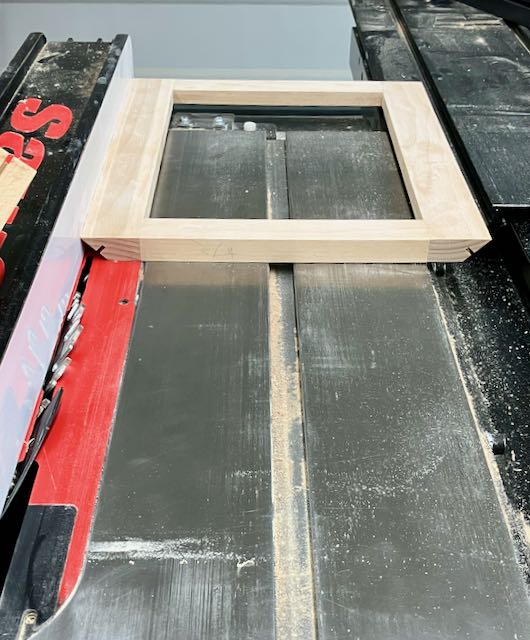
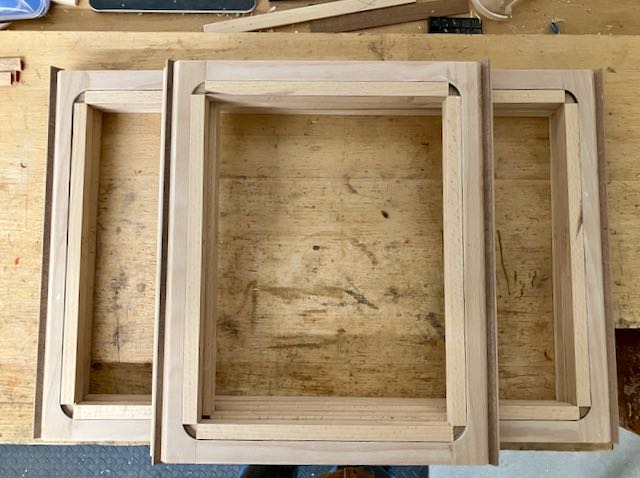
Using a rip blade, each panel was mitered to size. The picture on the left shows cutting the groove for the spline. On the right are the fitted battens that will be pin nailed and glued to secure the panels. Something I discovered that you can use a planer to create the spline from 1/4″ MDF. The kerf from my rip blade is about 3/16″. A recommended technique is to have crossgrain spline that won’t expand and cause the miter to separate, that’s hard to do. MDF should work, I know glue may make it expand a bit but shouldn’t split the joint — fingers crossed!
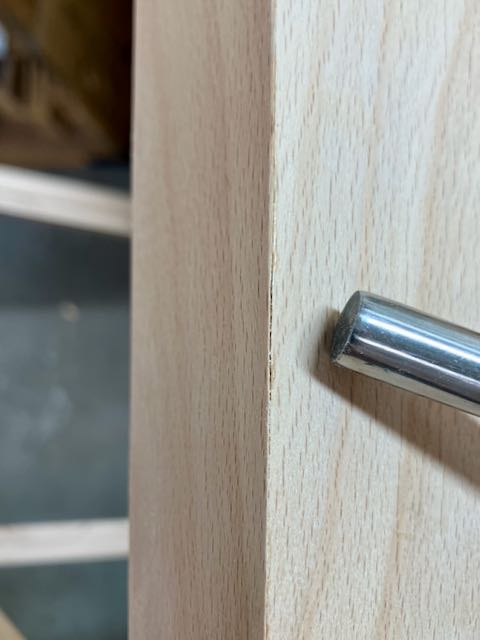
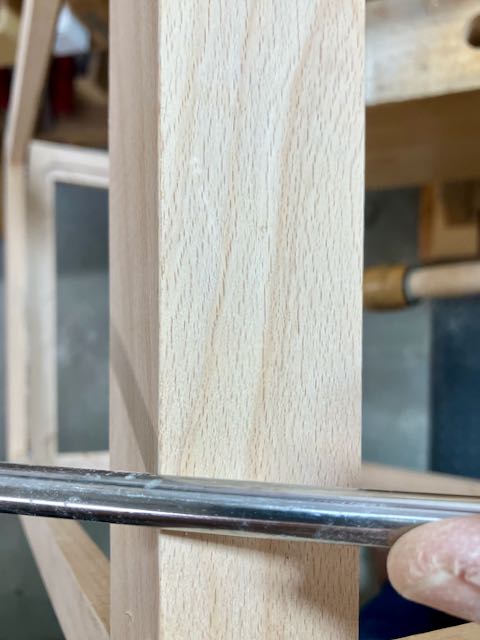
Glue ups tend to be stressful, I used Old Brown Glue (my favorite) for longer open time and easier cleanup. Then 3 picture frame clamps but still had a few minor separations; in retrospect maybe a caul may have helped even out the pressure. In any case, when I worked as a carpenter back in the 70’s we would use our framing hammer to “finesse” joints on exterior trim. Instead of the hammer a burnisher worked just fine as you can see.
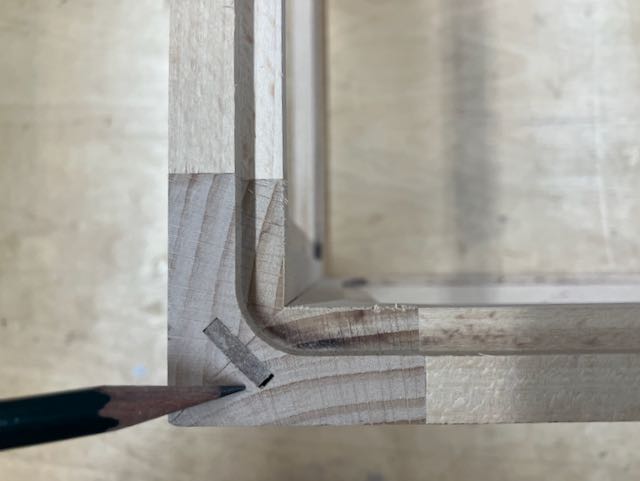
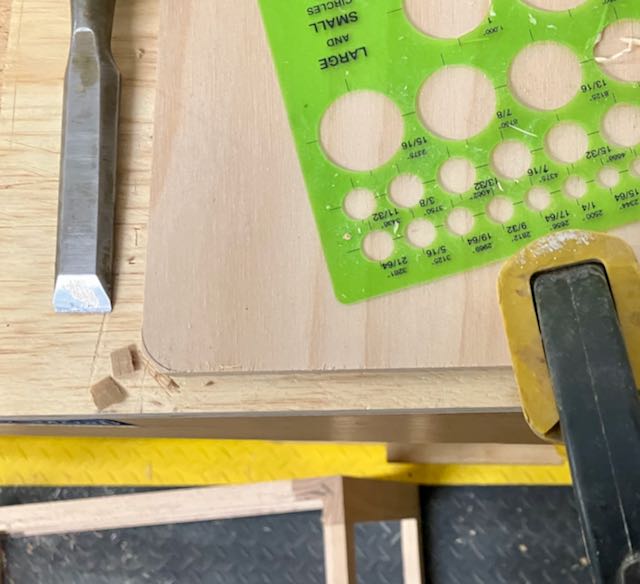
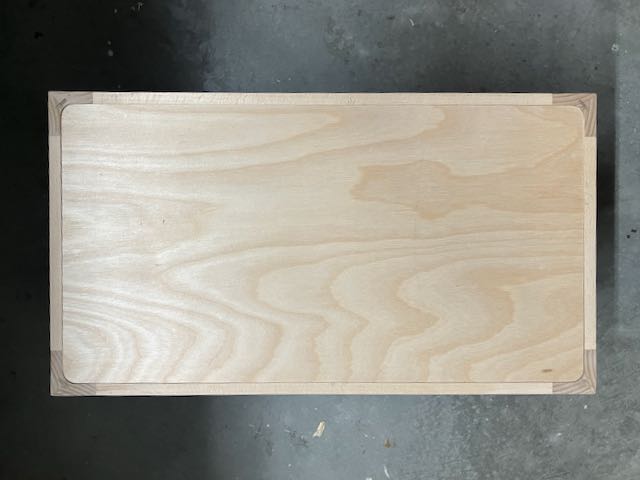
The bottom is a 1/4″ piece of plywood. Looking back, I could have cut a dado before gluing everything together but didn’t so used a rabbeting bit instead. Usually I’d square the corners but the spline is in the way. Solved that dilemma by drawing the radius with a circle template, chisel to the line, and then refined with sandpaper before installing it — now on to weaving the panels. I’ll leave you with this picture and if all goes well write a final blog about it. I think I’m approaching the bottom of this rabbit hole!
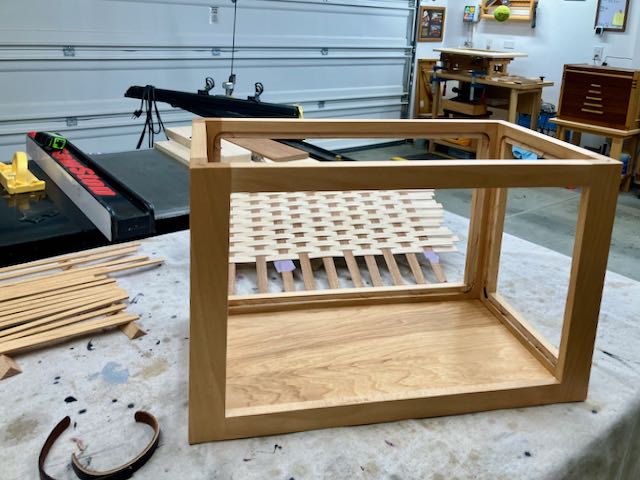
Admittedly, it does look a bit like an aquarium — stay tuned.


