Without a doubt, much of what you and I do as woodworkers is the result of “self-teaching” and a lot of experimentation with a bit of frustration thrown in for good measure! Even with today’s technological advantage of just Googling It, we still need to strike out and follow our intuition to figure stuff out. A case in point is my own quest on learning how to carve a closed corner picture frame. Yes, there are many examples of others carving them on YouTube and other sites but they don’t give a step by step procedure and many are in stop motion slide show format. You get the general idea from them but not all of the details. I’m probably looking at this through the eyes of a retired shop teacher trying to figure out how to teach it so thought I’d give it a shot on my blog — you can decide if it’s worthy of being called a tutorial. Here’s the results so far, then I’ll back up and explain how I got to it.

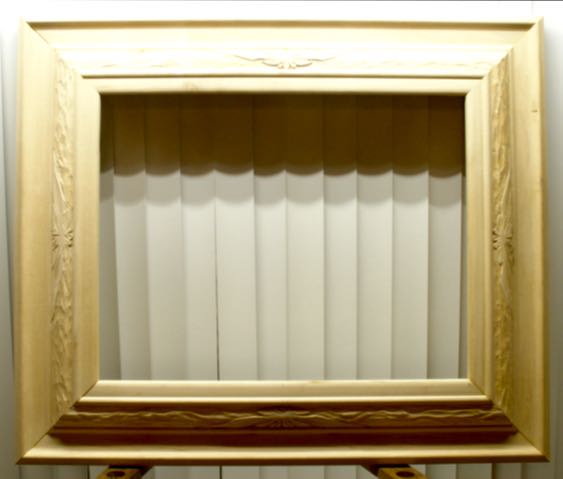
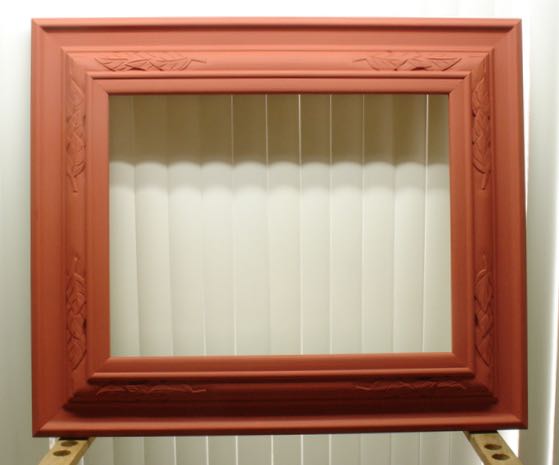
Frame so far: 5/7/2016
Here you can see it set up on the bench in poor light but you can make out the corner motif and the connecting ribbon. The design is from a picture frame we saw in a museum that caught my eye. Love being able to take pictures and manipulate the size but more on that later in the “tutorial”! When working on the bench and checking the progress in the raking light things looked pretty good and in this picture the bottom half seems to show good detail.
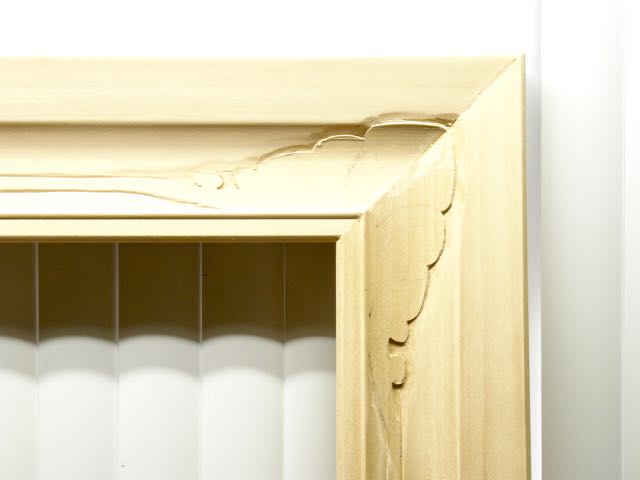
Corner Detail — needs refinement.
That being said, on closer inspection I see that the transition from the concave panel to the corner needs to be improved. Note in the large picture how the transition looks good on the bottom, not so much on top. Flip the frame over and it appears the same. I’ve found that a long bent gouge works well in these places, now I need to teach myself how to make that transition seamlessly!
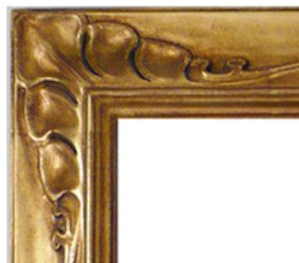
Frame Pattern
This frame is 16″ x 20″ and the last of the modified molding Diane had made at Foster Planing Mill. Every scrap has been used so with nothing to practice on I had to just go for it. The pattern is from a frame I photographed some time ago, can’t remember where I saw it though. When I taught, the way you’d copy, reduce, or enlarge a pattern was to draw a grid over your design, then plot points where the design crossed the grid. Next up was drawing a larger or smaller grid as required, re-plotting those points and then sketch everything in freehand. Lots of fun teaching that to junior high school students. Now all that’s needed is to put it on your scanner, drag it to the size you need and print it out! The size of the panel area is about 2″.

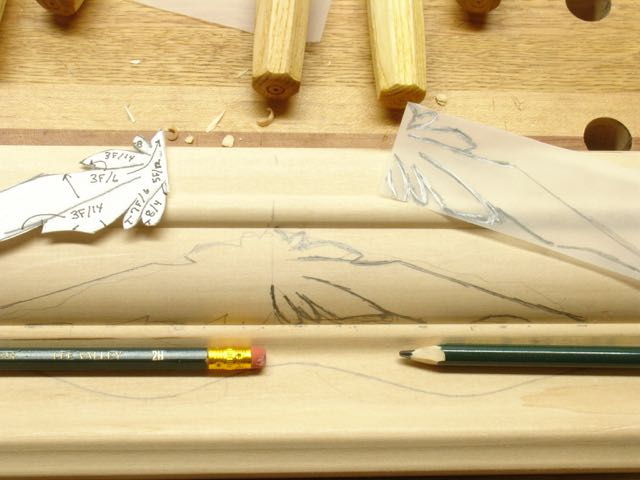
Materials to get design onto frame.
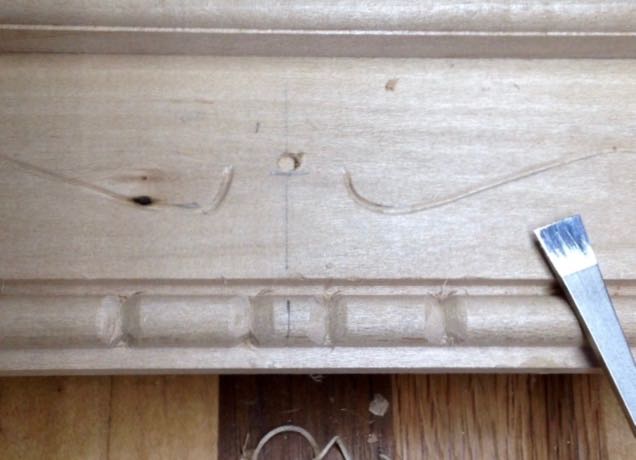
Although you can make a tracing of the pattern on tracing paper and then use that to get the design on the frame I definitely prefer to make a more substantial pattern from common plastic materials such as a salad container. The advantage to is that it’s stiff and can be anchored while you draw around it. Tracing paper tends to slip around so isn’t as precise. Once the size is correct, the pattern is glued to the plastic. Making only a half pattern ensures that both halves similar. Notice the tracing paper pattern to get the interior details? Decided it’s better to do that after the design is completely carved out, too many lines lead to confusion!
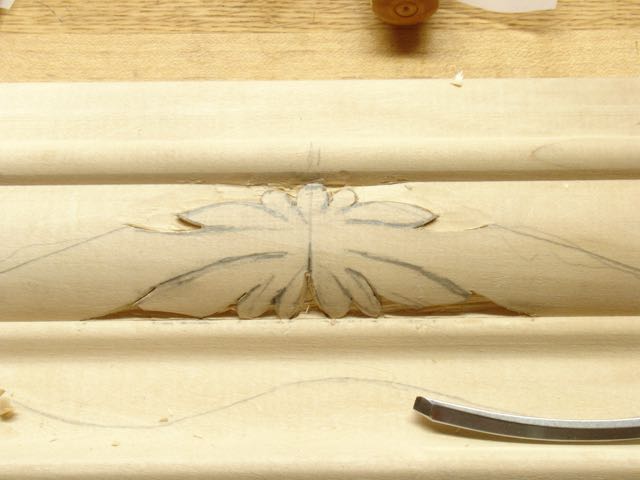
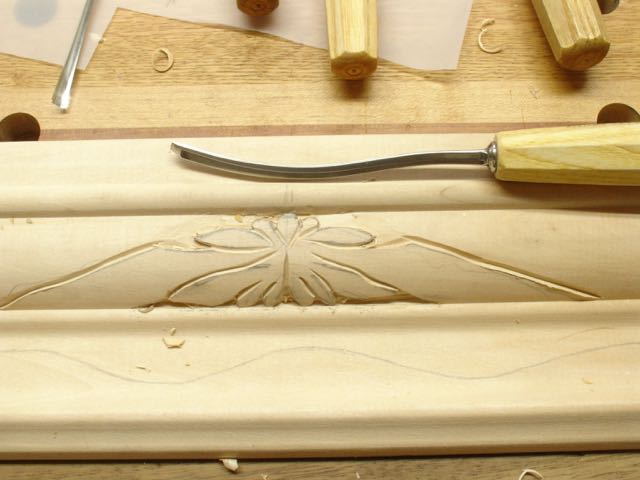
For the design to be consistent each curved section needs to be cut with the same chisel. The first corner took the longest and to keep myself straight the chisel sizes are written directly on the wood. A picture was taken of that for reference to lay out the seven, remaining corners. The picture comes in handy too when grounding out the design and needing to clean up the edges.


#2 Skewed Spoon
After the first corner is set, it’s fairly easy to follow the picture and I found that after 3-4 of them I knew which gouge to use where but having the paper for reference saved a lot of guessing. Grounding it out was done mostly with various #3 gouges, the connecting ribbon is done with a parting tool. An area that was hard to get at is between those two small leaves at the ends. Years ago I bought a pair of #2, skewed spoon gouges that really work well here. They’ve been modified a little and are a kind of awkward to use but they allowed me to get into those tight corners.

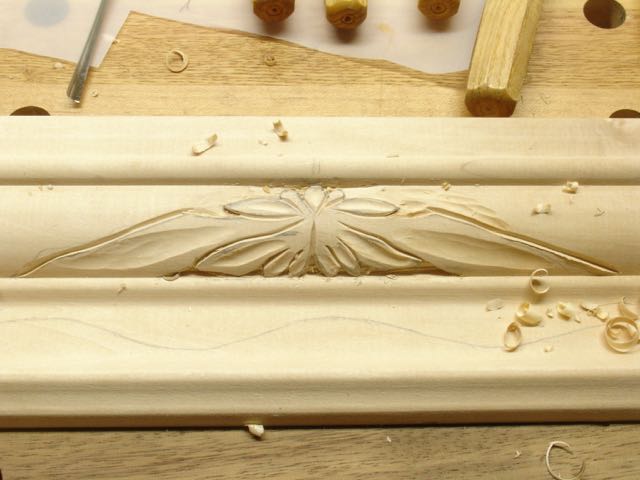
Almost done
Working one corner at a time around the frame was my method, that way I could try to duplicate each design to stay as uniform as possible. I thought it was pretty well done until the final pictures showed otherwise! Smoothing the transition is the next step prior to modeling the leaves. That will be the next “tutorial” on carving a closed cornered frame. Hope this was informative, let me know if you need anything clarified.