John’s Armoire Plan
It does seem as if I’ve been working on the Armoire for a very long time. It has most definitely come a long way from the drawing but when I add two large projects for clients, a couple of Etsy custom orders, and a picture frame or two to the equation it has been a long process! I’m reminded of when I built my house in Boulder City in the early 80’s. At that time there wasn’t such a thing as a blog and since I thought only girls wrote diaries I chronicled the process thinking of possibly turning that into a book. I carefully kept track of the number of hours I spent on each phase of construction and there was one category; Pick-Up that took a lot of hours. Basically it was taking care of the little odds and ends needed to complete the house — that’s where I feel I’m at on the Armoire now. Here are the ones I can check off of the list now.

Door Panel, Flattening with Scrub Plane
Door Panels: There were a few pieces of the Mahogany that had some birdseye characteristics to them so they were reserved for the door. Initially they had a thickness of 5/8″+ but during storage in the bathtub one developed a bit of a cup. I needed to bring it flat and then re-surface both panels to roughly 7/16″ thick. By now they are finished and assembled into the door.
Corner Brackets: A seemingly minor item you don’t think about until you need it. If you refer to the drawing you’ll see that the section with the door has a top. I needed to make angled brackets with over-sized holes to attach the top to the cabinet. Seems like it should be a quick process but first comes sizing the lumber, then cutting the angles, then going to the drill press to drill and countersink the screw holes. One more large hole for attaching the top and finally climbing up on the ladder with drill, screws, beeswax, screwdriver, etc. to get them installed.

Part of the process

Completed brackets

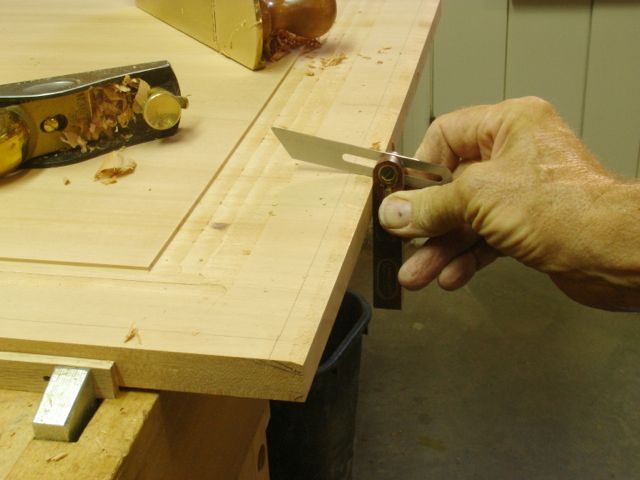
Planing and checking top bevel
Top Edge Detail: The bottom edge of each top is beveled slightly to create a small shadow line and give a sense of uplift. These were done with hand planes and much of it involved end grain since the grain on the top runs from side to side, not front to back.
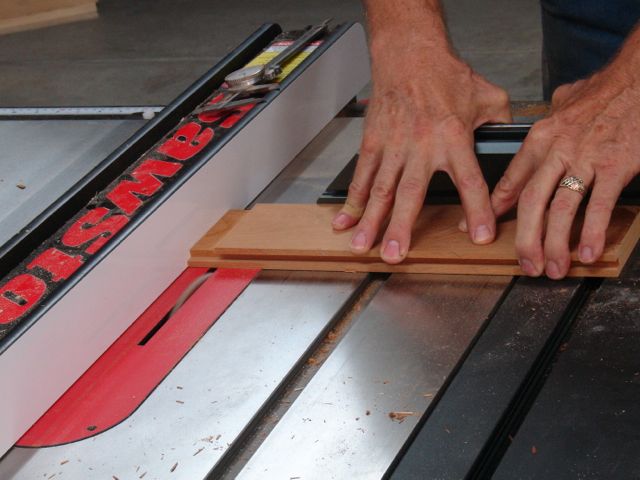
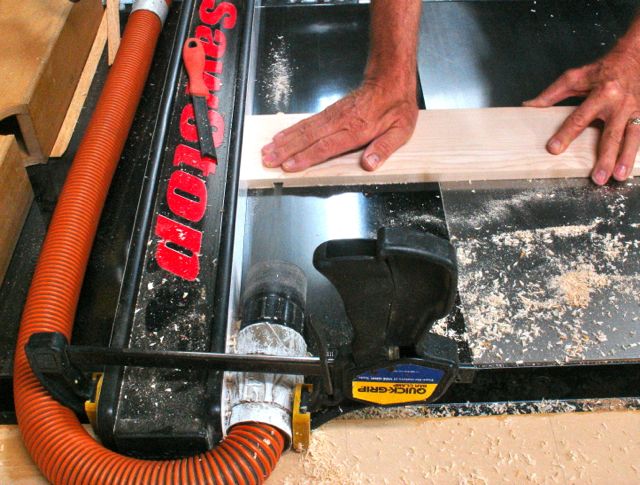
Molding: My first design concept was to not have any moldings between the cabinet sides and the top. Since there are some inconsistencies with the flatness of them, I could see that a molding was needed to disguise that. I choose to make a very simple, 5/16″ x 1/2″ molding with a bevel on one side. Trying to hold that thin of a piece while planing an angle on it was difficult to say the least. It’s so flexible the pressure of the plane moved it every which way! Here’s how I solved that problem. I clamped a planing stop in the vise, laid the molding next to it and then planed the edge by using the stop edge as a guide for the plane. By tilting the plane on the bench I could get a consistent angle. Once the cut began, it was easier to hold the plane stationary and pull the molding under it.

Plane angled to bench, guided by stop

Plane stationary, pulling molding through

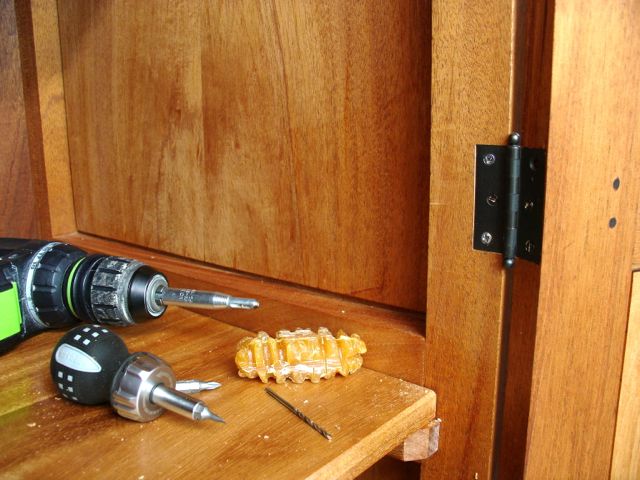
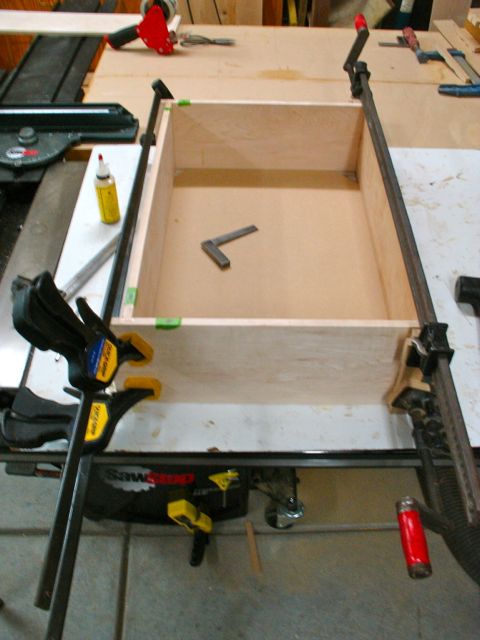
Jig and tools used for Hinges
Door Installation: This is an area where all of your work can go down the tubes. This is my first piece that has three, mortised in butt hinges so I was pretty cautious. First off, decided to go with Horton Brass since their quality is well worth the expense. It took the better part of the morning to install them starting with making a jig to insure the depth would be consistent. For many of my boxes I’ll do this operation without a jig, just chisel and marking gauge but for this project I wanted to eliminate any inconsistencies.

Practice hinge installation
The jig is made of a piece of MDF and Poplar and I’m using a 1/2″ pattern bit with a top mounted ball bearing. The picture at the left shows the hinge installed in some practice material. I really like the looks of this hinge and the Horton quality can’t be beat. There’s just no comparison to hinges made of rolled brass at one fourth the price of these.

Door hinge installation
Now that the practice was done it was time to take a deep breath, put the door in the vise and do the real thing. They were located at the inner edges of the top and bottom stile and centered on the center stile. The door was done first. After the router removed the bulk of the material I carefully chiseled the corners square and mounted each hinge with the center screw only.
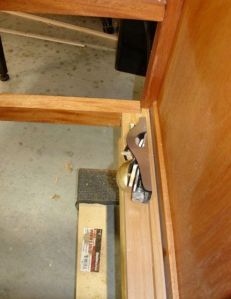
The next problem to solve was how to route the cabinet side, at this point the cabinet is upright on the dollies. I figured that trying to work sideways with the chisel and routers would be precarious to say the least so padded two sawhorses and Diane and I were able to lay it on its side. To set the reveal around the door I used nickels. The top and bottom hinges were installed first (center screw only) then the center hinge. I hope it doesn’t come back to bite me but I did need to apply some pressure to the center of the door to get the hinge to seat properly in its mortise.

Armoire on side for door installation

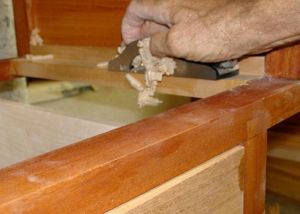
Installation complete, checking reveal on strike edge

Adjusting strike edge of door
Now came time to establish the reveal on the strike edge of the door. This was a trial and error process where the door was installed, reveal eyeballed and marked, door uninstalled, and then planing the edge. Once the reveal seemed correct I planed about a 5 degree angle on the strike edge of the door. So far so good, hopefully things won’t change too much as we have some monsoon moisture coming in. I’m learning there is quite a bit of movement with the Mahogany when our humidity levels swing from the usual 8-10% up to 50-55% when the monsoons hit. Since the Armoire will be in the house with the central air conditioning the humidity levels should stabilize. Hey, it’s always a learning experience!

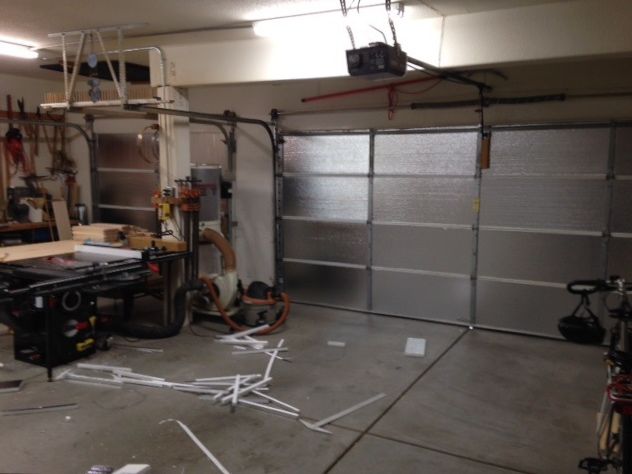
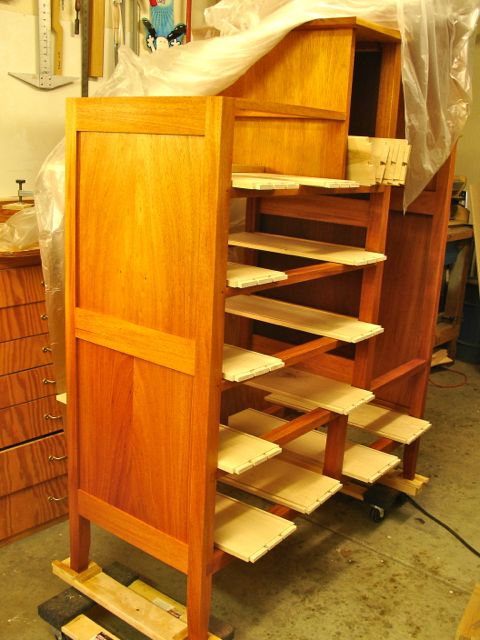
Day’s End
At the end of the day, we’re looking like this picture in the shop. All of the drawer sides (in and out) now have two coats of blonde shellac on them. That goes for the pile of drawer bottoms you see on the assembly table as well. I make my own shellac with flakes purchased from Shellac.net which is in California. I’ve been dealing with Ron there for many years and he’s always available for advice and shipping from him is quick. Just a side note here, I’ve found that a good way to clean brushes used for shellac is after you’ve used denatured alcohol to clean them, follow that with a bit of Murphy’s Oil Soap and warm water and your brush will be soft and clean for the next time.
Time to call this a blog so you don’t get bored. Drawer bottoms, wax, and installation seems to be all that remains — Alleluia!

 It was great to take a week off and go to the cool northwest — Spokane, Washington plus time in Rossland, British Columbia and a fantastic bike ride that was in both Montana and Idaho! The bike ride was on a portion of the Hiawatha trail that is part of the rails to trails program. This is a picture of me at the start of it which features a 2 mile long railroad tunnel. After 12 more miles of trail which included numerous tunnels and trestle bridges we reached the terminous where old school busses took us on a winding, rough road back to the first tunnel. This meant we had two more miles of wet, dark tunnel to go. Great experience with my daughter and two grandsons. She had them hooked to her bike the entire time in an off road carriage! The only negative to the whole trip were the numerous forest fires currently ravaging the entire northwest. The smell and sight of smoke was a constant reminder of the fires that are all over that area. After celebrating the boys birthdays it was time to fly home and get back to work.