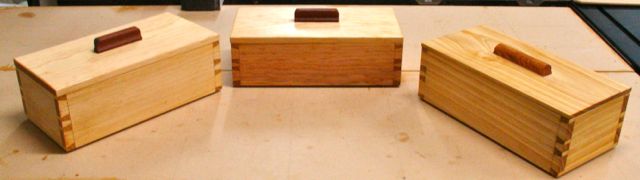
Wenge & Spalted Maple Boxes
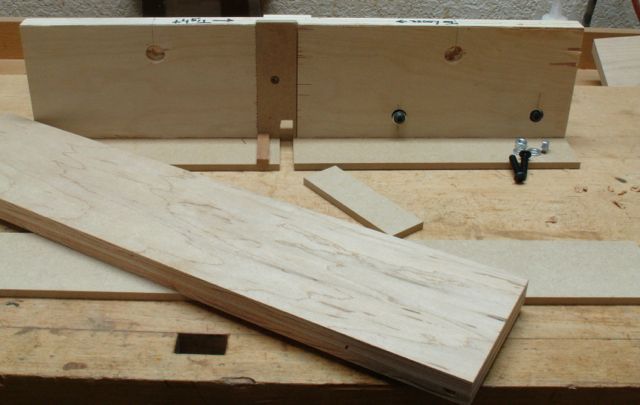
I like the direction this box series has taken so I’ll share this photo first and then explain the “back story”. On our recent visit to Spokane, my daughter wanted us to see a local lumberyard that had quite a selection of exotic woods. I ended up buying a good sized chunk of Spalted Maple that measured about 3″ thick, 10″ wide, and 14″ long. That piece is behind the unfinished box on the left. I’d always wanted to see how Wenge is to work with so ordered about 3 bf of 6/4 material from Woodworkers Source. That’s the piece behind the finished box on the right. Wenge is one tough, dense wood — more on that later; let’s start with the Spalted Maple.

Planing Spalted Maple
After planing one edge smooth and square the piece was resawn. This process began with two pieces about 3/8″ thick for the sides and then another two 9/16″ or so for the lid. I discovered that the spalting will change with every cut.

Spectacular Spalted Pattern
The process was the same, plane the slab, resaw, plane the slab again until I had enough for two boxes and their lids. The wood is a bit “punky” and tends to chip off pretty easily so sharp tools, light cuts, and a prayer helped to get it the way I wanted. It was pretty exciting watching each piece come off and expose the spalted pattern in that slab. When looking at the end grain of this piece I’m guessing there will be a lot of spalting towards the center of the board. Now comes the dovetailing and you know I’m a “tails first” kind of guy so naturally that’s where I began. After some experimenting I found that since the wood is “punky” a Japanese razor saw was the best choice even though I prefer using Lie-Nielsen dovetail saws. I discovered on the second box though that the dovetail saw worked fine when both pieces were clamped together and clamped low in the vise.
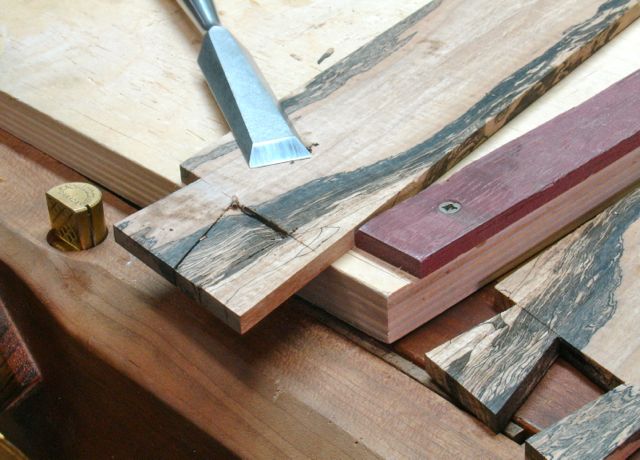
Chisel Work on Spalted Maple
Chisel work was another story! Happy to say though that the technique I use where I cut ever deeper wedges out of the wood works well for this wood. Started on the show side until about half way through then flipped the piece over and met in the middle.
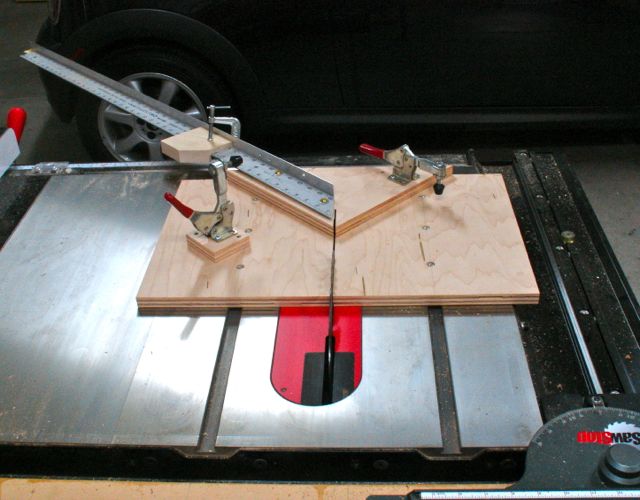
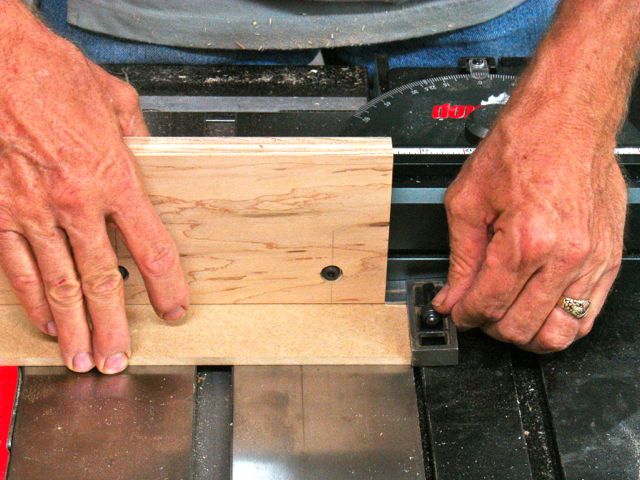
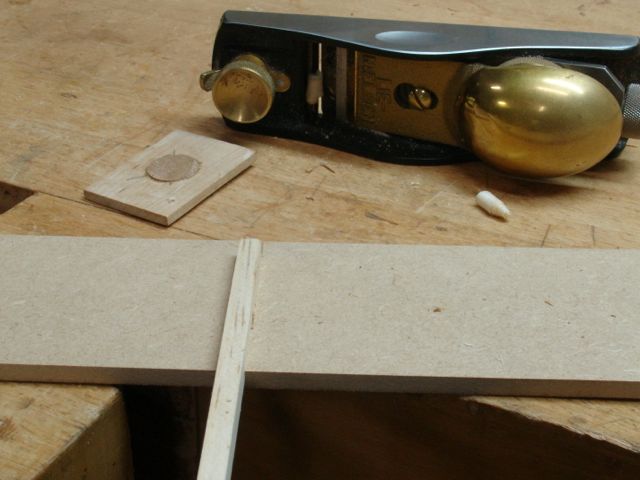
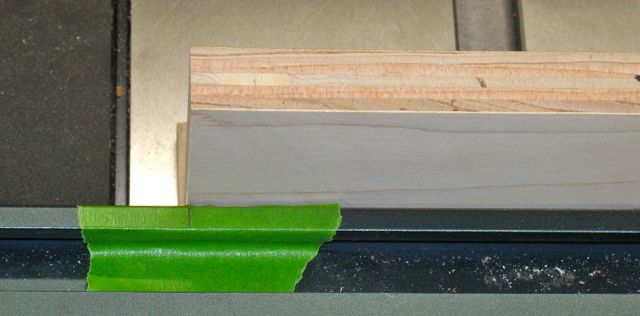
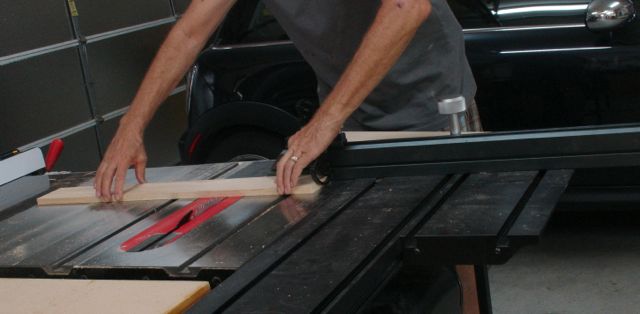
Whew — so far so good now let’s tackle that piece of Wenge! The first box has angled cuts on the top and bottom which were made on the tablesaw. I also was curious to see how this wood reacted to planing and/or scraping:


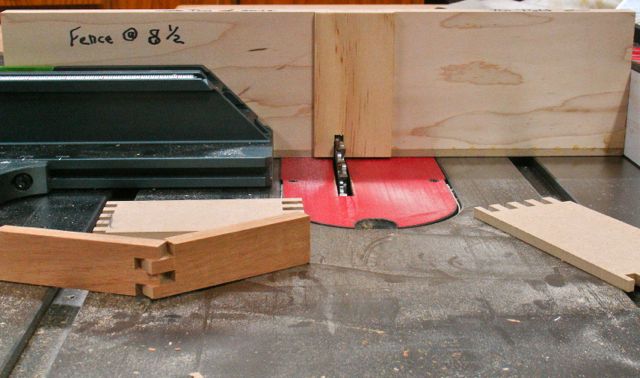
It was pretty tough going but the finish will be acceptable. I’ve read that Wenge is pretty hard on your tools so there is a sharpening/honing in my future! Again, the pin board, for lack of a better term, was cut first with a Japanese razor saw and finished with a 1/4″ carbide bit in a trim router and finally chiseled to fit. Honestly, chiseling Wenge is pretty much like trying to chisel concrete!

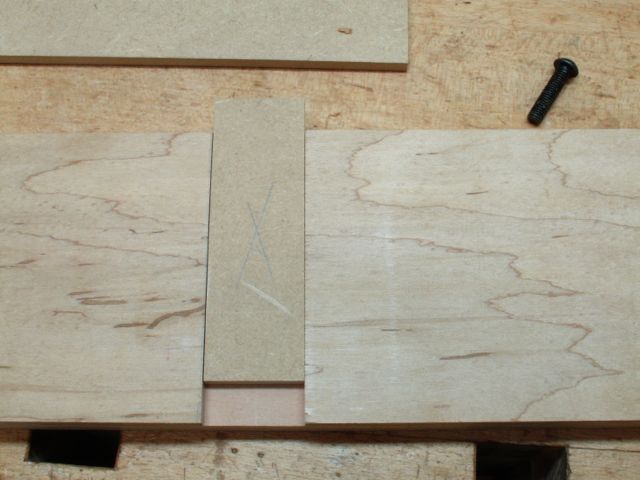
Chalk in Scribed Line
In a previous post I talked about the Pica Dry Pencil that I found at this years AWFS show. Having high hopes for this tool I really tried my best to like it but it just doesn’t work well. For starters the lead is too soft to hold a good point so you’ll find yourself sharpening it every two or three lines! Then, the colored leads they sell; which I thought would be great for working with dark woods like this, are equally soft and crumble like a kids crayon. Back to the old tried and true method of chalk rubbed into the line to make it visible.
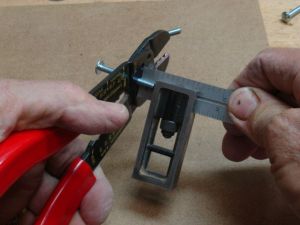
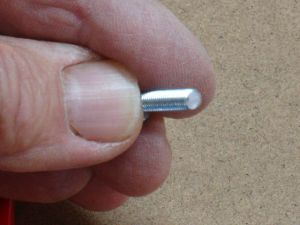
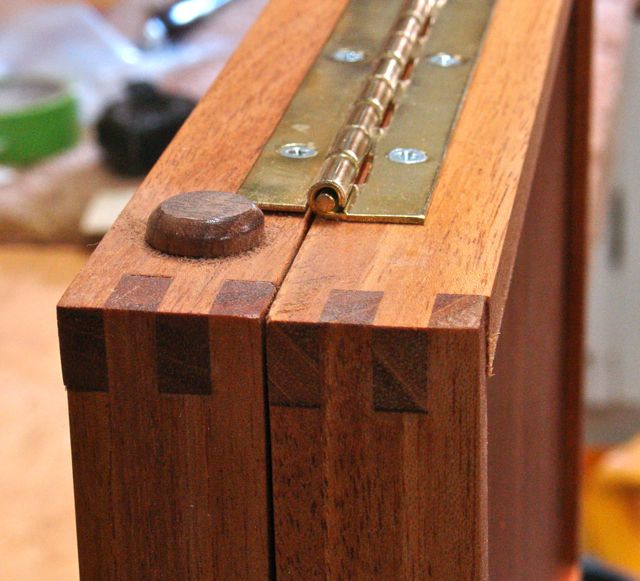
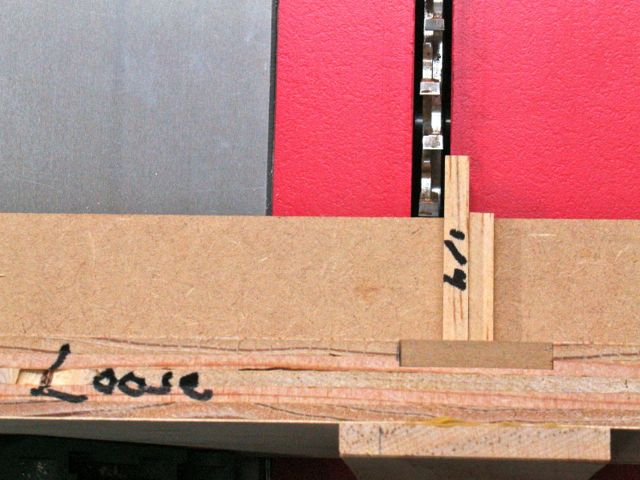
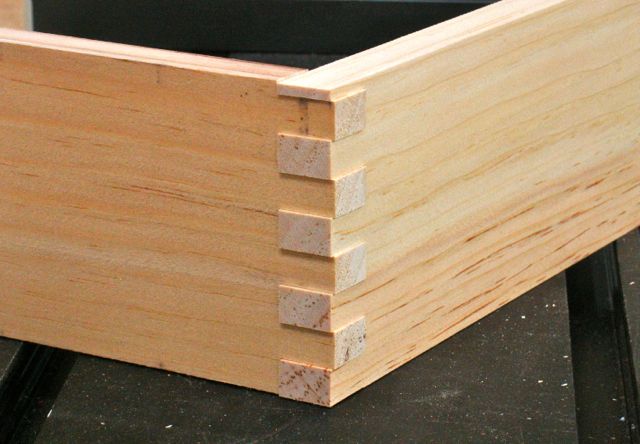
The completed box features my Slanted Dovetail design. The second one has large lap joints which I wanted to pin — would the Wenge allow itself to become a peg? Only one way to find out isn’t there? In a previous post I did a YouTube video making dowels. You can check that out but here’s a slide show of it as well:
The material I used was the small piece cut from the first boxes lid rabbets. Pleasantly surprised that the Wenge cooperated and became pegs for me.
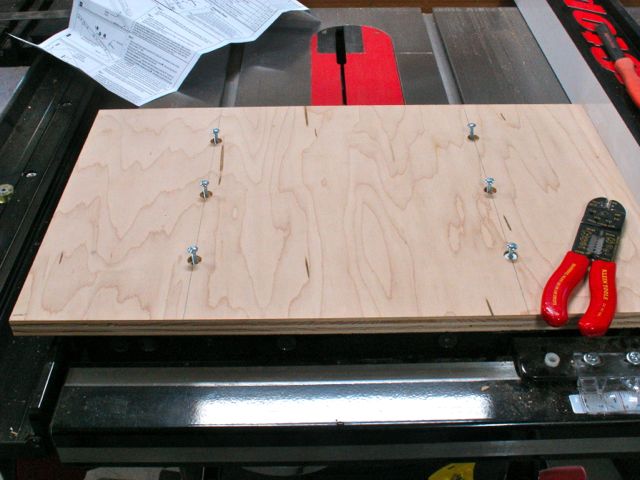
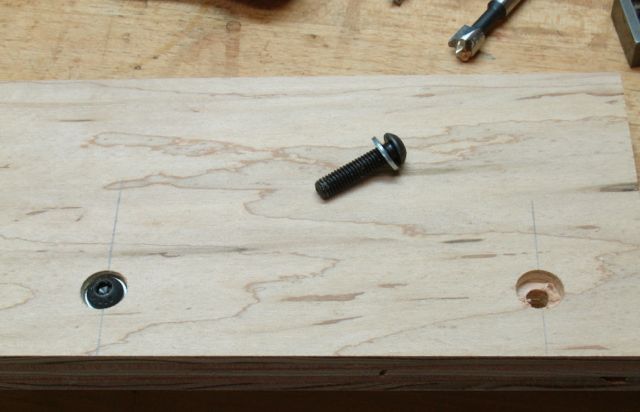
I like using Gorilla glue for laminating panels and oily woods, here’s how things looked prior to the assembly. Cauls were made from some scrap Pine and covered with packing tape. About the only time I’ll wear gloves is when using Gorilla glue, the bottom piece is signed and ready to be inserted into the dadoes of the side pieces. It’ll be hidden by the finger joint. Decided to glue and clamp first then insert the pegs after that was dry.

Ready for Assembly
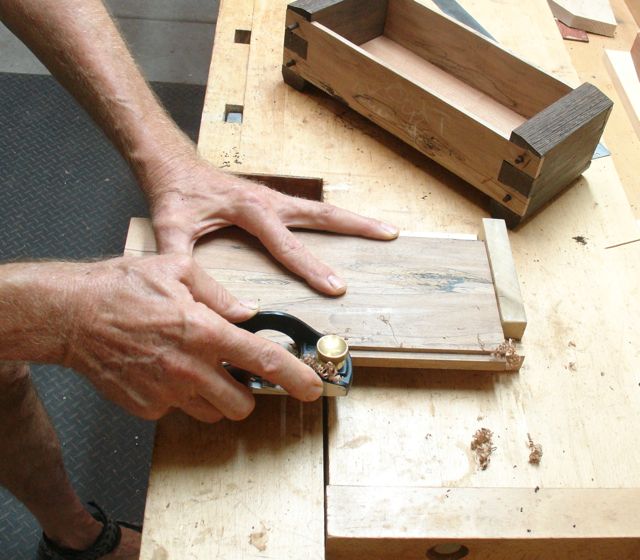
Final Touches
The final piece that needed to be finished was the lid. It’s rabbeted to fit between the sides. The initial cuts were done on the tablesaw and fine tuned by hand. You can see the completed box in the background ready to have the pegs cut off and finished. This will definitely be the last box before the Summerlin Craft Fair. That happens October 10th. and 11th. at Downtown Summerlin.
Here’s the Craft Fair announcement and a shot of the completed box. Hope to see my local readers at the fair this year.