Around 8:00 am, Dec. 31st.
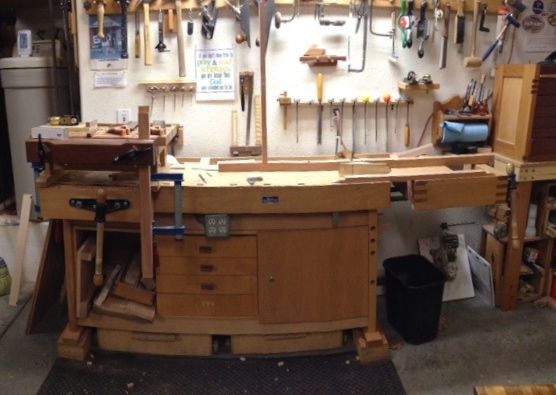
First off, we’re experiencing a cold spell here for the end of 2014 and earlier had predictions of up to 3″ of snow on the Las Vegas strip! Snow isn’t completely unheard of here in the desert but is somewhat unusual, forecasts have been updated to less than an inch but since I’m at a higher elevation we could still see some accumulations tonight. With the wind chill it’s pretty darn cold out there and not much better in my shop. I have a single burner on a propane bottle that has brought the inside temp up to comfortable working level and I know those of you in colder climes are probably laughing and thinking I’m a pansy!

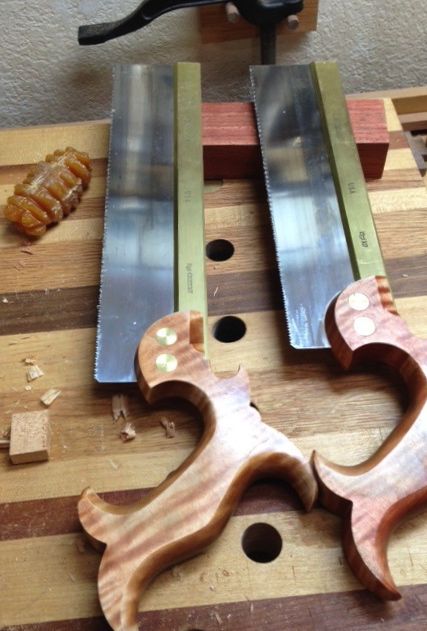
Beeswax vs. Cold Metal
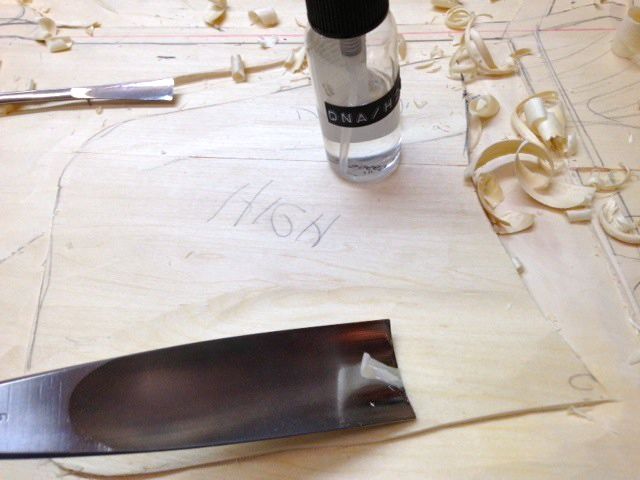
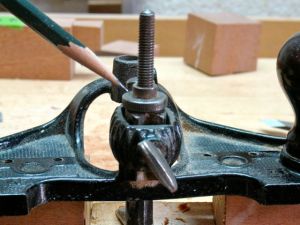
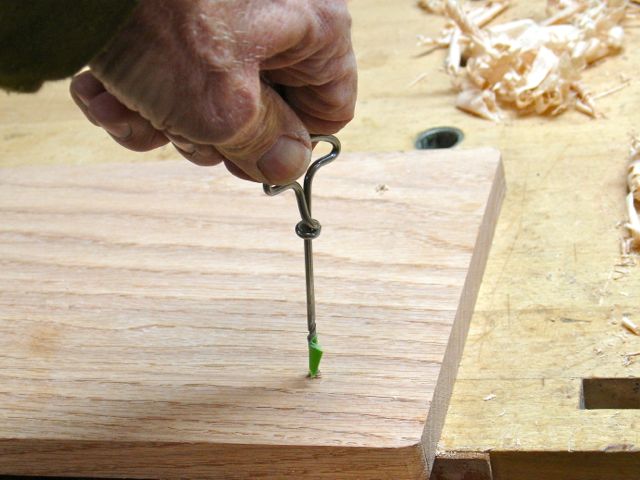
I did find though, that the dovetail saws needed a bit of beeswax to work the way they should, amazing how a quick application of that stuff makes saws and planes work so much easier.
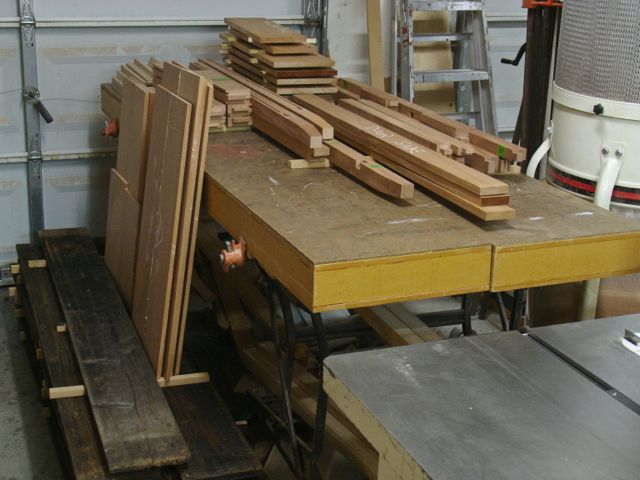
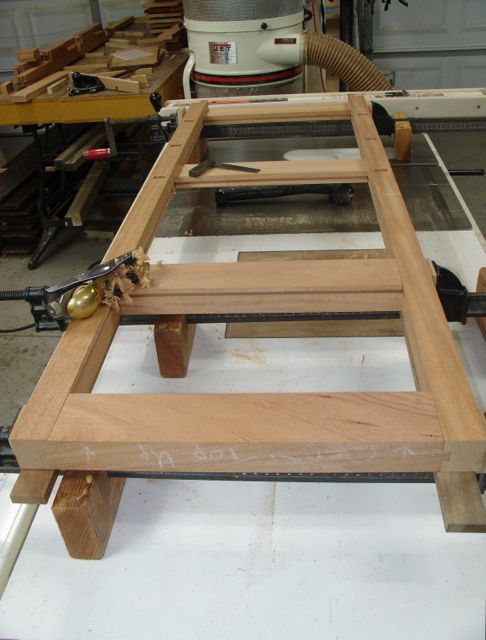
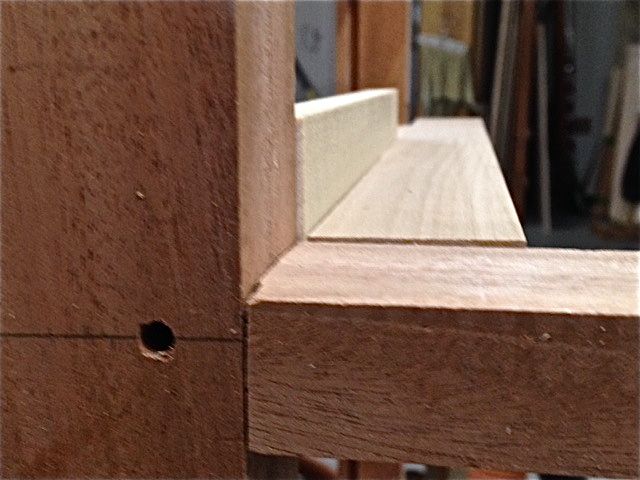
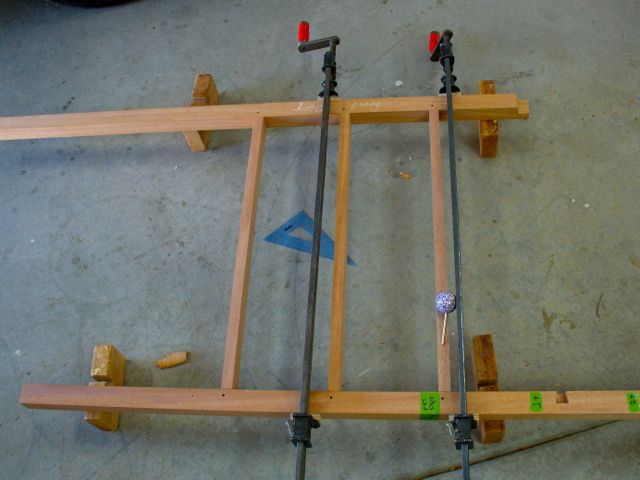
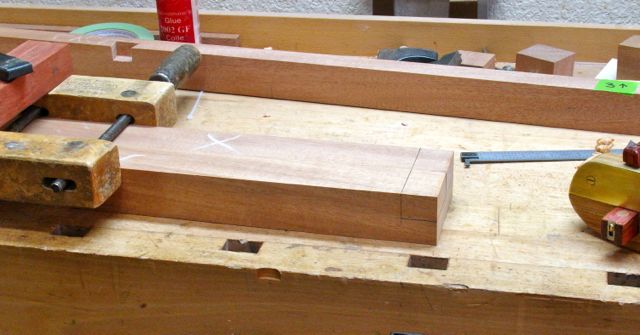
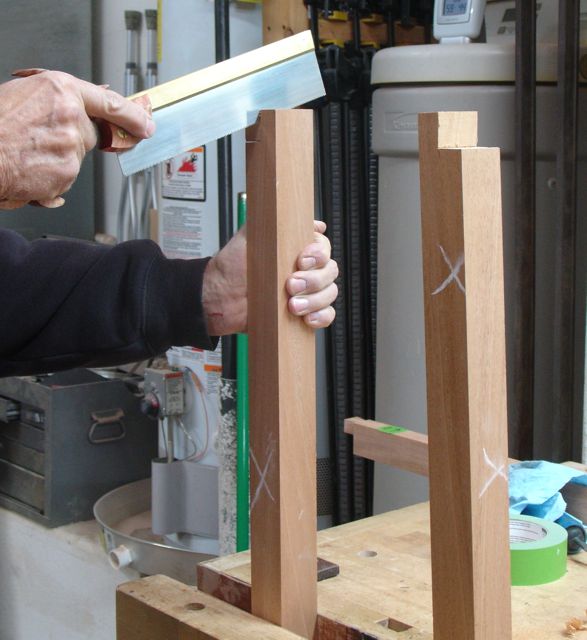
The stage I’m at on the Armoire is cutting all of the tenons for the framework. Previously all of the grooves were routed for the panels and mortises were cut with the hollow chisel mortiser where required. So far there are about 20 of them for the casework and I realized that I forgot the stretchers for the top of the door section and the rear portion of the side where the door is. Those will be 1/4″ tenons rather than the 3/8″ and 1/2″ used on the rest of the frame. That’s the same size as what will be used on the door so they will all be cut at the same time.
I titled this blog “tenons & thoughts” because as I was working on fitting the tenons, I discovered some problems! I always look at my work as an opportunity to learn and improve my woodworking skills. Many years ago I had this revelation:
“My work will never meet my expectations”
Now that may sound like a weird statement to you but I realize that the quality and perfection I think I should be able to achieve realistically isn’t possible. What that does for me personally though, is to drive me to constantly improve and get closer to that unattainable level of perfection. I’m not content with the quality of my work and constantly try to make it better. I find that artists and craftsman I admire are always striving to go that extra mile. My wife and I used to refer to the opposite of this desire to go the extra mile as the Kincadean Syndrome. You may be familiar with the artist Robert Kincade also known as the painter of light. He was a hugely popular artist and a marketing genius. He came up with his “schtick” as the painter of light and capitalized to the max on that premise. My desire is to constantly push myself to learn new concepts and processes — I suppose that’s why I have a small, one man shop but honestly; I have no desire to go beyond that.
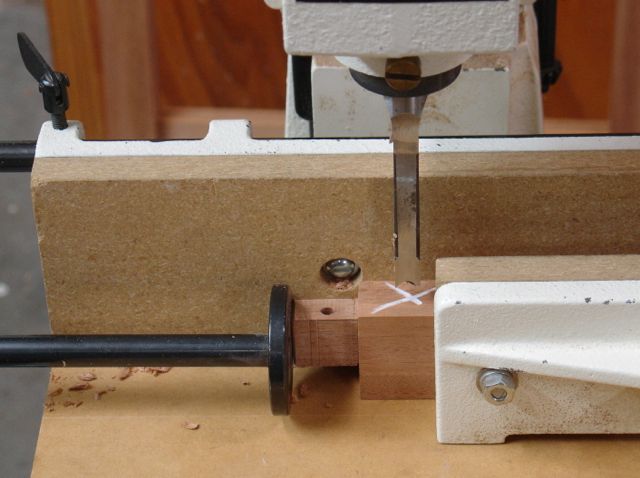
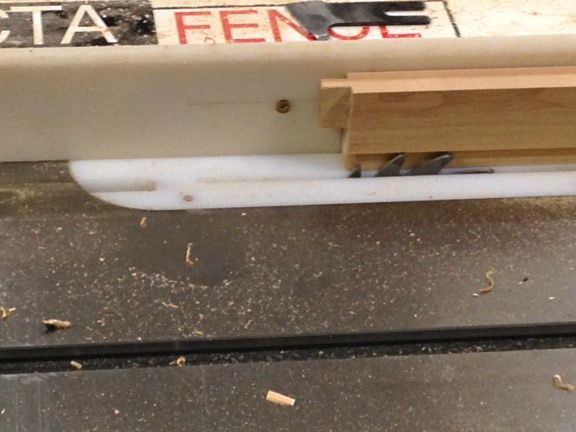
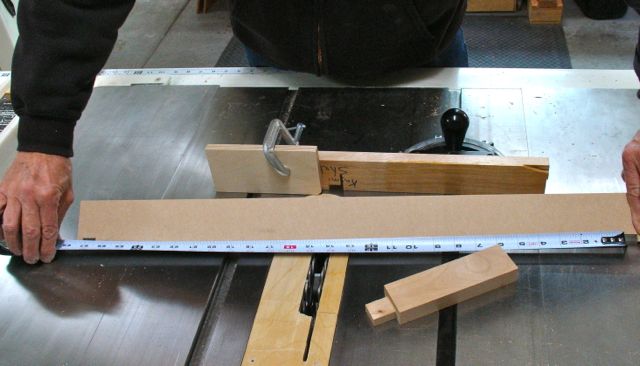
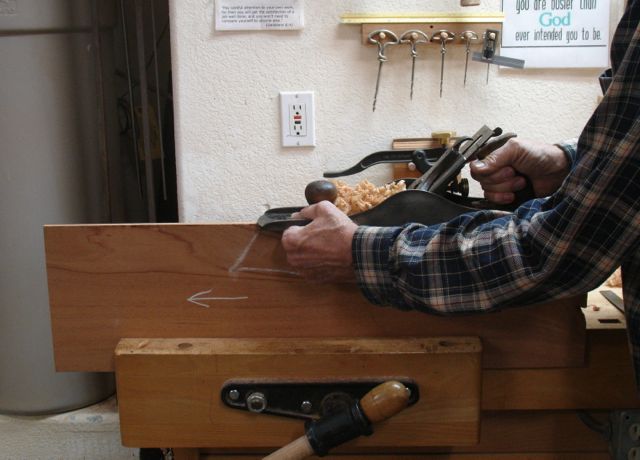
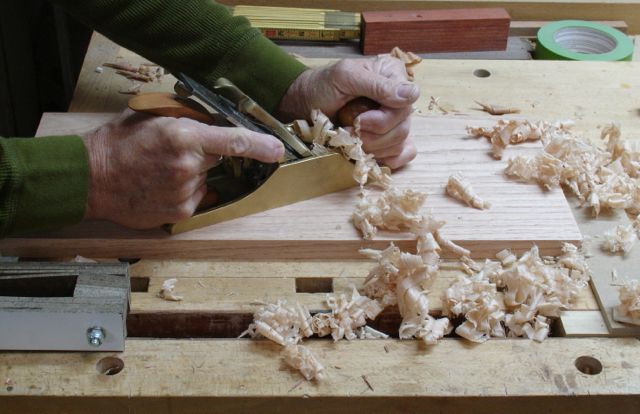
Okay, enough end of the year philosophy, let’s get to cutting tenons. Other than doing them completely by hand, the methods I use are either a tenon jig or a dado head on the table saw. For all of these piece I chose to use a dado head, here’s a slide show of that method:
This slideshow requires JavaScript.
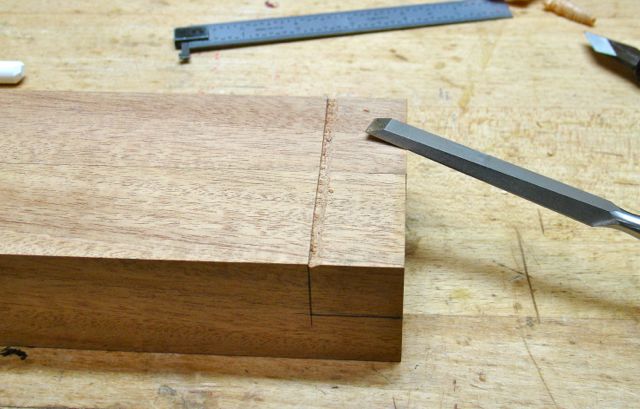
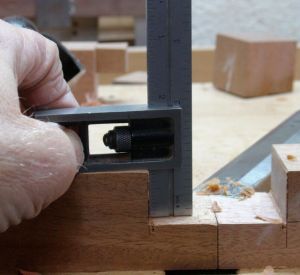
Here’s what I discovered as I began to fit these tenons to their corresponding mortises, they weren’t always consistent even though the dado head I have is a pretty good quality Amana unit that usually cuts an even, flat bottom. It took more work squaring up the cheeks than I thought it should. Perhaps since I was holding the stock by hand there was enough play to allow some movement. In any case, when using a tenoning jig I don’t seem to encounter this problem. Well, from the beginning this project was designed to push my capabilities and give me lots of opportunity to hone my skills and it’s doing its intended job. Here’s the procedure I’m using to fit the tenons:
This slideshow requires JavaScript.
The reason for using the dado head rather than the tenon jig was to save time, or so I thought. Seems to me that making a single cut first for the shoulder then for the cheek using the tenon jig always gave me better results. Usually all that’s needed is cleaning up the junction of the cheek and shoulder then planing the tenon to fit the mortise. Generally I’ll cut them a strong 32nd oversize and plane to fit. The glue strength for this joint comes from the face grain of the cheek inside the mortise and the dado head left some scoring even after fitting with the plane.
Well, there are more tenons to be cut! The drawer web needs to be tenoned into the front and rear stretchers. Those pieces are 7/8″ thick so will probably use a 3/8″ tenon, may even cut them all with two blades and spacers! Also need a few 1/4″ mortise/tenon joints for the back of the right hand section that has the door — come to think of it there’s a stretcher that needs to go above the door too!
It’s New Years Eve and time to go to a small gathering of friends. We plan to be home well before the fireworks start at midnight, Brandy the Dachshund and Ali the Cat need their people home to keep from freaking out! Thanks for following my blog and have a wonderful 2015.