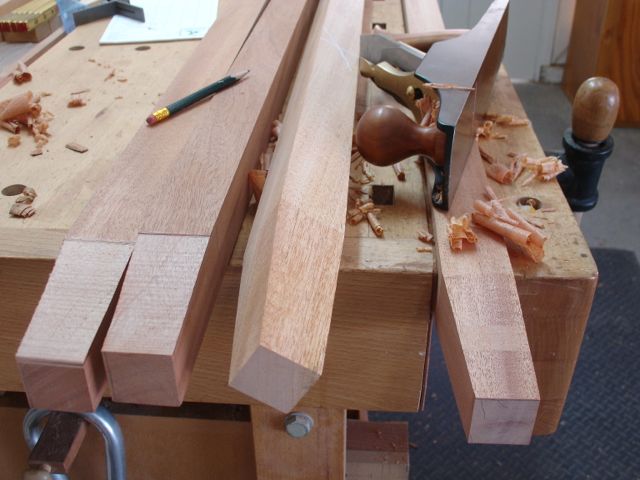
As I’m looking at the plans and pieces of material that will go into the making of my Armoire, I realize that this is a big undertaking! This is on the scale of building my own house which, although I’ve done; didn’t seem as daunting. Perhaps it’s because in house construction you can just scab a piece on if something went wrong or get a cat’s claw and wrecking bar and start all over. In furniture construction one part is intricately joined to another, which is joined to yet another so things need to be spot on. For example, the lower drawer stretchers will have three joints cut on them so if after cutting the first two successfully I mess up on the third it was all for naught! Then those stretchers will need to be mortised in the back to accept the drawer web frame — make a mistake there and it’s back to square one. The problem with that too though is that the pieces were selected from the same board so if I had to replace a stretcher it probably wouldn’t have the same coloration as the surrounding pieces and since I rarely stain that creates yet another probable disaster. And that’s why furniture makers subscribe to this saying:
Measure twice and cut once!

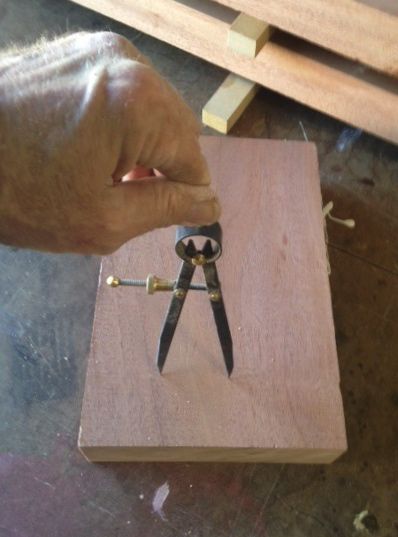
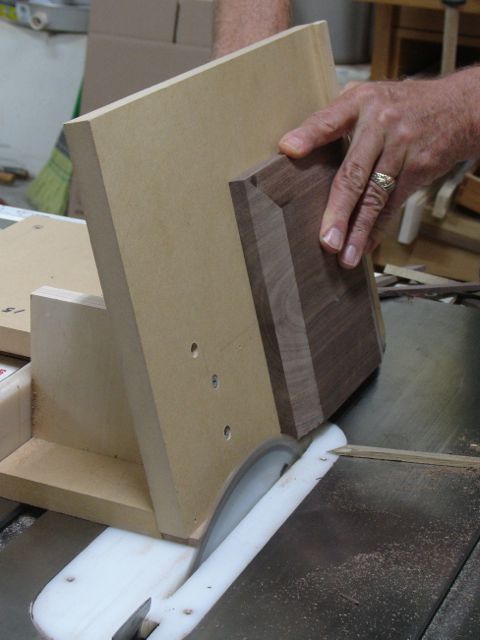
Locating Bottom Stretcher
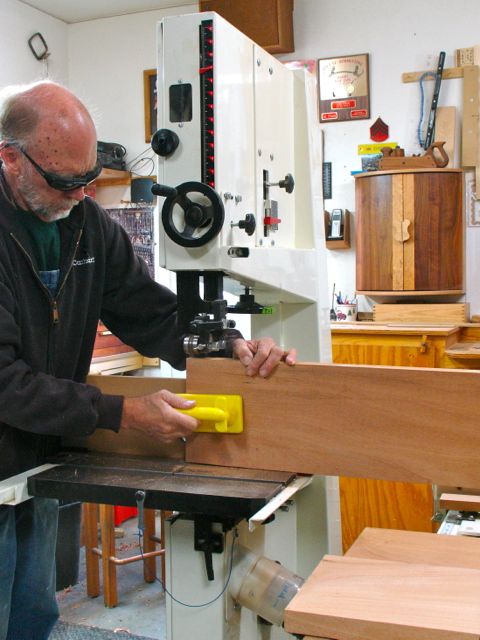
So, after doing the rear of the frame for the Armoire it was time to tackle the front. I figure that the rear frame is the one to practice on and hopefully the front will be flawless. The tails are already cut on the stretchers and only need to be positioned correctly for scribing. When transferring these locations I prefer using a marking knife made by Czeck Edge The blade in it is extremely thin and sharp and it’s very easy to get into tight dovetails. For general lay-out work I find this a little too flexible and use a heavier, stout bladed knife. First up was locating the bottom of the stretcher to the bottom of the leg, this was accomplished with a combination gauge set from the back frame.

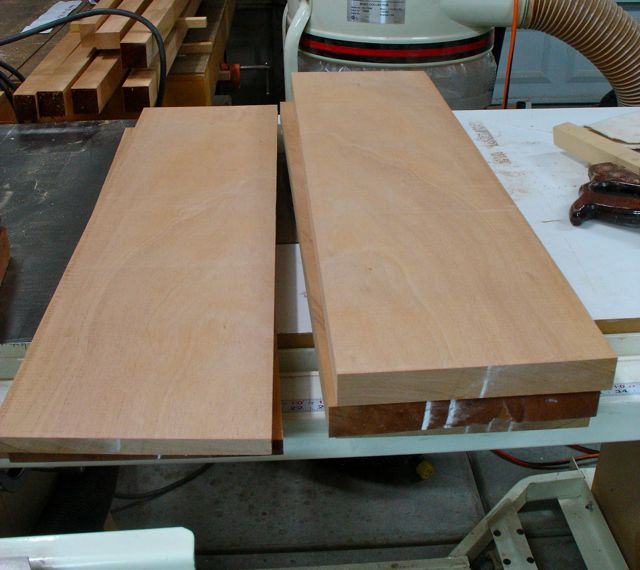
Second Stretcher
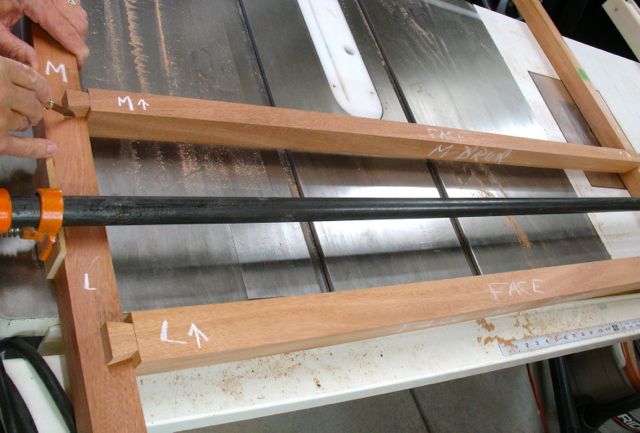
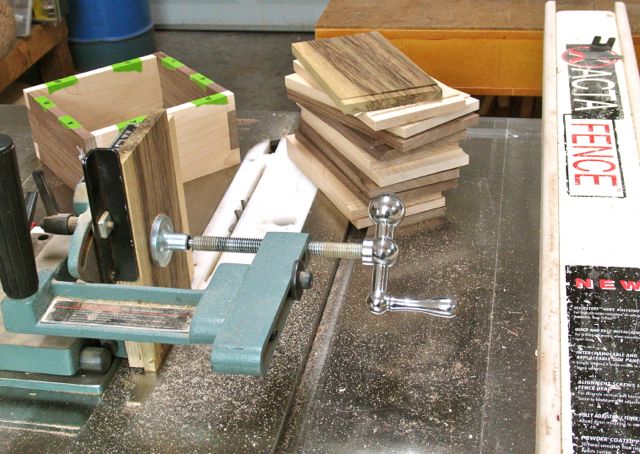
The next stretcher is located 8 1/4″ above the first. Tape measure is read directly over the top for accuracy and then a pipe clamp is used to hold everything in its’ proper position prior to marking out. I find that with the Czeck knife it’s best to make a few, light passes rather than one heavy pass to scribe the tails.

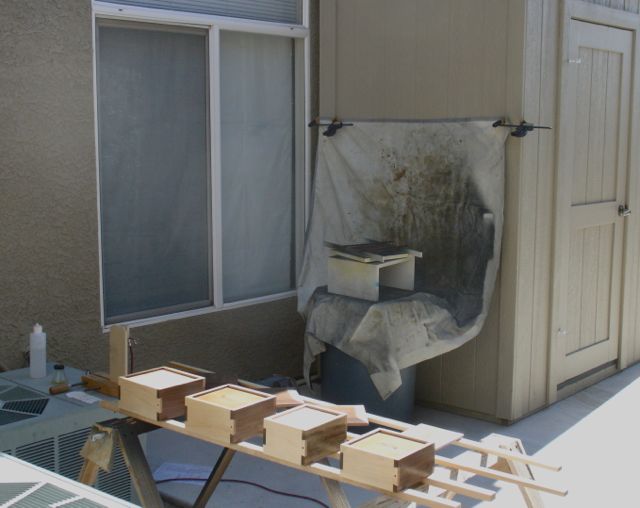
Temporary Markings
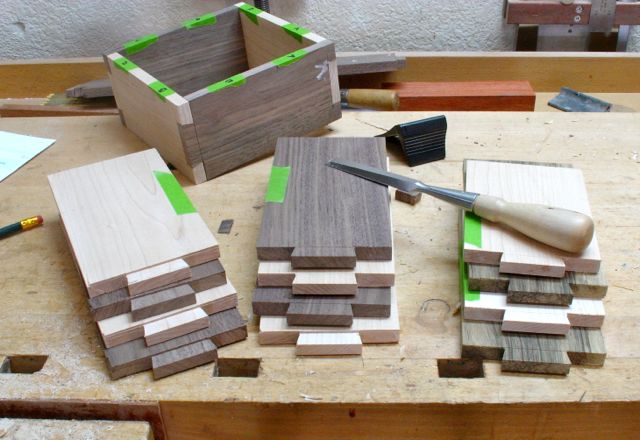
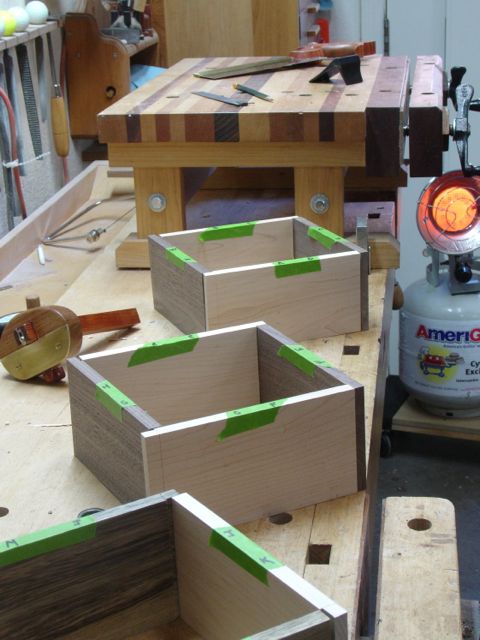
Along with all of the other things to keep track of is which board goes where and how! Before unclamping this I used masking tape and a Sharpie to keep myself straight. There are over a dozen pieces in each frame so it’s paramount to keep track of what goes where. As the work progresses and the joints fit I’ll use machinists letter stamps to permanently mark the work.
Before work begins on cutting the half blind dovetails on the carcass sides, their shoulders were checked for squareness and pared as needed. Before I begin to cut the joint I’ll sharpen a pencil with a chisel and trace through the scribed lines. Old eyes need all the help and light you can get at this point!

Darken Scribed Lines
Whoops, notice that mark at the lower left? Forgot to turn the dog around and it left its crisscross pattern — luckily this is the inside of the case and will probably plane off with a smooth plane. For a tail this wide, I like making a few cuts in the waste area which I find helps clean it out.

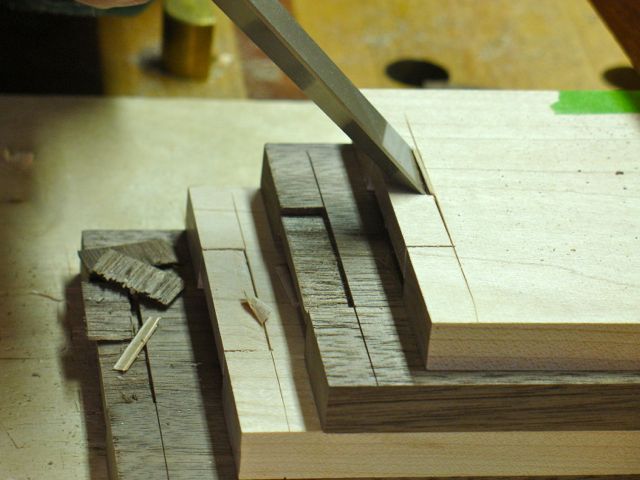
Beginning The Process
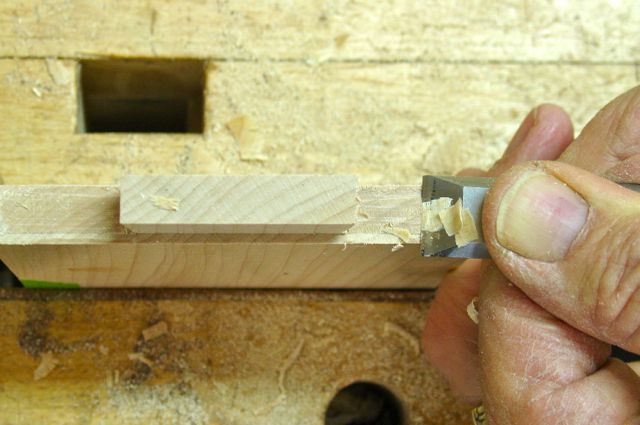
Since the saw isn’t able to get into the inner corners of the joint your chisel will have to cut there. When I remove the waste, especially in a deep (3/4″) and wide joint such as this the chisel technique I use is similar to one you’d use to groove or lap. First angle towards the side from the middle one way:

Angle From Center to Edge
Then the other direction:

Angled to Sides from Center
And finally bring the bottom flat:

Flatten Bottom of Joint
The difficulty with all of this is how snug do you leave your joint? I’ve read many noted woodworkers describe their procedure for dovetails and often they say they never fit the joint completely home until it’s time for glue up. That leaves a lot to chance because what if it is too tight and you can’t get it home — once you’re glued you’re screwed! I suppose that’s where experience comes in. I know that one of the joints on the back is a bit loose so I’m going to err on the side of snug now and check every surface for squareness the very best I can. This is a labor of love, not a race. Heck, if it were a race I could get a Kreg Jig and pocket screws and be done this weekend!
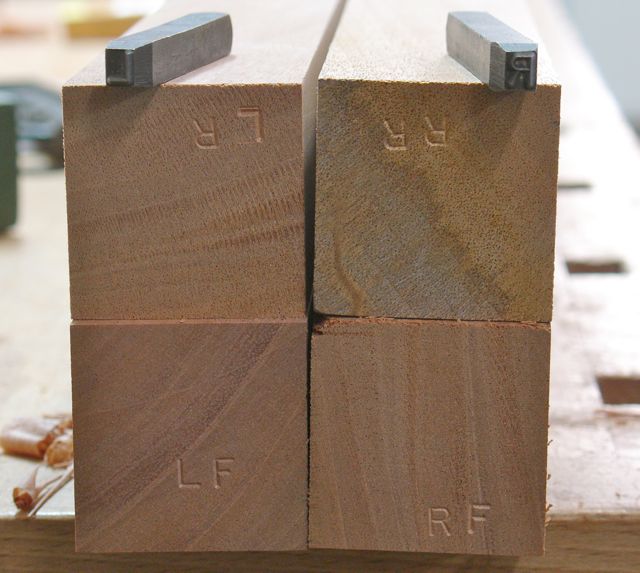
The last thing on this blog is how I mark the pieces once the joinery is complete. You know that masking tape isn’t going to last forever. I use Machinists Letter stamps and mark the joint so I can see it during glue up but it’ll be hidden afterwards.

Machinists Stamps
As I mentioned, there are many parts for this Armoire and not everyone of the joints needs to be marked. For example, the divider for the drawers only needs to be marked on one of its’ dovetails to locate it in the over-all construction sequence. My set of stamps came in a wooden box so I’m beginning with the A and working through the alphabet. To keep track of where I am I’ll simply return the stamp to the box upside down indicating it’s been used already somewhere on the project. Time to put the camera aside, close up the lap top, and get out to the shop to make some chips!