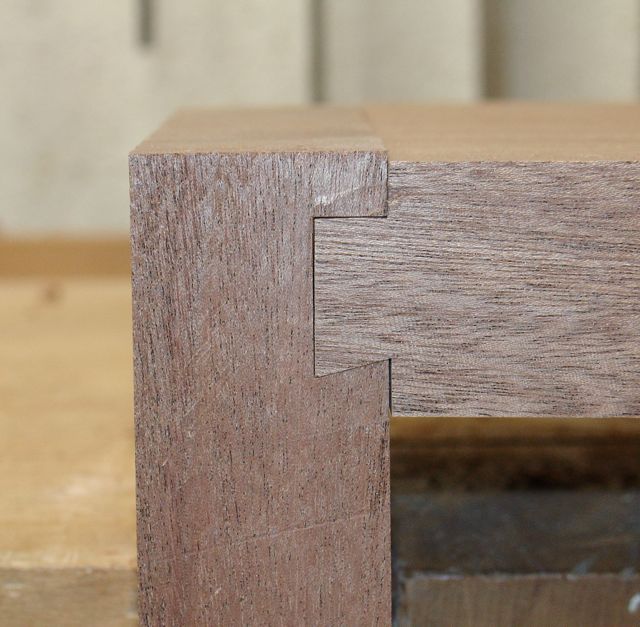
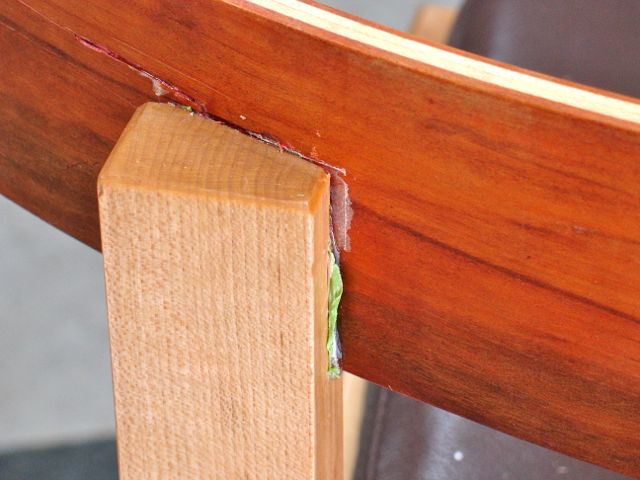
Poor picture but joints are visible
I’ll admit it, like so many other woodworkers I’m enthralled with the dovetail joint. Yes, it’s probably been romanticized but the truth remains that it is a joint that works because of it’s mechanical design and angles. Whenever I teach a student about the dovetail I’ll mention that this joint has been found in ancient wooden items and is still sound! So, here’s the one that is tricky but will work well for the top of the carcass.

Trick from Tage Frid
The reason I find this joint somewhat tricky is that you’re cutting down into end grain. Too hard of a blow with your mallet and could split the entire piece! Add to that the hardness of this ribbon grain Sapele and the fun and stress just continues to multiply! I used a couple of techniques here that I found in my research so will pass them along. First of all, this dovetail is about 3/8″ thick and 5/8″ long which means there isn’t a lot of cutting to be done with your dovetail saw but; you need to cut the wood at the bottom. Tage Frid had a technique in his book where he used a piece of cabinet scraper to complete that cut. I had a very thin piece of card scraper that I used. In his book the joinery is cut with a bow saw which has a pretty wide kerf so he showed a thicker card scraper. According to the text, you don’t want this to be a sharpened piece of metal since that could split the wood! I was very careful and gentle with the small hammer I’m using!
The other trick I used on this project is one I found on a Lonnie Bird video. On it he showed removing the waste from a half blind dovetail by using a smaller chisel and cutting down on the end grain. Usually the wood you remove is split along the grain and worked back to the shoulder line. The Sapele has a tendency to split along the grain so I experimented with Lonnie Birds technique and found that it worked well.


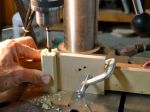
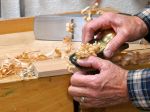
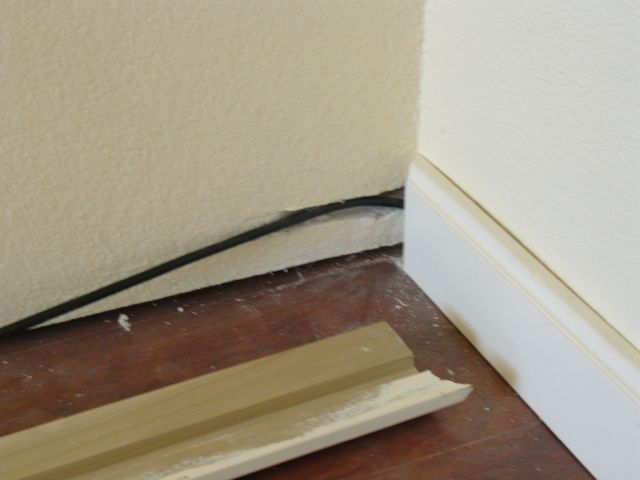
Small router plane and fishtail chisel
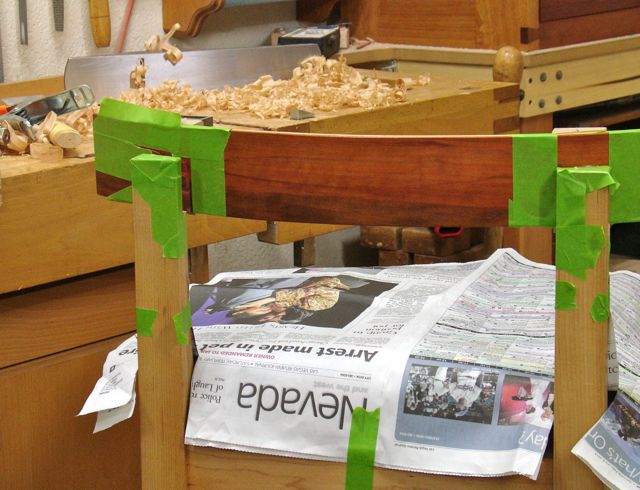
Once the bulk of the material was chopped out this way it became a matter of paring to the lines like you normally do. What was awkward about this as compared to smaller work like a drawer is how to secure it in the vise. That’s always a challenge because if you can’t hold what you’re working on securely your work will be sloppy. There are a couple of things that make cutting this joint easier for me. One is to use the Stanley small router plane to help maintain the proper depth of the socket and the other is using a Lie-Nielsen fishtail chisel to work into those corners. You see both of them in this picture.
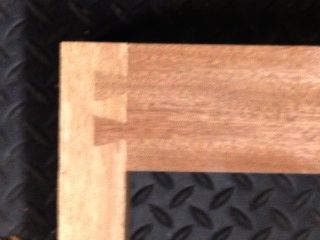
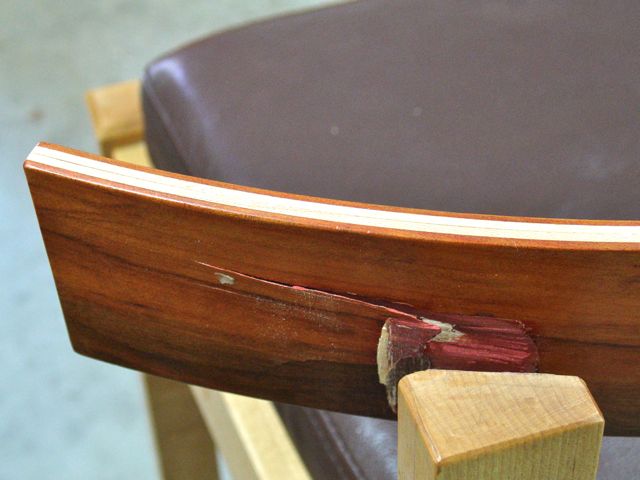
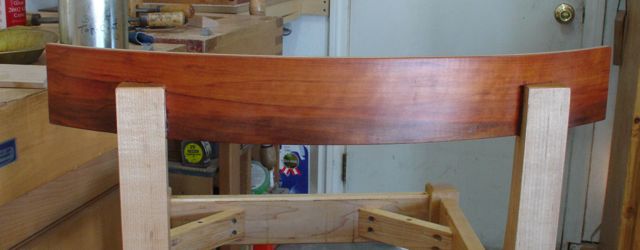
Practice twin, 14 degree dovetail for bottom stretcher
The twin dovetails that will be used for the front, bottom stretcher will have their own challenges but at least I won’t be cutting down into end grain on the ones just completed. My practice one turned out quite nicely so hopefully the real ones will go as well tomorrow. This is what the practice one looks like, the angle is 14 degrees to match the machine cut one on the shelf above.