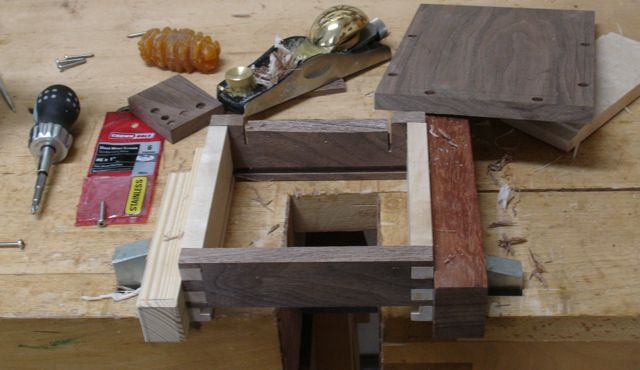
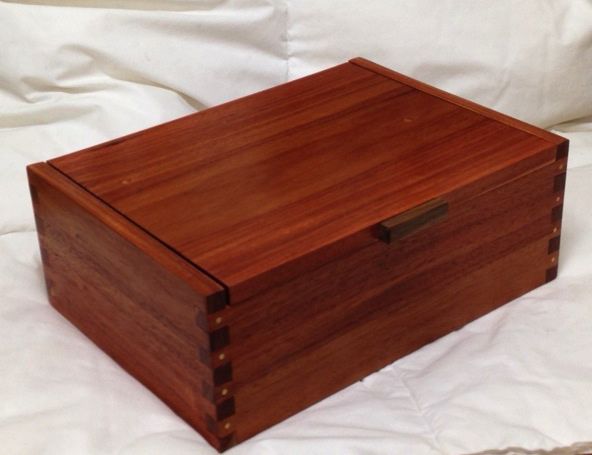
 Here is the first view of the box with the Ebony lid lift in place. There was an entire sequence of pictures taken to illustrate the process that went into not only forming this lift but also showing the progress of the box’s hinge installation and separation of the lid from the rest of the box. Not sure what happened but I believe something corrupted the memory card; when I plugged it into the computer to download there was a message stating it was unrecognizable format! Same thing occurred when we tried it in my wife’s computer so it has to be the card. Luckily I have a spare.
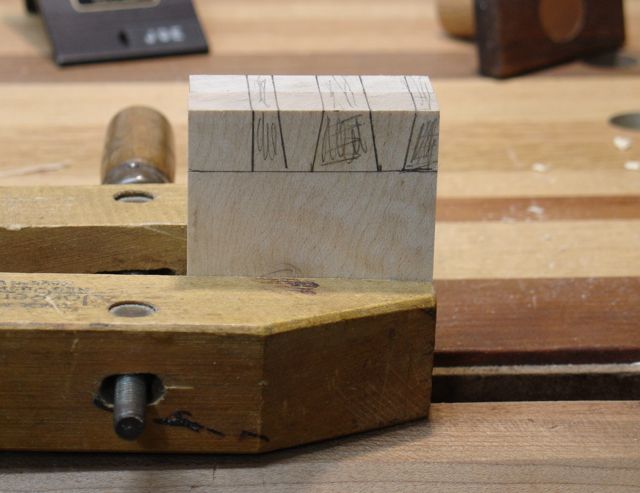
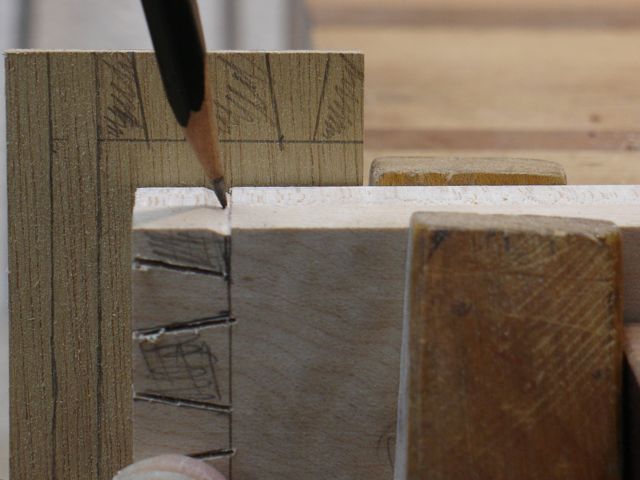
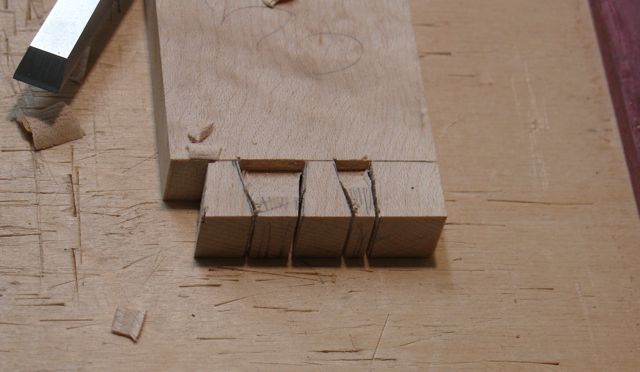
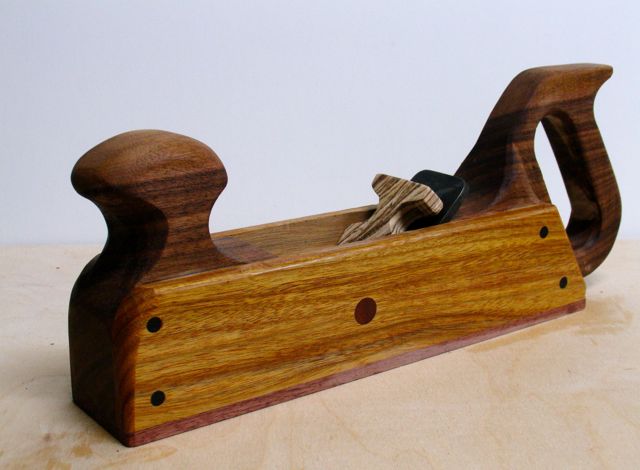
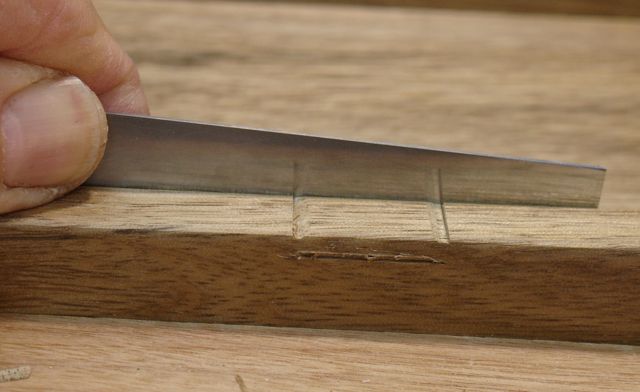
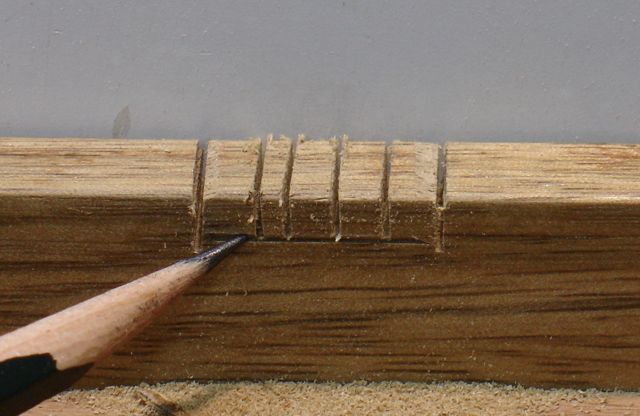
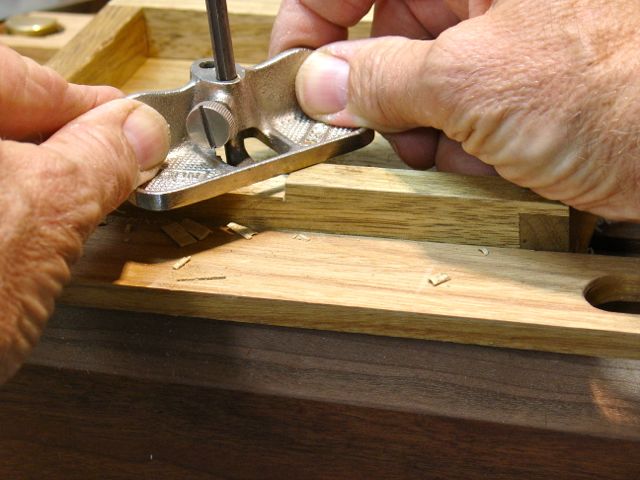
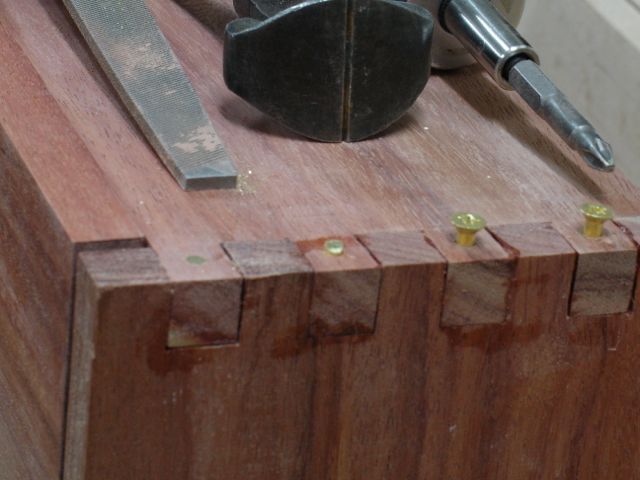
The process of cutting the mortise for the lid lift and cutting it out of my last remaining piece of Ebony is pretty interesting. It involves the use of dovetail saws, chisels, and the old Stanley #271 router plane. If you’re interested in seeing the process I’ll give you this LINK to a previous blog about that. It is “old school” but so much nicer than a noisy, dust creating router!
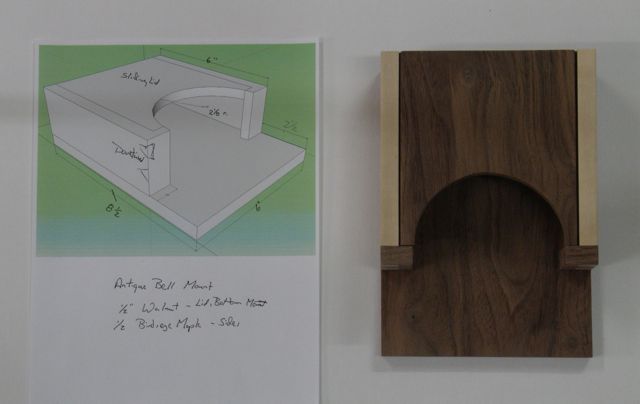
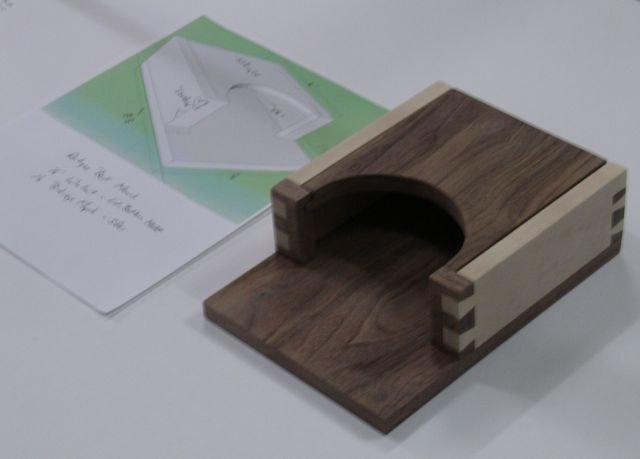
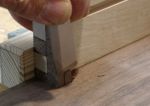
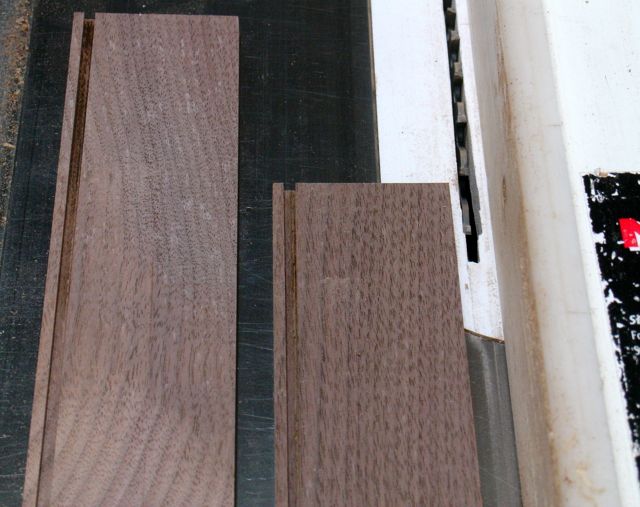 As you can tell, the box is getting closer to completion. My client is real appreciative of what he refers to as my “old school” style of craftsmanship that I put into all of my work. Usually the bottoms of my boxes will have a hardwood plywood that is lined with ultra suede. He asked for solid wood so no problem. This box will feature a sliding tray so I wondered if he’d be okay with a thin, plywood bottom for that. After building up my ego by telling me he really likes my work and blog so far he requested that maybe a solid bottom of a subltly contrasting wood could be used instead. How can you say no to that! I had a thin piece of Alder (aka poor man’s Cherry) that I thought would be a good candidate for the bottom piece. Essentially, this sliding tray was built from the inside out. We have an inside requirement of approximately 3″ x 5″ and the request was for a depth of 1″. Work began by cutting a groove in the bottom of some 1/4″ Walnut that’ll be used for the sides. Two passes were made with a combination blade to get the needed size. Next, I measured up 1″ from the top of that groove to establish the width of the tray sides. They were then mitered to make the tray.

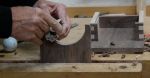
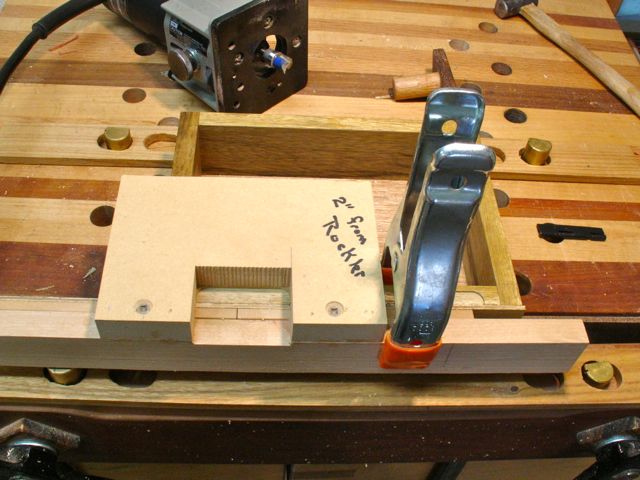
Rabbeting on the tablesaw, kind of small but I’m careful!

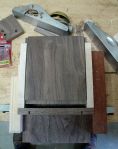
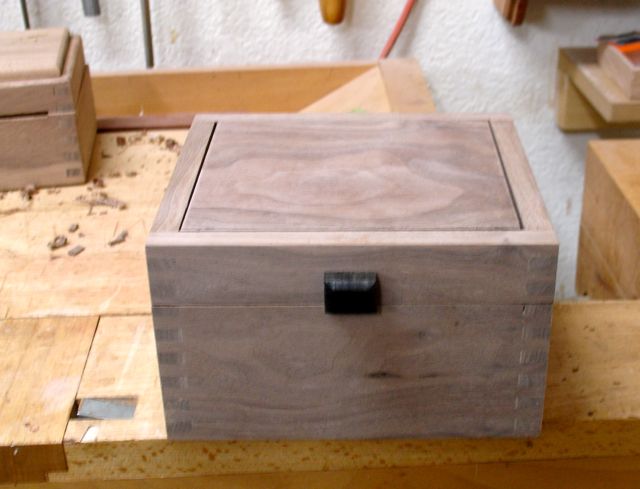
Dry fit of bottom into the tray.
This was followed by sizing the Alder piece to allow for any expansion/contraction of it. Chances are that with a piece of wood this small that humidity changes won’t be an issue but why not build it as if it were. To rabbet the bottom I used the tablesaw and rip fence to carefully remove the material. As always, the end grain is cut first so that any tear out will be removed when the edges are cut. Things worked out well as you can see in the dry fit picture.

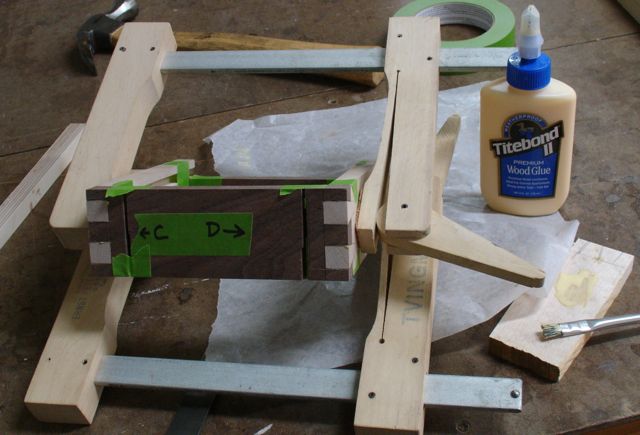
A small, mitered tray or box like this is the ideal place to use packaging tape to apply clamping pressure during assembly. After the pieces are sanded they are laid out in sequence on the tape with their ends touching one and other. Glue is applied to the miters and you fold the pieces together while putting the bottom into the groove. It’s then a matter of checking the corners for square and applying tape tightly to them and waiting for the glue to dry!

All done!